Skip to content
Facebook
Pinterest
Instagram
YouTube
TRENDING POST:
Mudroom Makeover Tutorial
Decorate
Expand
Budget Decor
Decorating Inspiration
Decorating Tips
Design Boards
Our Paint Colors
Room Reveals
Shopping Guides
DIY
Expand
DIY Furniture Builds
DIY Home Improvement
Furniture Makeovers
Painting Tips
Woodworking
Crafts
Organizing
Home Tour
Expand
Little Red Brick House
Nashville Apartment
Blog
Shop
Expand
Shop Vintage Decor
Shop Our Printable Art
Shop Our LTK
Shop Our Amazon Storefront
Shopping Cart
0
Search
Facebook
Pinterest
Instagram
YouTube
Shopping Cart
0
Search
Toggle Menu
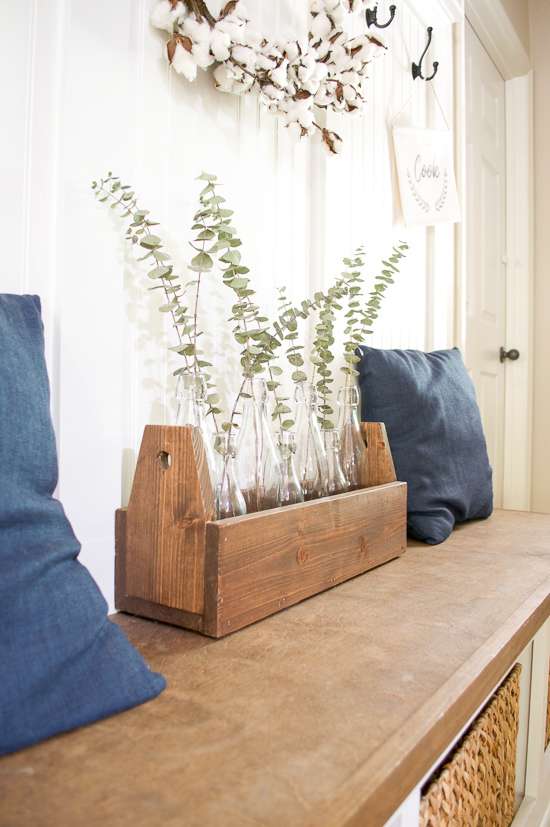
Carpenters-Toolbox-Planter
Review Cart
Toggle Menu Close
No products in the cart.
Scroll to top
Scroll to top
Decorate
Toggle child menu
Expand
Budget Decor
Decorating Inspiration
Decorating Tips
Design Boards
Our Paint Colors
Room Reveals
Shopping Guides
DIY
Toggle child menu
Expand
DIY Furniture Builds
DIY Home Improvement
Furniture Makeovers
Painting Tips
Woodworking
Crafts
Organizing
Home Tour
Toggle child menu
Expand
Little Red Brick House
Nashville Apartment
Blog
Shop
Toggle child menu
Expand
Shop Vintage Decor
Shop Our Printable Art
Shop Our LTK
Shop Our Amazon Storefront
Toggle Menu Close
Search for:
Search