Want your windows to look like they belong in a designer magazine? The secret isn’t fancy, expensive curtains. It’s how you hang them. Let’s go step by step and make sure you get that high-end, polished look without the guesswork.
Why Proper Curtain Hanging Makes All the Difference
Curtains are more than just window coverings. They play a crucial role in how a room feels. Interior designers use curtains to:
- Make ceilings appear taller
- Create the illusion of larger windows
- Control light beautifully
- Add softness, color, and texture
And the best part? You don’t need custom drapes to make a big impact. Even budget-friendly curtains can look luxe if you hang them right.
Supplies You’ll Need
- Measuring tape
- Pencil
- Level
- Drill
- Curtain rod
- Wall anchors and screws (if needed)
- Curtains
- Rings or clips (optional)
- Step ladder
Step 1: Choose the Right Curtain Length
Length is everything when it comes to getting that designer look. Too short, and your curtains feel unfinished. Too long, and they might look messy. Here’s what works best:
Designer-Recommended Length Options
• Just grazing the floor: This is the most common designer-approved length. The curtains barely touch the floor, creating a clean and modern look.
• Slight puddling: This is where curtains extend about 1-3 inches onto the floor, creating a soft, romantic vibe that works well in formal spaces like dining rooms or bedrooms.
• Hovering slightly above the floor: This can work in more casual or modern spaces. Aim for about ¼ to ½ inch off the floor. This avoids dust collection while still looking intentional.
What to Avoid
• Short curtains: Unless you’re working with windows above kitchen counters, short curtains feel unfinished and awkward.
• Uneven hems: Always measure twice and hem or adjust so the panels hang evenly. Uneven curtains immediately look unprofessional.
Pro Tip: If your ceilings are very high, look for extra-long panels or consider custom hemming. Floor-length curtains always look more polished than stopping mid-wall.
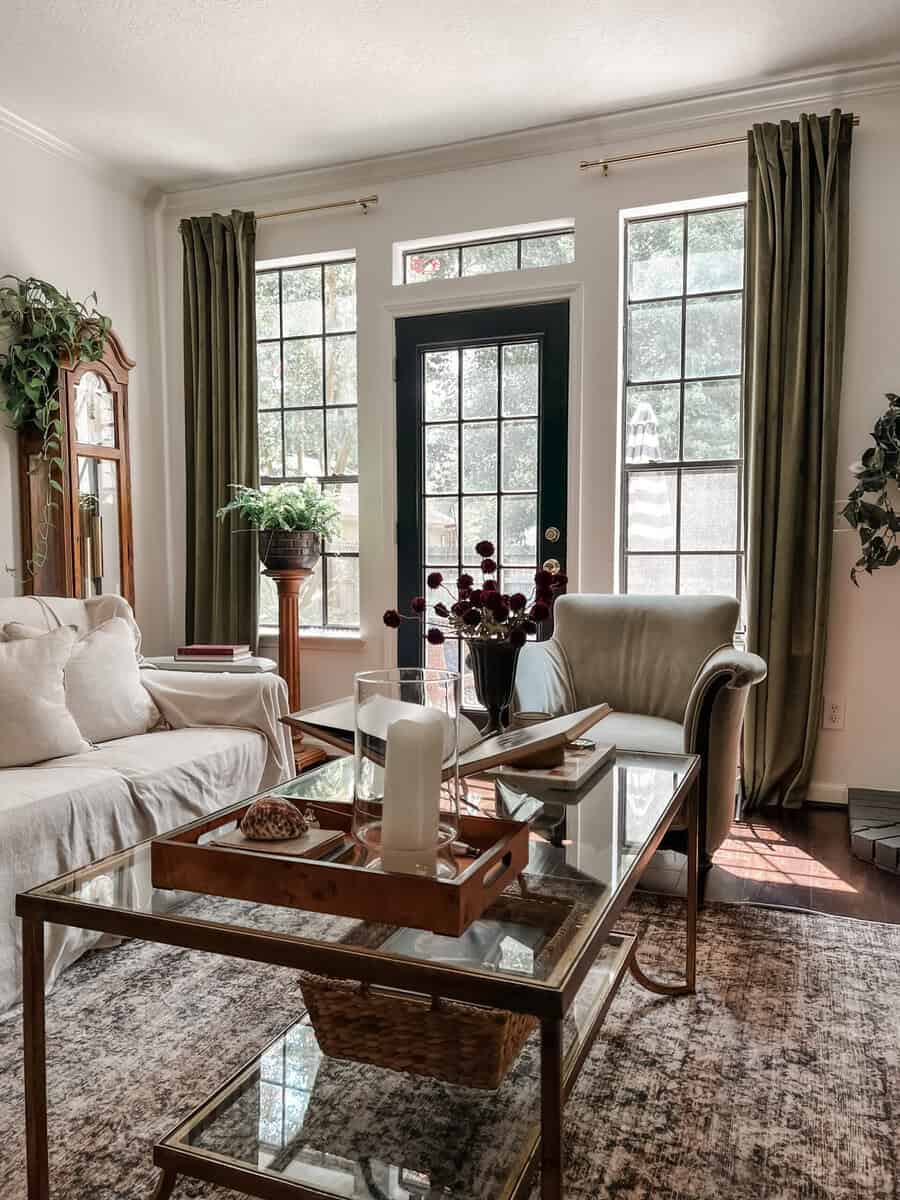
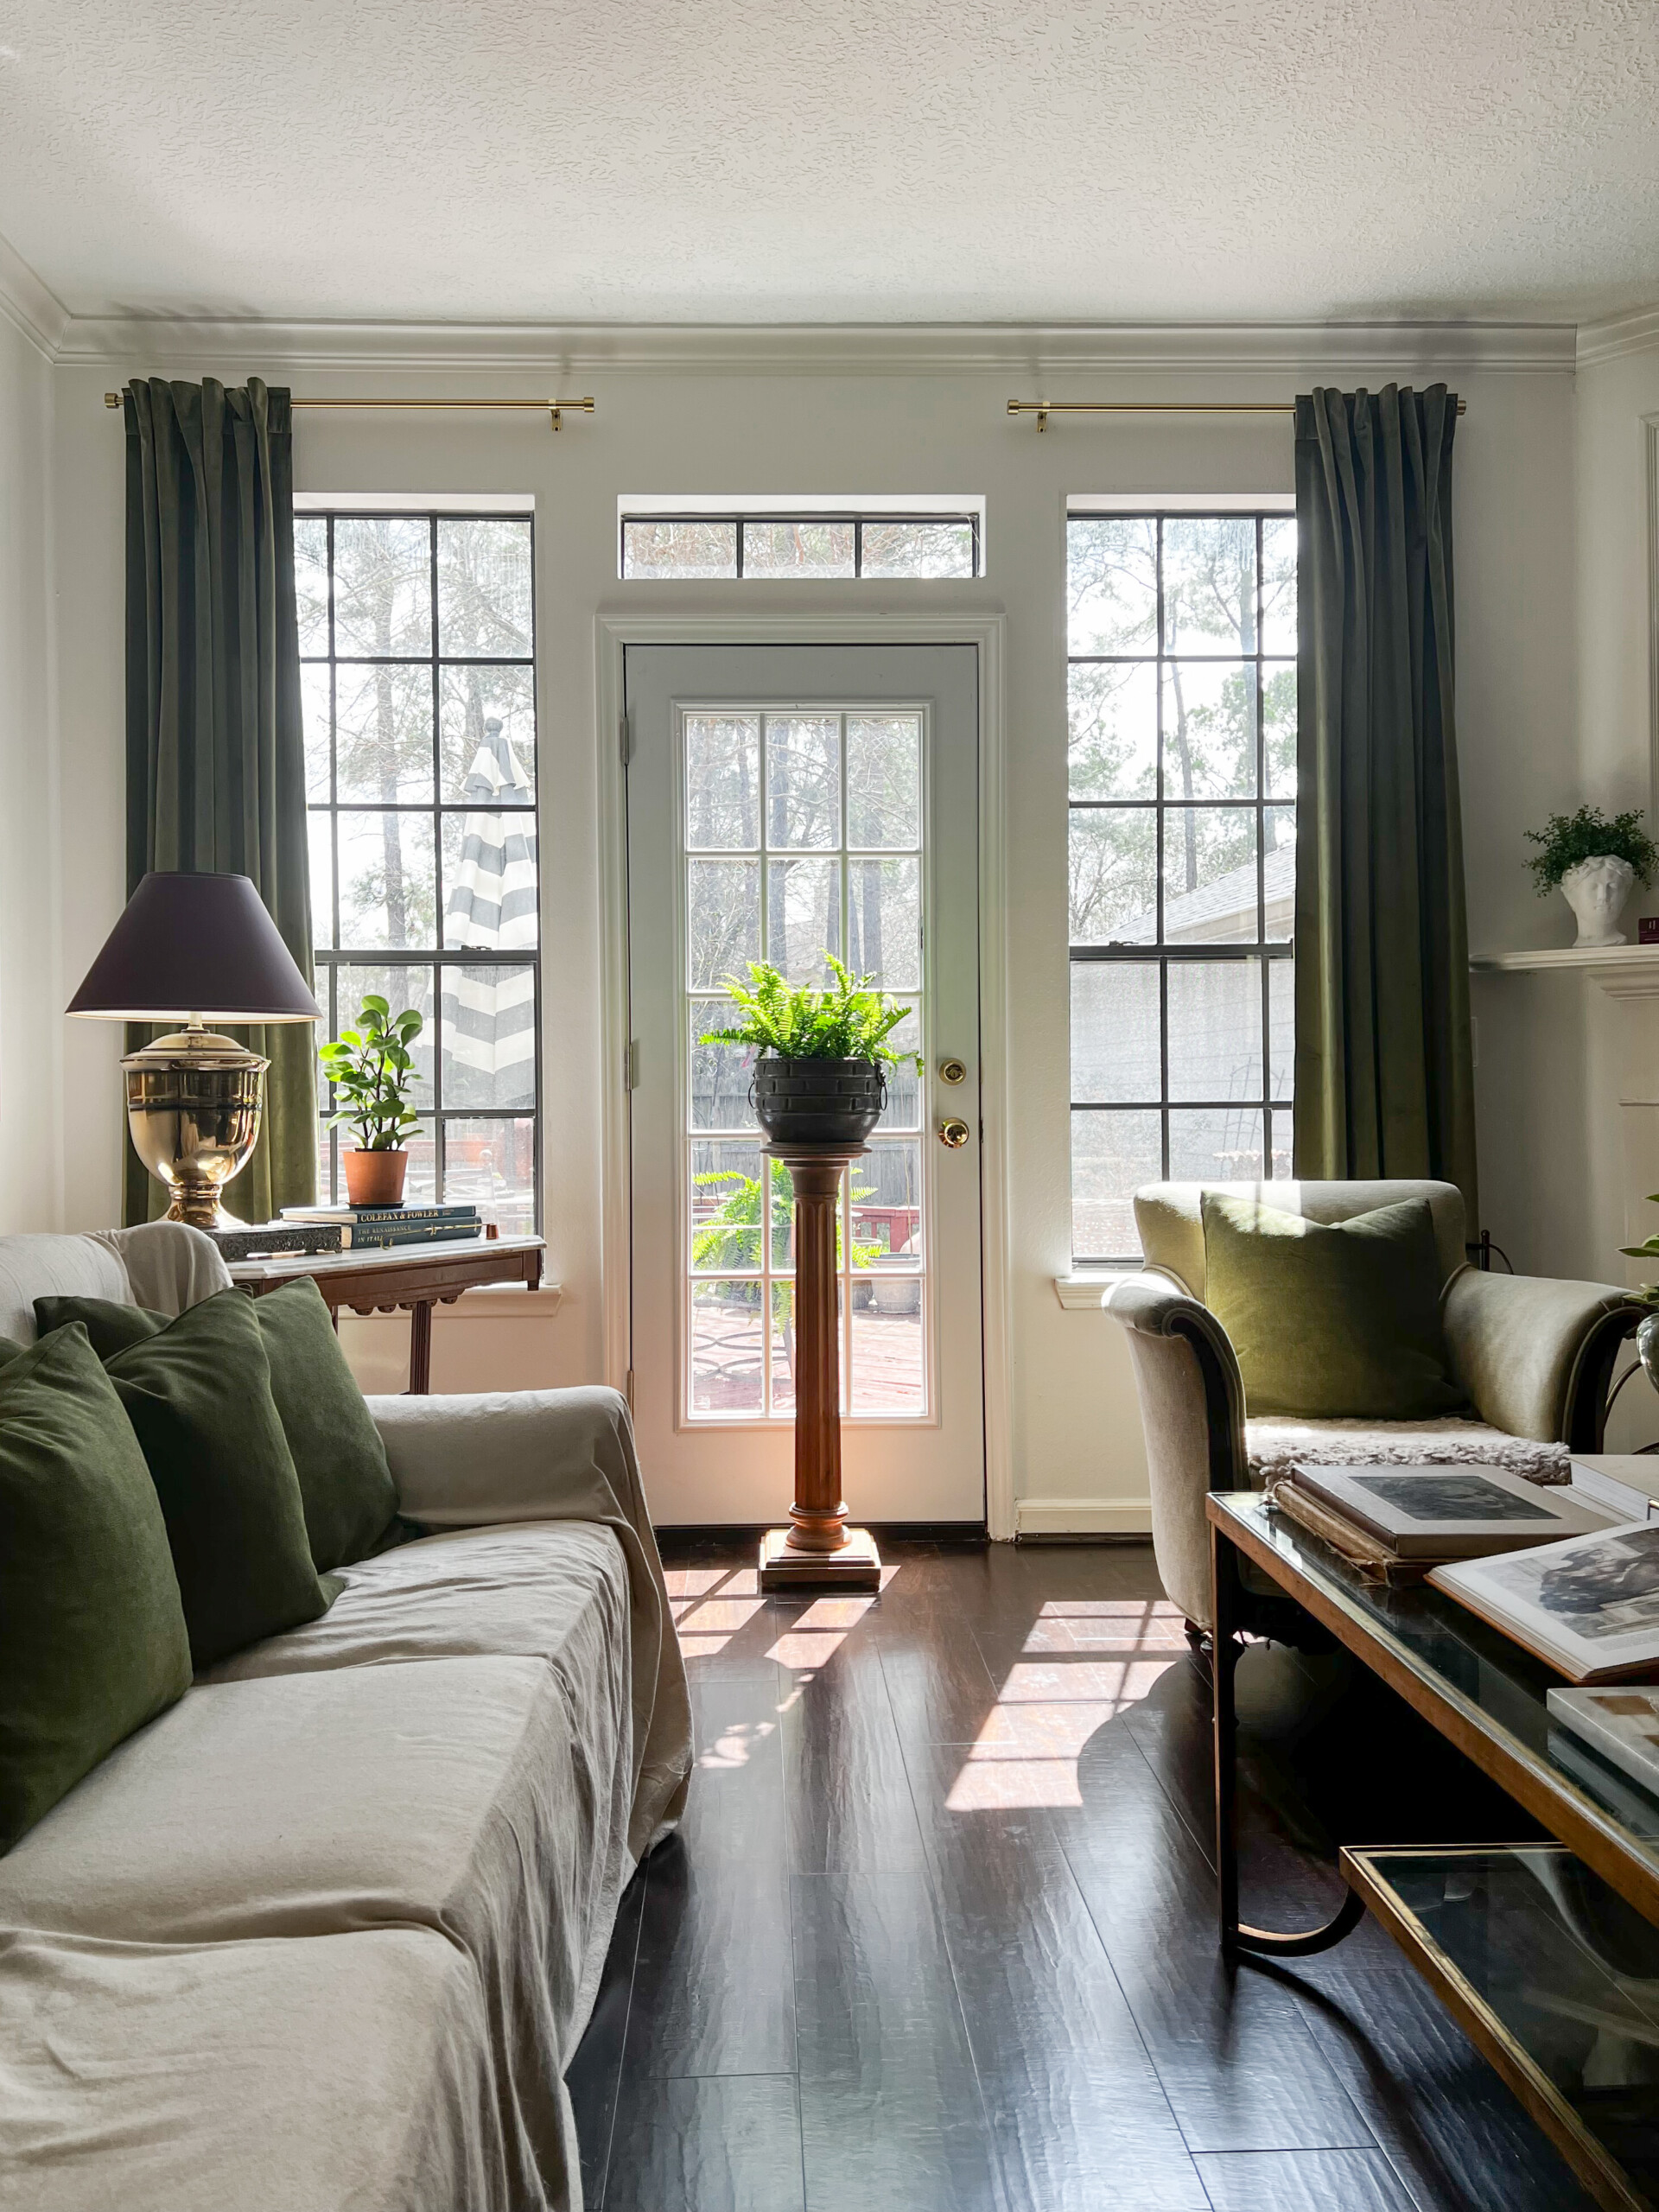
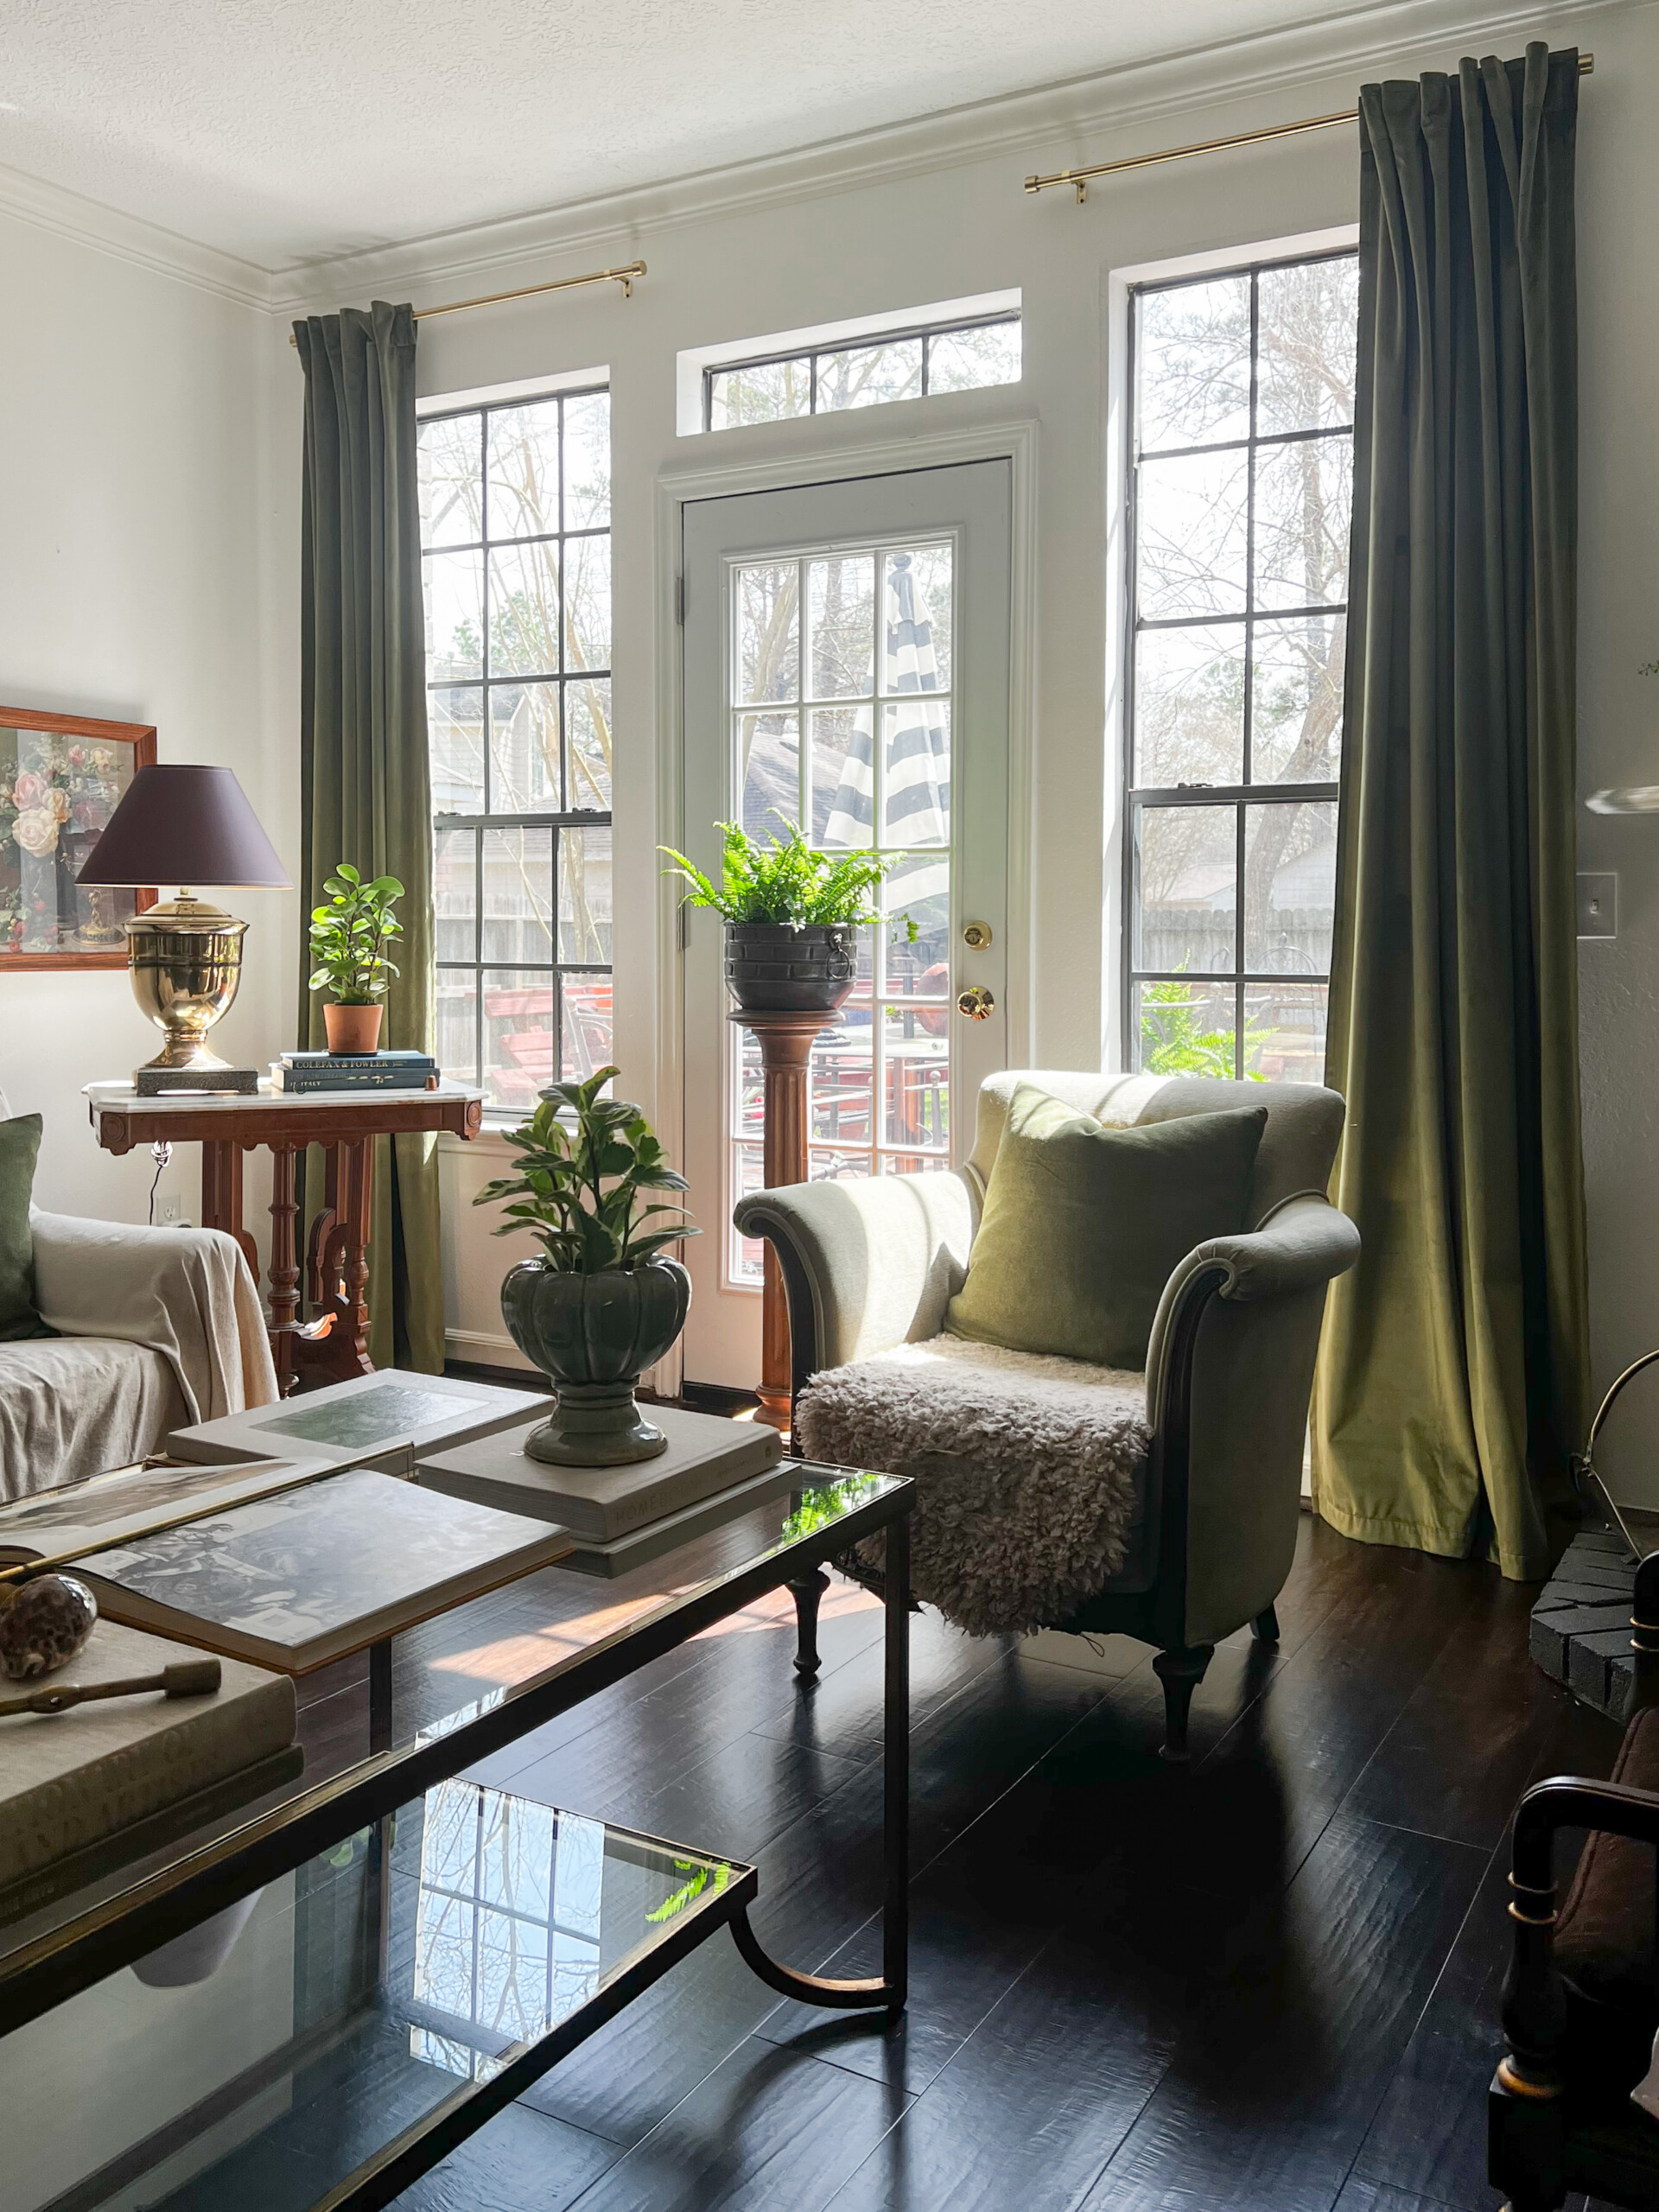
Step 2: Decide on Rod Placement – Go High and Wide
One of the biggest differences between designer-curated windows and DIY curtain jobs comes down to rod placement. Most people instinctively mount their curtain rods just above the window trim. But designers know that this makes windows (and rooms) feel shorter and smaller. The trick is to hang your curtain rod both higher and wider than the window itself.
How High Should You Hang Your Curtain Rod?
The goal is to draw the eye upward, making your ceilings appear taller and your space feel more expansive. Designers generally recommend installing the rod:
• At least 6 to 12 inches above the window frame, or
• Halfway between the top of the window and the ceiling, if you have high ceilings.
If you’re working with floor-to-ceiling windows or a room with crown molding, aim to mount the rod just a couple of inches below the crown to maintain balance.
How Wide Should Your Curtain Rod Be?
Extending the rod beyond the sides of the window also creates the illusion of wider windows and allows more natural light to flow in when the curtains are open. A good rule of thumb is to extend the rod:
• At least 8 to 12 inches past each side of the window frame.
In rooms where you want an especially grand, luxurious feel (like living rooms or primary bedrooms) you can extend the rod even further, up to 16 inches on each side.
Why High and Wide Works
This technique works for any style of home, whether you prefer modern minimalism, vintage charm, or a collected, layered look. The extra height and width:
• Makes the window look bigger and grander.
• Enhances the natural light when the curtains are open.
• Keeps the curtain fabric from covering too much of the window, allowing you to enjoy your view.
• Gives the entire room a more intentional, custom feel, like the space was professionally designed.
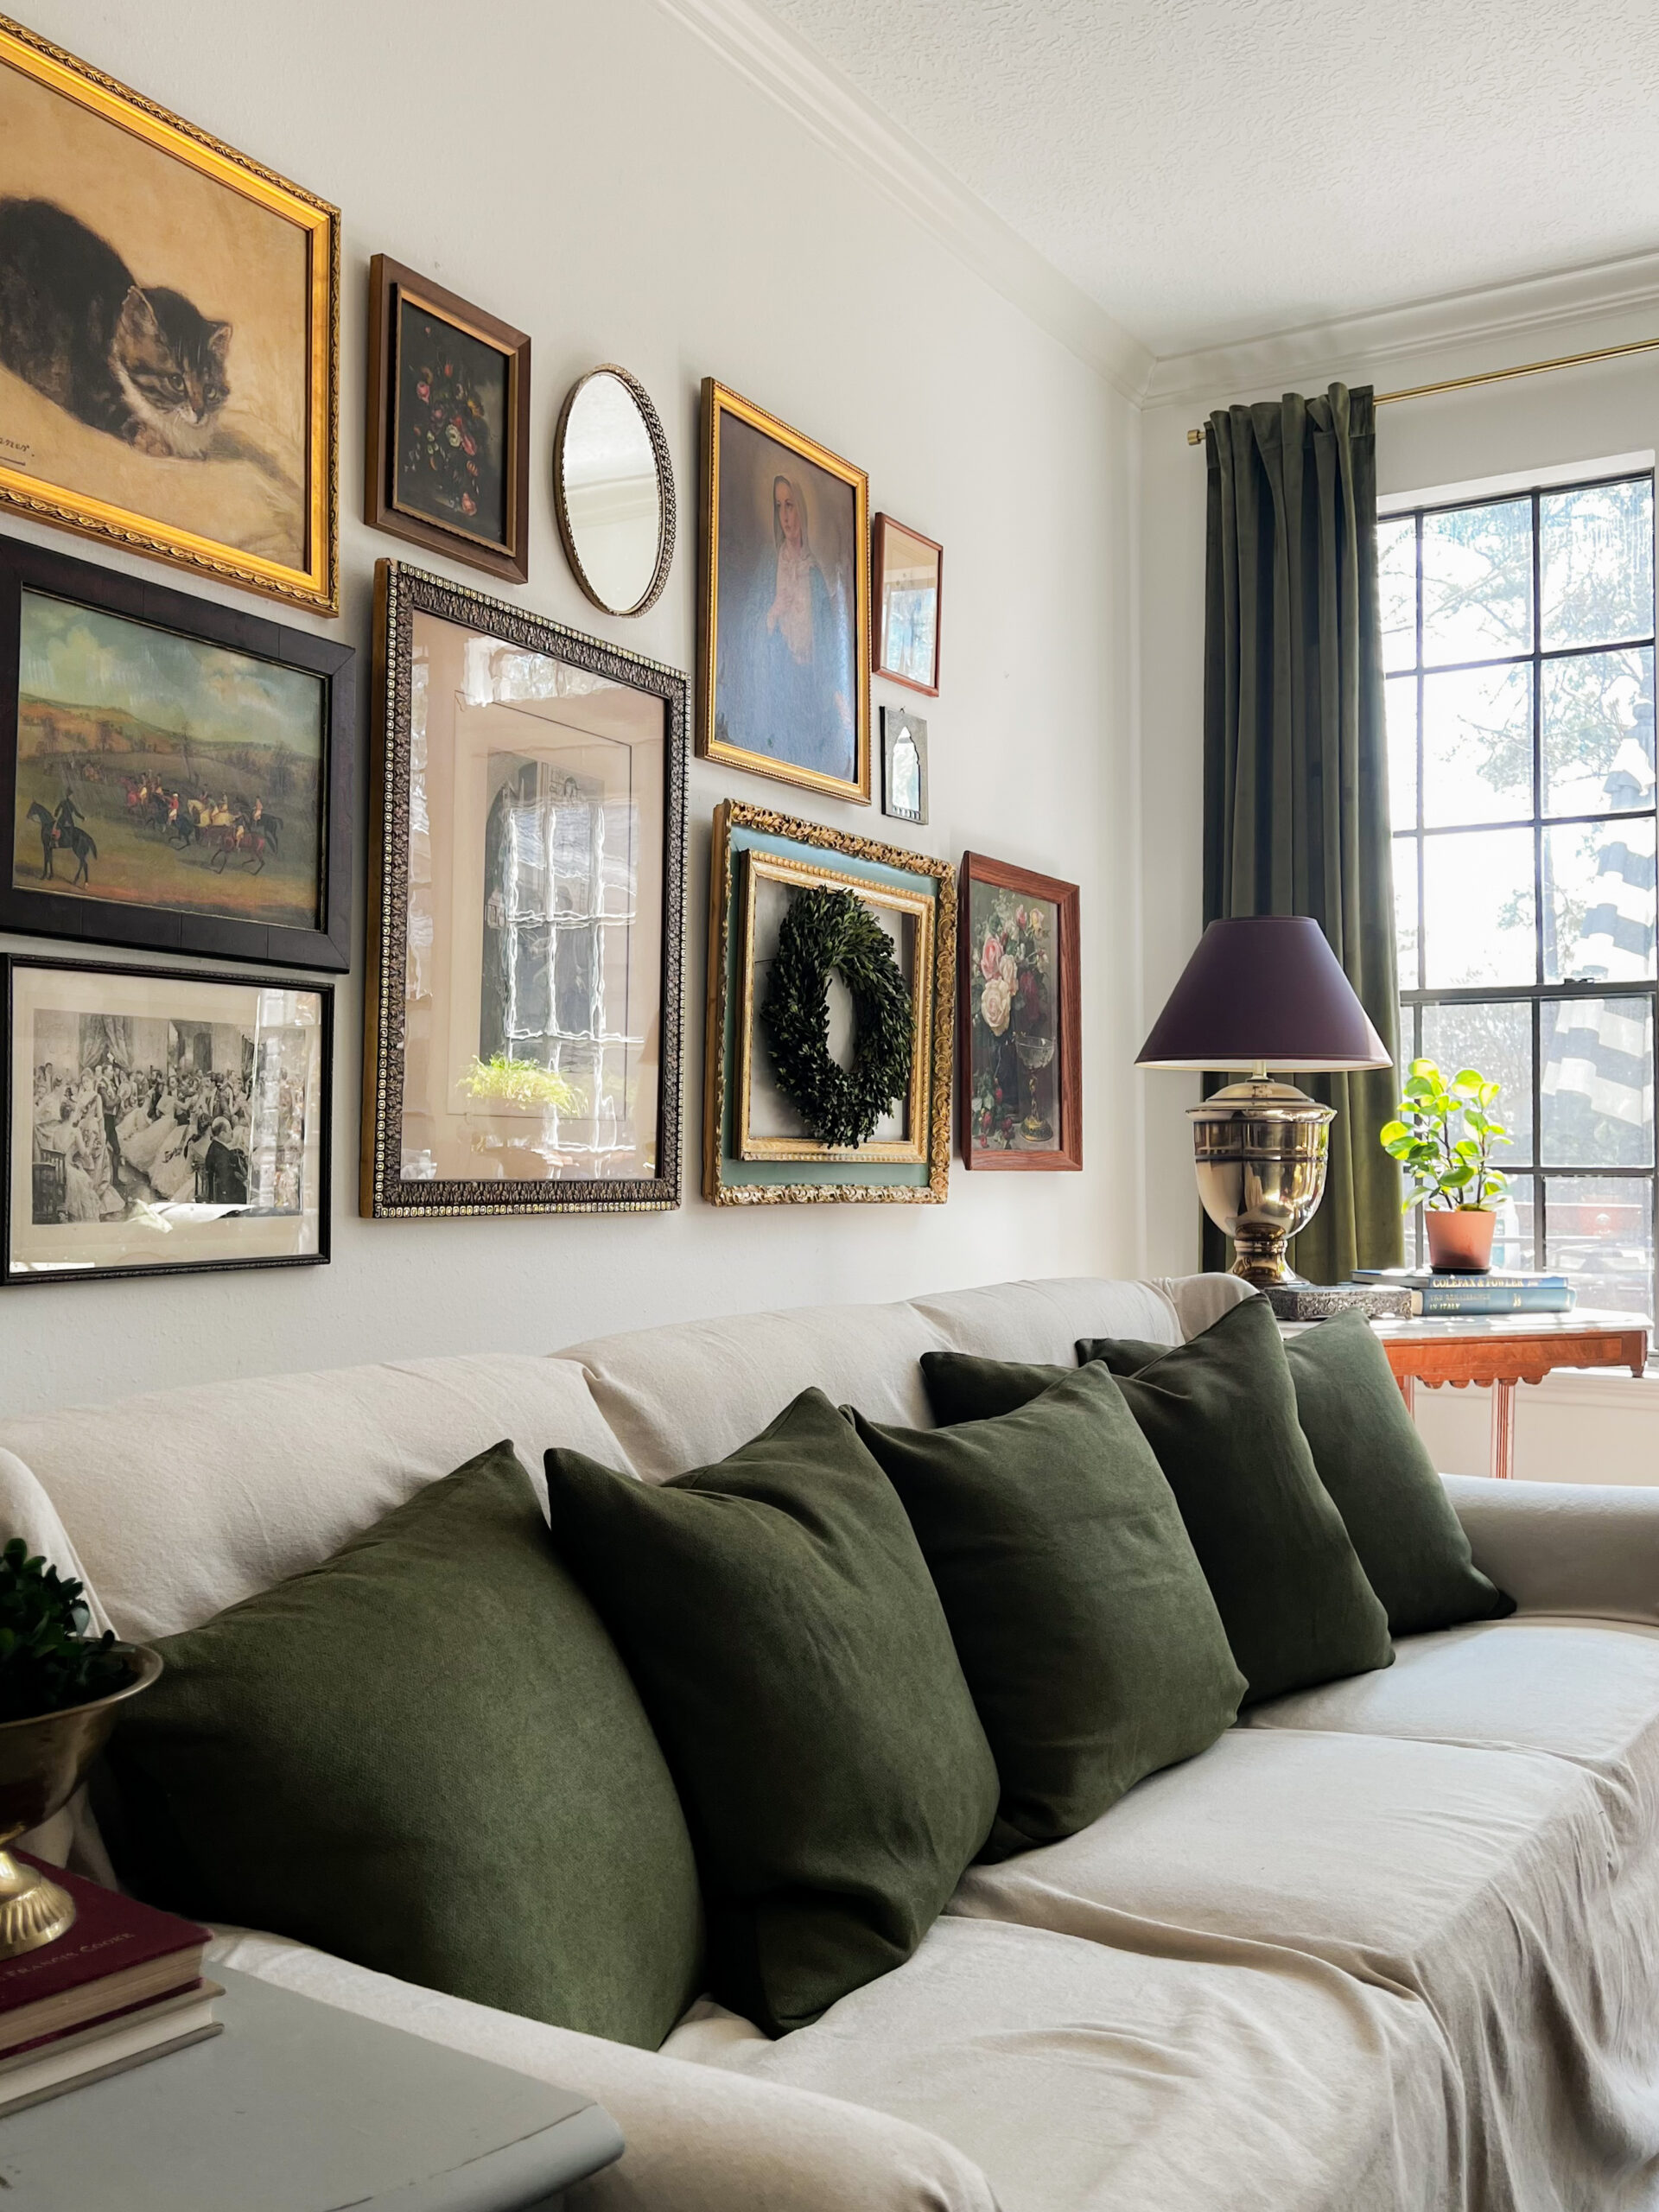
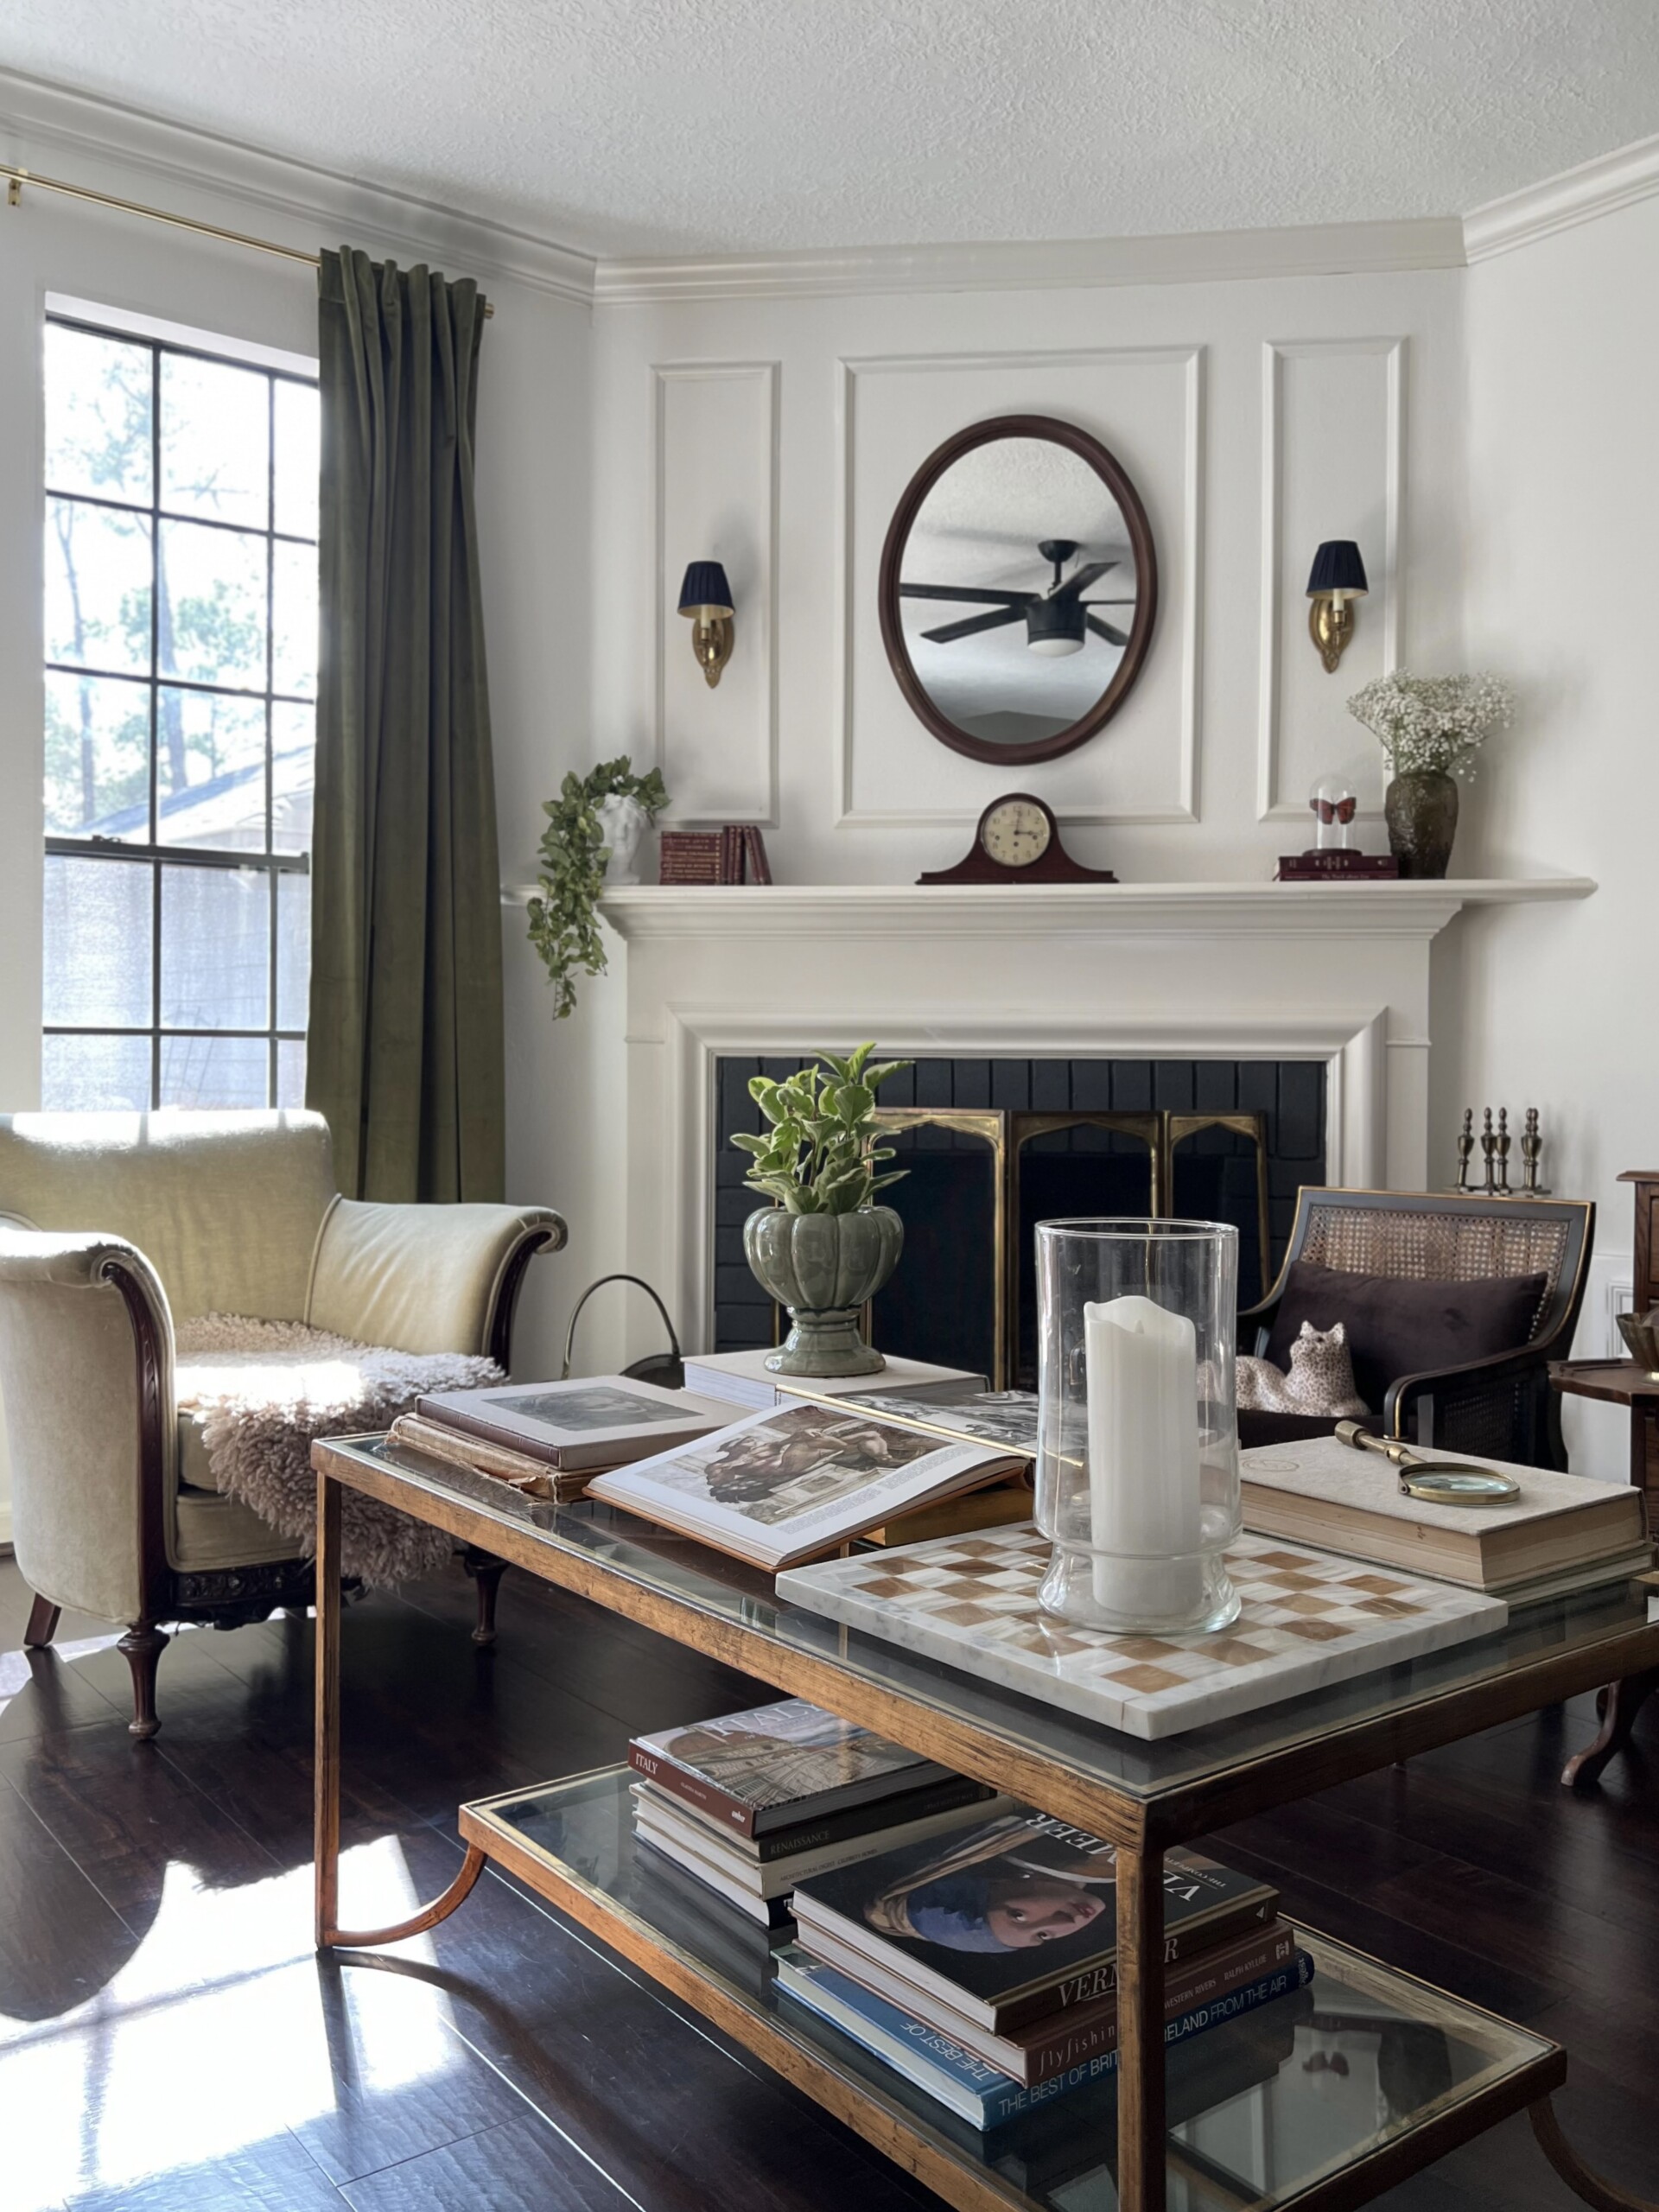
Step 3: Choose Full, Luxurious Curtains
Fullness is the key to luxury. Designers almost never use just one panel per side, especially for larger windows. Curtains should appear full and gathered, even when closed.
Designer Rule of Thumb
• Measure the width of your window.
• Your total curtain width (combined panels) should be at least 2 to 2.5 times that width.
For example, if your window is 50 inches wide, your curtains should total 100 to 125 inches wide. This ensures beautiful drape and prevents that dreaded “flat sheet” look.
Step 4: Pick the Right Fabric

The fabric you choose not only affects the overall style but also how the curtains hang. Here’s a breakdown of popular fabrics and their designer uses:
| Fabric Type | Look & Feel | Best For |
| Linen | Casual, airy texture | Living rooms, bedrooms |
| Velvet | Rich and dramatic | Formal spaces, cozy dens |
| Cotton | Clean and versatile | Almost any room |
| Sheers | Light and ethereal | Layering or bright spaces |
Pro Tip
• For rooms where you want light control (like bedrooms), choose lined curtains.
• For a more casual, relaxed feel, unlined linen or cotton works beautifully.
• For an elevated, custom look, choose heavier fabrics like velvet or lined linen.
Step 5: Clips, Rings or Rod Pockets?
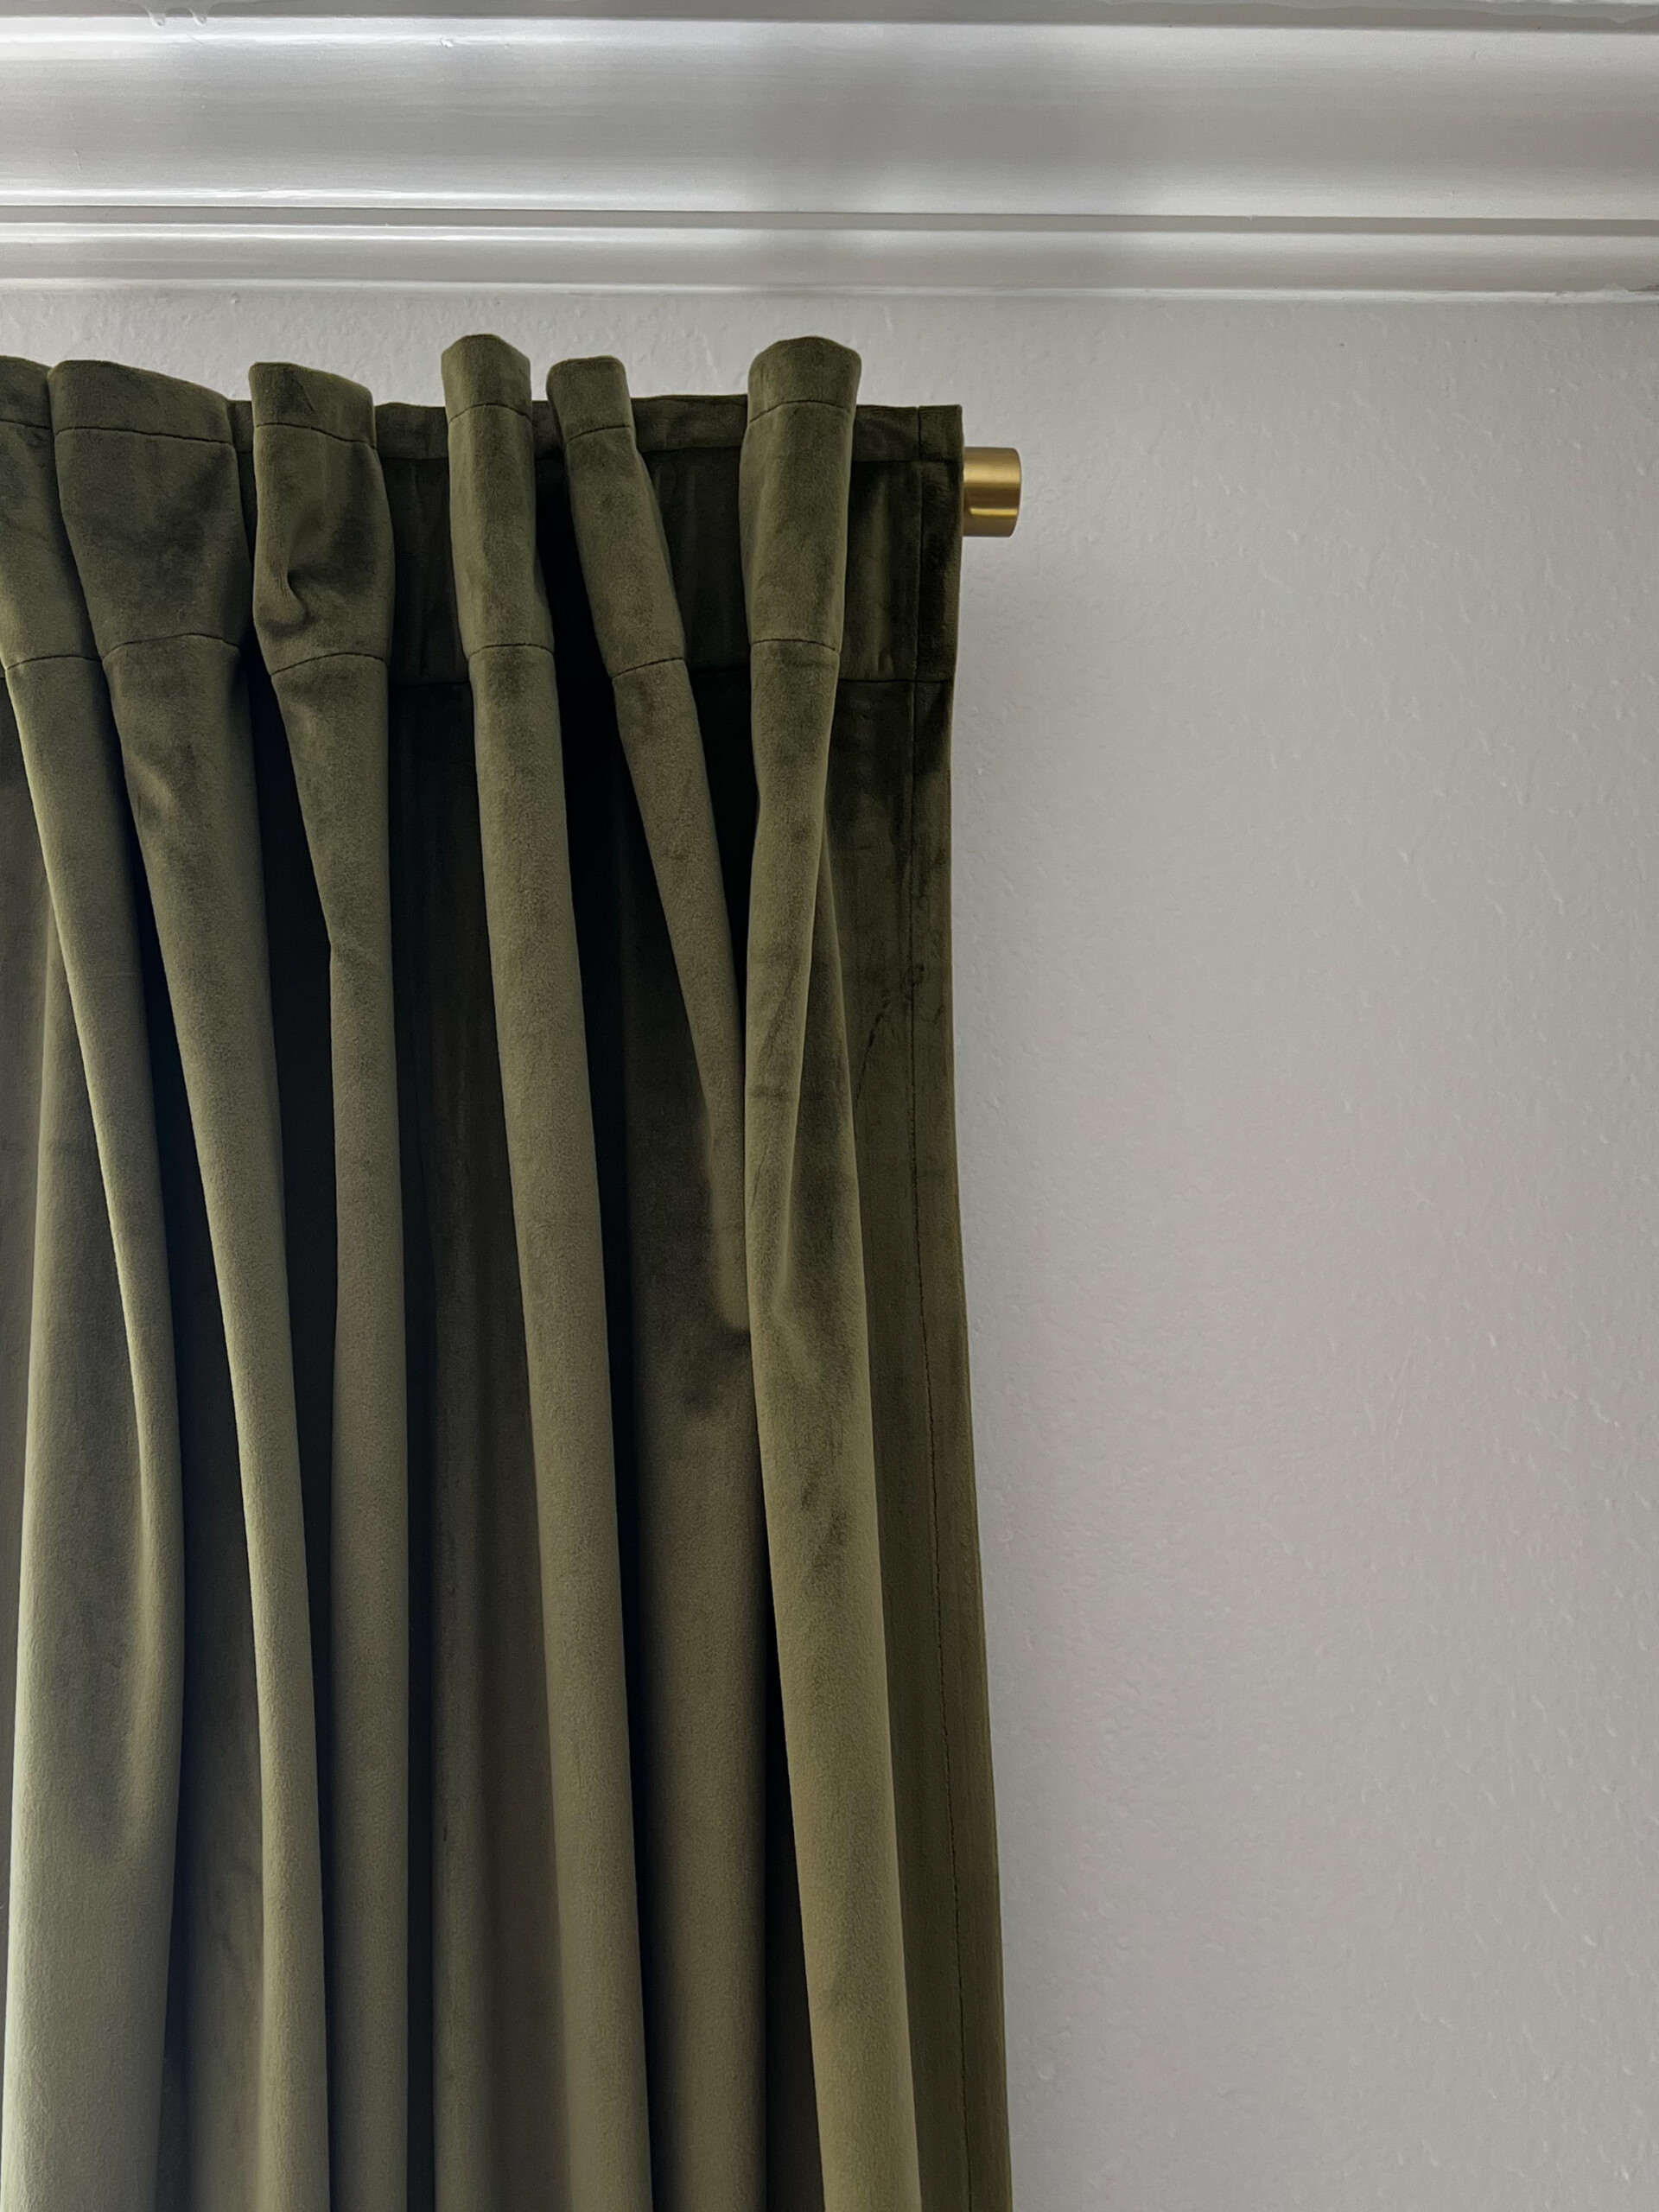
How you hang your curtains affects both style and functionality. Designers choose attachment types based on the room’s aesthetic and how often the curtains need to be opened.
• Rings with Clips: The designer favorite. They create soft, even pleats and make opening and closing curtains easy. Great for both formal and casual spaces.
• Rod Pockets: The curtain slides directly onto the rod via a built-in pocket. This option is more traditional but can be harder to slide open and closed.
Pro tip: Just say no to curtains with grommets. The look is extremely outdated and gives off a cheap aesthetic.
Step 6: Install the Curtain Rod
A beautiful curtain can be ruined by a crooked or poorly placed rod. Designers are obsessive about precise placement, because even a slight slant can make a room feel off-balance.
Installation Steps
1. Measure the window width.
2. Add 16 to 24 inches total (8 to 12 inches per side) to find the ideal rod length.
3. Mark your desired rod height. Ideally 6-12 inches above the window or close to the ceiling.
4. Use a level to check your marks.
5. If there are no wall studs, use wall anchors to prevent sagging.
6. Secure the brackets, then place the rod and hang the curtains.
Pro Tip
• If you’re hanging heavy curtains (like velvet), choose sturdy brackets and thicker rods to avoid bowing.
• Double-check measurements on both sides of the window to avoid uneven hanging.
Step 7: Hang and Style Your Curtains
Once the rod is up and the curtains are hung, don’t stop there! Designers always take an extra few minutes to style the curtains so they drape beautifully.
Styling Tricks
• Steam or iron: Wrinkled curtains instantly look sloppy.
• Create soft pleats: If using rings, take a moment to arrange the fabric into even folds.
• Train the fabric: For stubborn curtains, you can gently fold them into pleats, tie them loosely with ribbon, and let them “set” for a few days.
• Adjust to ensure even pooling: If you’re going for puddled curtains, adjust until both sides match.
Designer Tricks for Gorgeous Curtains
Beyond the basic steps, designers often use these extra tricks to make curtains feel custom:
• Layer with Shades: Adding woven wood shades beneath curtains creates beautiful texture and dimension.
• Choose Statement Rods: Matte black, brass, or antique-inspired rods act like jewelry for your windows.
• Highlight Finials: Decorative rod ends add polish. Think sleek metal or vintage glass.
• Add Tiebacks Sparingly: In modern rooms, designers skip them. In formal rooms, a well-chosen tieback can add elegance.
• Consider Custom Hems: Even store-bought curtains can look high-end if you have them professionally hemmed for a perfect fit.
Common Mistakes to Avoid
• Hanging curtains too low: It makes ceilings look shorter.
• Using panels that are too narrow: They’ll look skimpy.
• Choosing short curtains: Unless you’re working in kitchens/baths.
• Forgetting to steam or iron: Wrinkled curtains ruin the look.
Favorite Curtains & Accessories in My Home

Hanging curtains like a designer isn’t about spending a fortune. It’s about using smart tricks to make your space feel polished and intentional. Whether you’re dressing up a cozy bedroom or styling a living room, these simple changes can totally transform your home.
Ready to give it a try? I’d love to hear how your curtain makeover turns out! Let me know in the comments or tag me on Instagram in your before-and-afters.
xo,
sarah