Have you ever looked at a big, empty wall in your home and thought, “This could use some personality? A gallery wall is the perfect way to add charm, depth, and a little bit of “you” to your space. Whether you’re hanging family photos, vintage artwork, or an eclectic mix of prints and textures, a thoughtfully arranged gallery wall can make your home feel extra special.
But let’s be real, getting that effortlessly curated look takes a little planning. No worries, though! I’ve got you covered with this easy step-by-step guide to help you create a stunning gallery wall without the stress.
Why Should You Create a Gallery Wall?
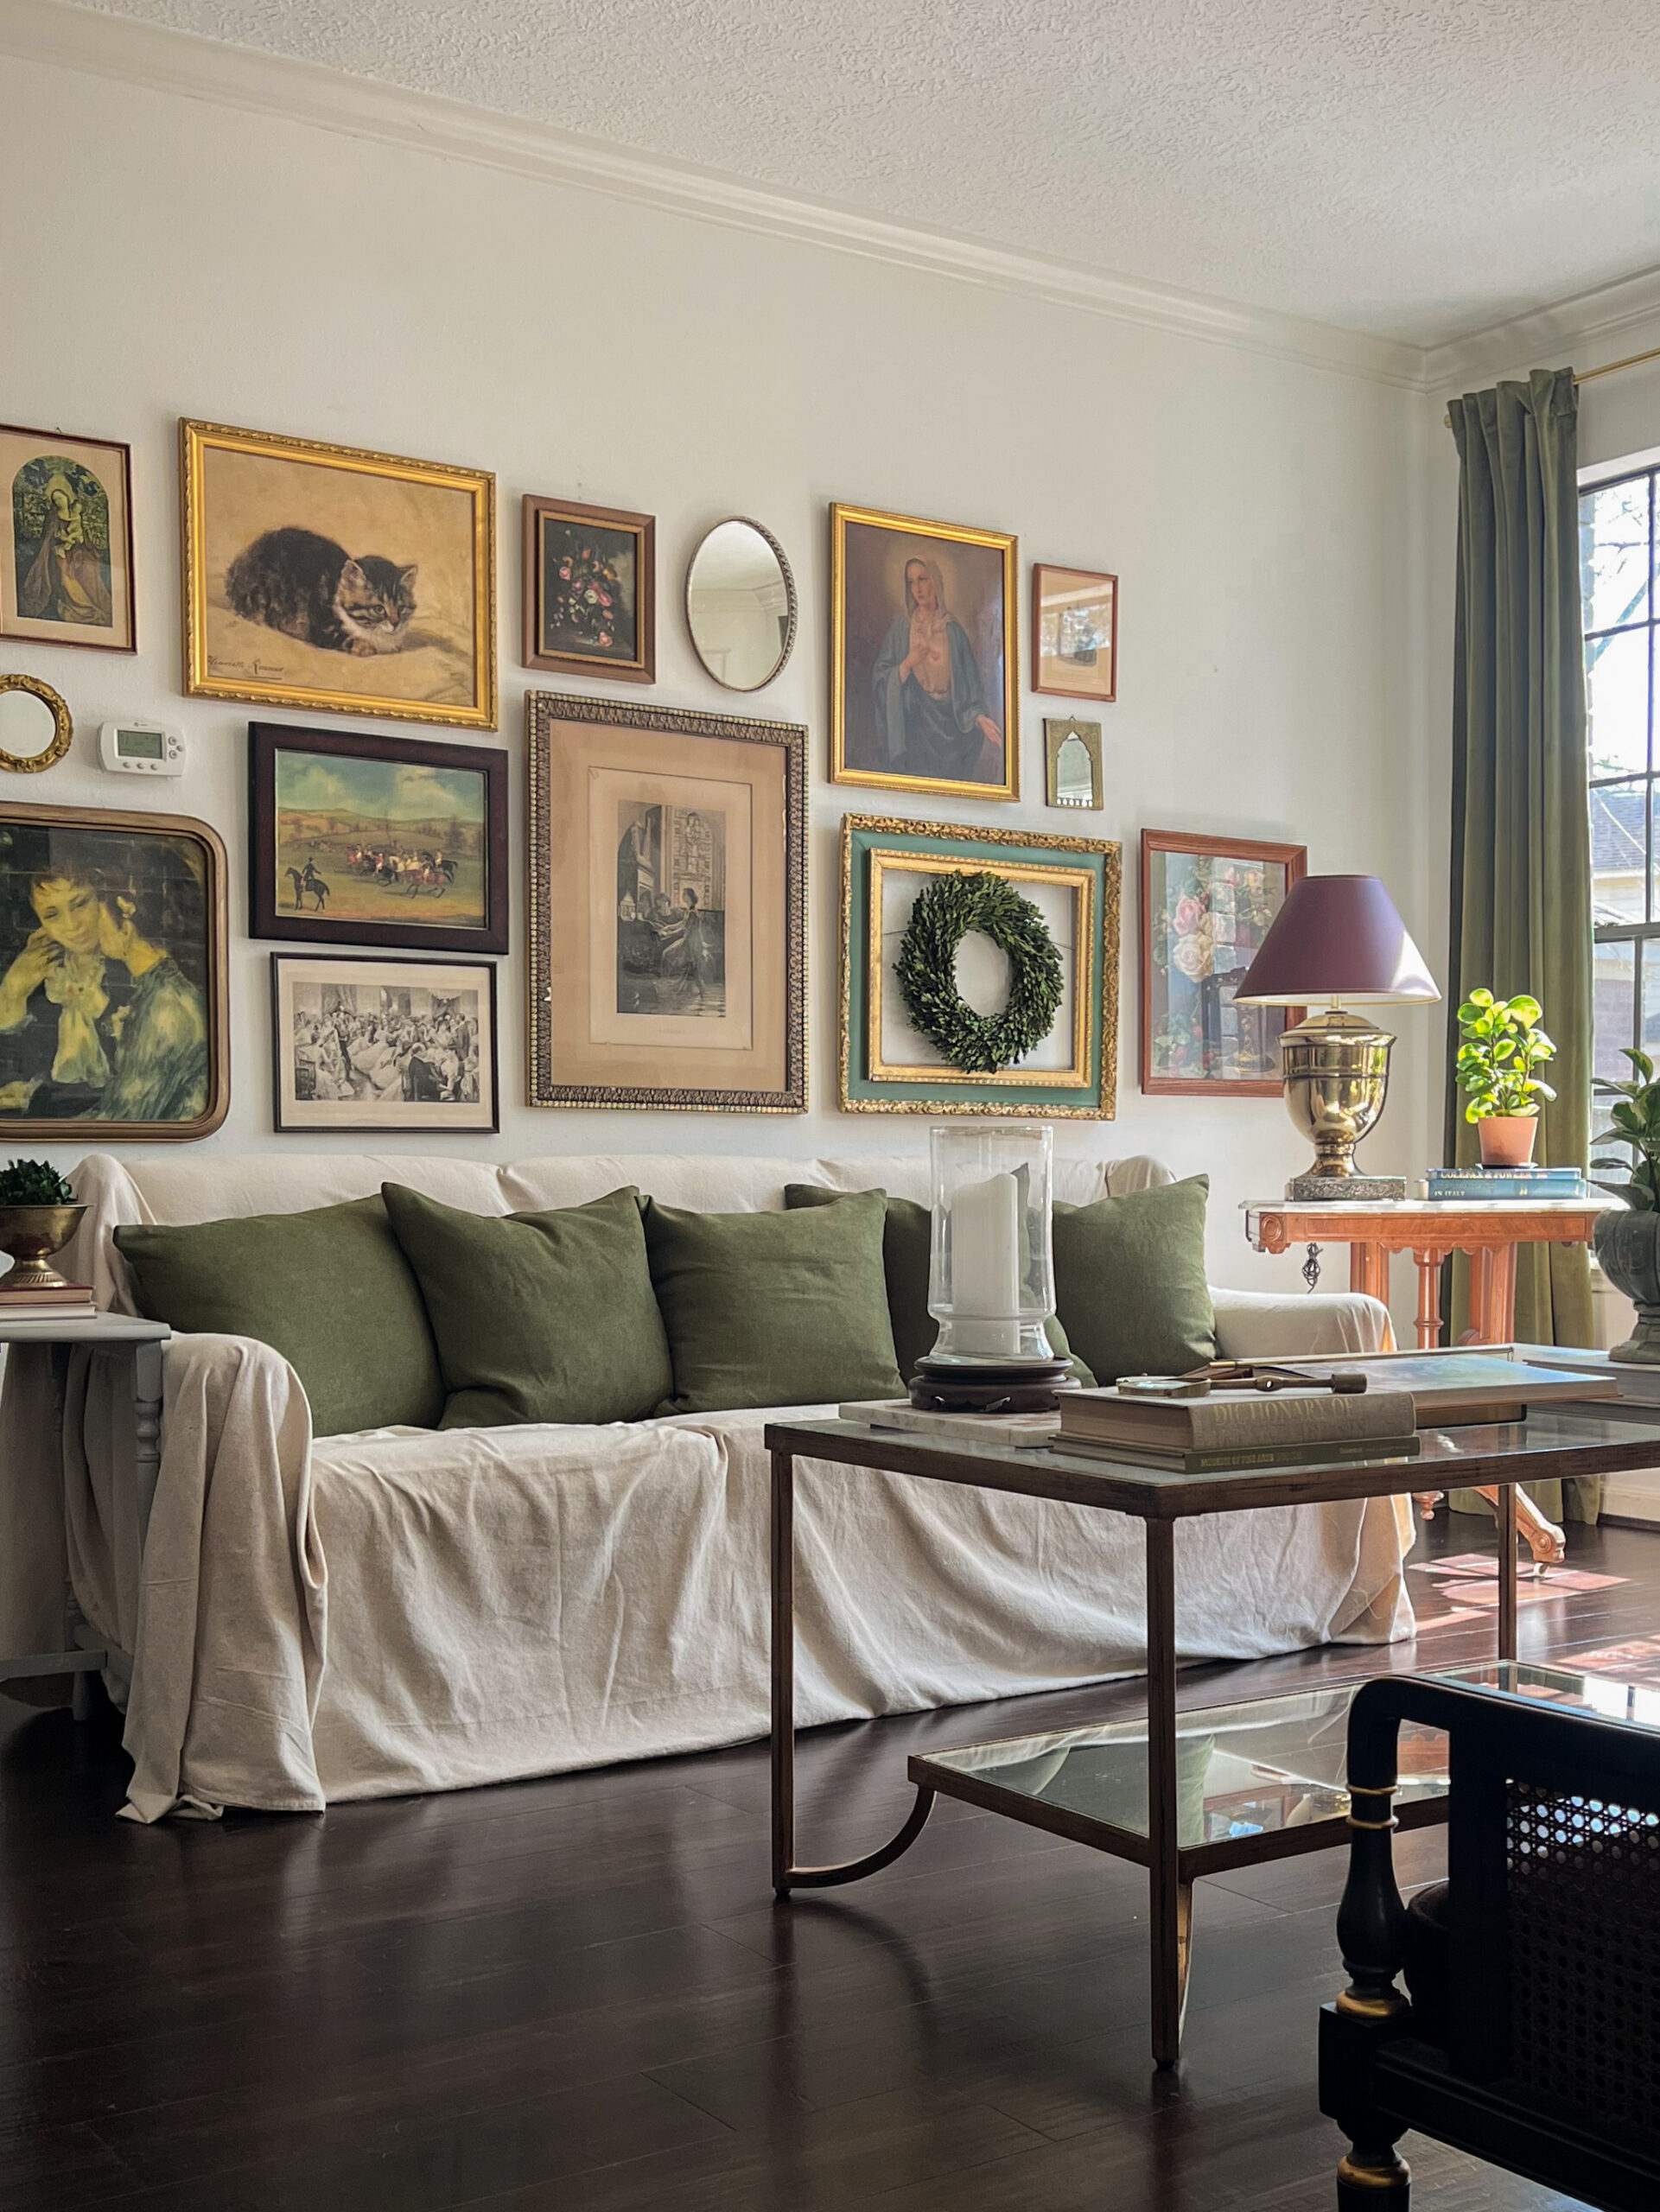
A gallery wall isn’t just a bunch of frames on a wall. It’s a creative expression of your style, memories, and favorite finds. Here’s why you should definitely consider adding one to your home:
• Personal Expression: Display artwork, photos, and décor that reflect your personality.
• Enhances Your Space: Adds character and visual appeal to blank walls.
• Flexible and Customizable: Works in any room and can evolve over time.
• Budget-Friendly: Can be created with affordable prints, thrifted frames, or DIY pieces.
Now, let’s dive into the step-by-step process of bringing your gallery wall to life.
Step 1: Choose the Perfect Location

First things first, where’s this masterpiece going? The right location makes all the difference, so choose a space where your gallery wall can really shine.
Great Spots for a Gallery Wall
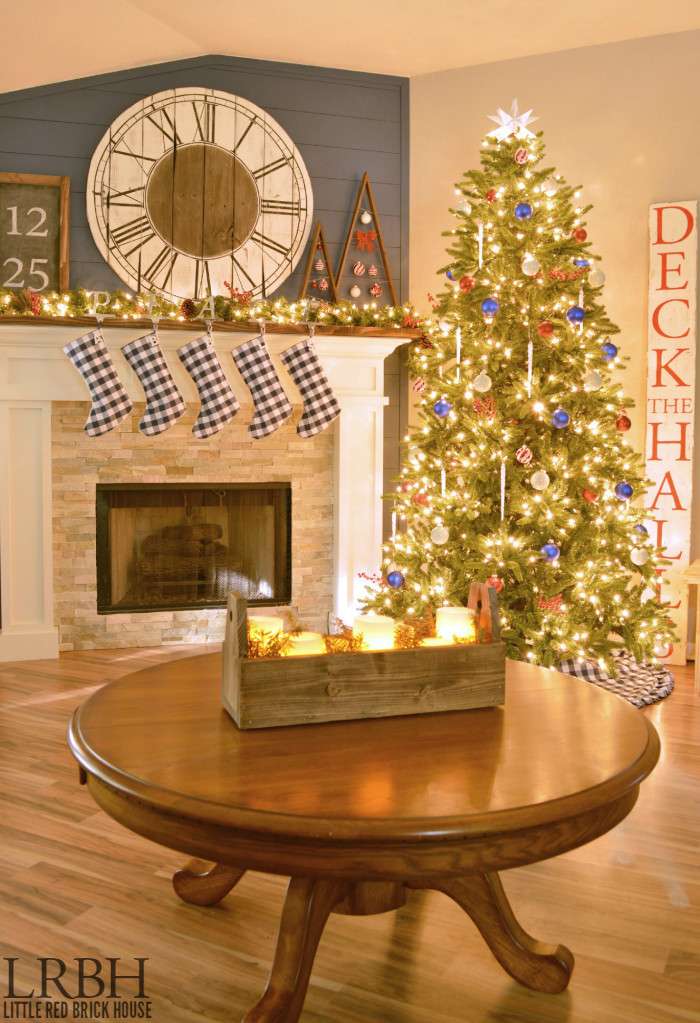
• Living Room: Above a sofa, console table, or fireplace.
• Hallway: A long hallway is ideal for a gallery-style arrangement.
• Staircase: Creates a dynamic flow as you move up or down.
• Bedroom: Above the bed or dresser for added charm.
• Entryway: Makes an immediate statement when guests walk in.
Consider Wall Size and Shape
The dimensions of your wall will influence the number of pieces and how they are arranged. Large walls can handle oversized displays, while smaller or narrow walls require a more compact layout.
Step 2: Define Your Style and Theme

A gallery wall should feel put-together, even if it’s an eclectic mix. Choosing a theme or vibe will help everything look cohesive.
Popular Gallery Wall Styles
• Modern & Minimalist: Clean lines, simple frames, and neutral tones.
• Eclectic & Bohemian: A mix of textures, colors, and frame styles.
• Classic & Traditional: Black-and-white photography, gold frames, and timeless artwork.
• Rustic & Vintage: Distressed wood frames, antique prints, and layered textures.
• Contemporary & Abstract: Bold colors, geometric patterns, and oversized pieces.
Choose an aesthetic that complements your existing décor and personal taste.
Step 3: Select Artwork and Frames

Now for the fun part, picking what goes on your wall! Mix and match different types of artwork and objects to create a display that feels unique to you.
• Art Prints: Abstract, floral, botanical, or geometric designs.
• Personal Photographs: Family portraits or travel snapshots.
• Vintage Finds: Antique paintings, postcards, or handwritten letters.
• Textural Elements: Woven baskets, metal wall décor, or wooden accents.
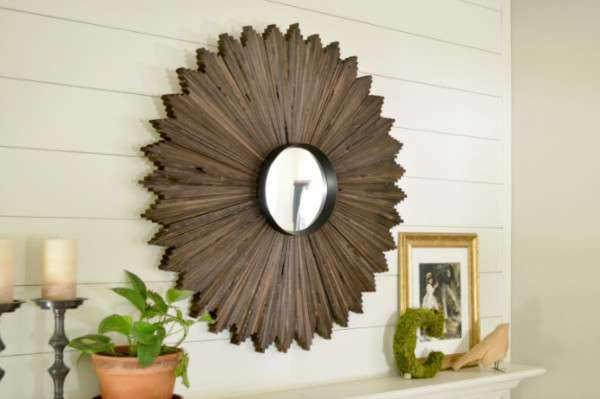
• Mirrors: Adding small or medium-sized mirrors can create depth.
Choosing the Right Frames
Frames can enhance the overall look of your gallery wall. Here’s how to select the best options:
• Matching Frames: Creates a clean, uniform look.
• Mismatched Frames: Adds character and an eclectic feel.
• Neutral Frames: Black, white, or wooden frames work well in most spaces.
• Metal Frames: Gold, brass, or silver frames can add elegance.
If you’re mixing frame styles, try to keep them in the same color family for a cohesive feel.
Step 4: Plan the Layout

Before you grab that hammer, let’s figure out the best way to arrange everything.
Use Paper Templates
Use paper templates! Cut out paper in the shapes of your frames and tape them to the wall with painter’s tape. This lets you test different layouts without making unnecessary holes.
Popular Gallery Wall Layouts
1. Grid Layout:
• Best for uniform frames and a clean, structured look.
• Ideal for modern and minimalist designs.
2. Linear Layout:
• Frames are arranged in a straight horizontal or vertical line.
• Works well in hallways or above furniture.
3. Organic (Freestyle) Layout:
• A mix of different sizes and shapes arranged in a natural flow.
• Perfect for eclectic and vintage-inspired spaces.
4. Central Focal Point Layout:
• One large piece in the center with smaller pieces surrounding it.
• Great if you have a standout artwork or mirror.
Spacing Guidelines
• 2-3 inches between frames for a closely arranged look.
• 4-6 inches between frames for a more open, airy feel.
Step 5: Hang Your Artwork

Once you love your layout, it’s time to get those pieces up on the wall.
Tools You’ll Need:
• Measuring tape
• Level
• Hammer
• Nails or picture-hanging hooks
• Painter’s tape (for marking positions)
• Command strips (for damage-free hanging)
Tips for Hanging Frames
• Start with the largest piece first and build around it.
• Use a level to keep everything straight.
• Step back often to check balance and spacing.
• Use picture-hanging hooks for extra stability.
• Consider renter-friendly options like Command strips or adhesive hooks.
For heavier frames, use wall anchors or screws for extra security.
Step 6: Add Finishing Touches
After hanging your artwork, step back and assess whether any adjustments are needed. Here are some final touches to complete your display:
• Layer in accessories: If your gallery wall is above a console or sofa, add lamps, vases, or books to complement the arrangement.
• Incorporate lighting: Picture lights, wall sconces, or spotlights can highlight your artwork beautifully.
• Update over time: Don’t be afraid to swap out pieces or add new elements as your style evolves.
Frequently Asked Questions
What if I don’t have enough artwork?
Start small! You can always add more over time. You can also download and print free artwork to frame.
Can I mix different frame colors and styles?
Absolutely! Mixing frames adds personality. Just try to stick to a consistent color scheme.
How do I make my gallery wall look cohesive?
Stick to a common theme, color palette, or frame style for a polished look.
Do all frames need to be the same size?
Nope! A mix of sizes adds interest, but uniform frames in a grid layout give a sleek look.
How can I hang a gallery wall without damaging the walls?
Use removable adhesive hooks or Command strips (perfect for renters).
Creating a gallery wall is such a fun way to add personality and charm to your home. With a little planning, the right layout, and some creativity, you can design a display that feels uniquely you.
So, what are you waiting for? Gather your favorite pieces and start creating your dream gallery wall today! And, of course, tag me on Instagram if you share it. I’d love to see what you come up with!
xo,
sarah