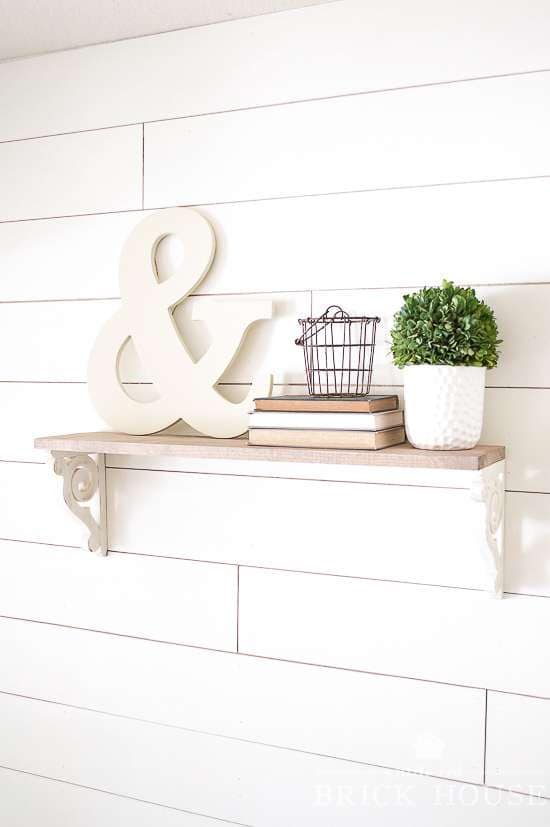
Give your home farmhouse character with DIY shiplap walls!
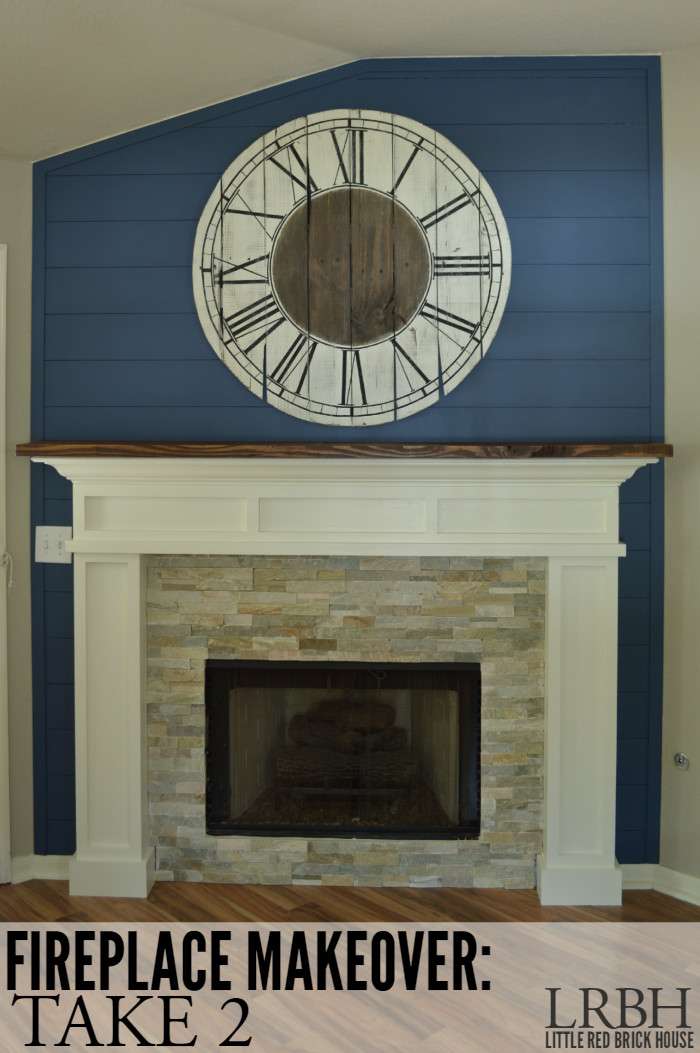
As promised, I’m sharing our DIY shiplap walls in the dining room. I’ve seriously considered putting shiplap in every room of our home. But, alas, I must restrain myself (for now) and settle for just the dining room makeover and the fireplace makeover.
This is by far the easiest way to get the shiplap look other than drawing them on (which is absolutely genius as well and looks amazing in Emily’s bedroom). All it took were a few sheets of plywood, nails, and paint!
Alrighty, are you ready to channel your inner Joanna Gaines?! Then let’s learn how to shiplap those walls! This post contains affiliate links for your convenience. Click here to read my full disclosure policy.
DIY Shiplap Tools & Materials:
- table saw (optional) (your local home improvement store can cut your plywood for you in-store!)
- compound miter saw or miter box
- nail gun
- 2 in. finish nails
- 1/4 inch thick plywood underlayment
- level
- stud finder
- pencil
- measuring tape
- sandpaper
- primer
- paint
- caulk
- popsicle sticks
- 3/4 in. x 3/4 in. quarter round trim (for inside corners)
- 1-1/8 in. outside corner moulding (for outside corners)
- 1/4 in. x 1-1/8 in. x 8 ft. pine lattice moulding (for non 90 degree inside corners, if applicable)
- baseboard of your choice
How to Install DIY Shiplap Walls:
*Note: The terms “strips” and “planks” are used interchangeably throughout this tutorial.
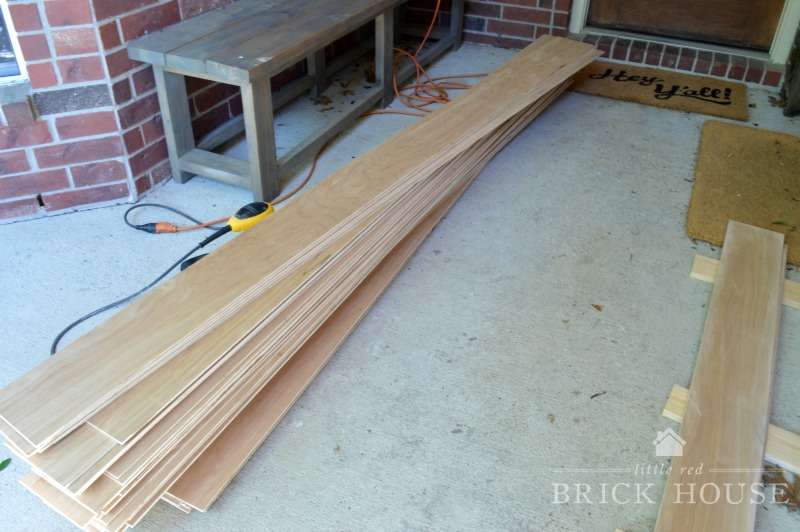
Step 1: Cut Your Shiplap Planks
Rip your plywood into strips on your table saw or have the hardware store rip them for you. We want our strips to be the full length of the plywood, so be sure to cut them accordingly. We ripped ours to be 6 inches wide, and it took seven sheets of plywood to make enough to cover our dining room walls.
Step 2: Sand the Edges
Once you have your strips cut, the edges will probably be really rough and splintery. You’ll want to sand them somewhat smooth with your sandpaper. We had a pretty fresh blade on our saw and the cuts came out mostly clean, so I actually skipped this part. If you choose to skip it, be prepared for some gnarly splinters and wear gloves!
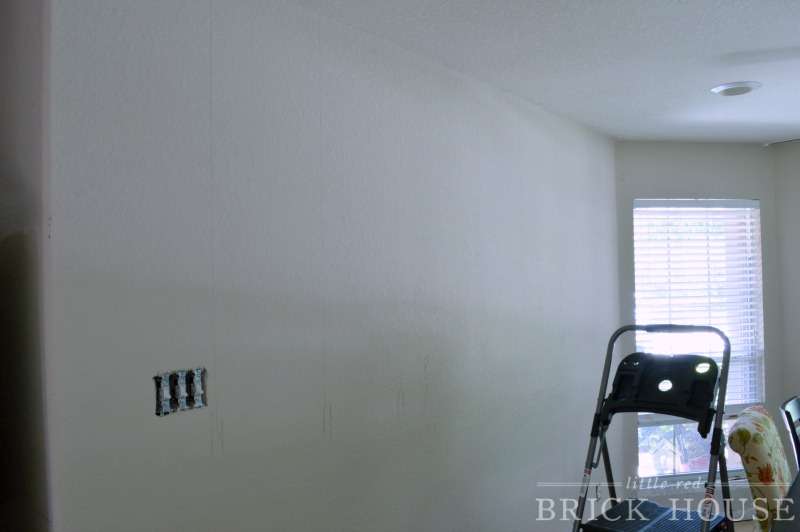
Step 3: Mark the Walls Studs
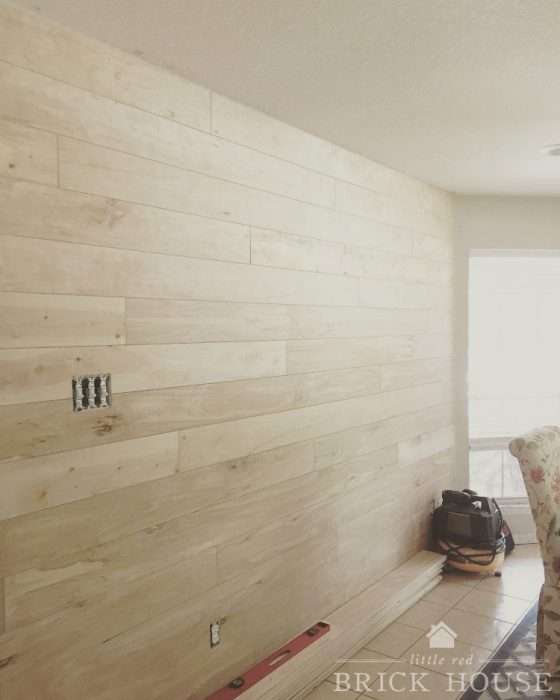
Grab your level, stud finder, and pencil, and mark all of the studs along the walls you will be adding shiplap to. I marked my studs at the top, middle and bottom of the wall and drew a line all the way down the wall, connecting my marks. This makes it really easy to keep track of where to nail. If you look close you can see my lines on the wall in the photo below.
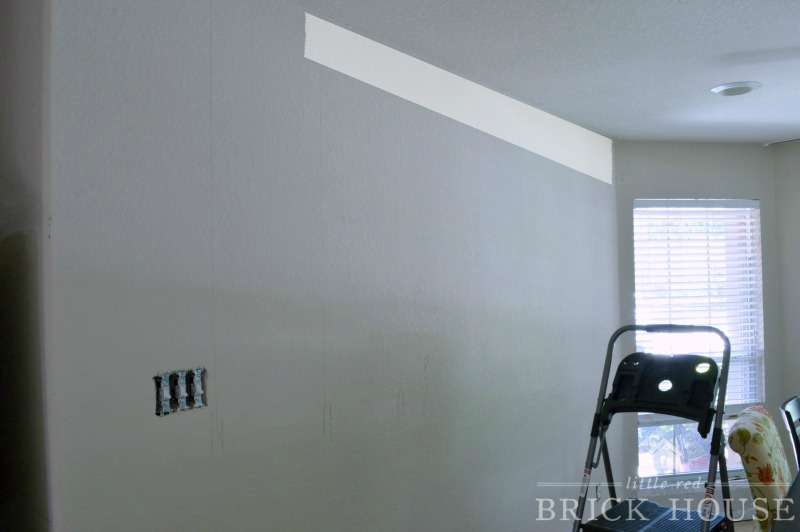
Step 4: Nail the Shiplap Planks to the Wall
Now that your planks are nice and smooth and you’ve found your studs, it’s time to install! Place your first plank on the wall, starting at the ceiling. I guarantee you your ceiling will not be level, so grab your level and position your plank on the wall so it’s good and straight. Find the closest wall stud to you and nail the plank into the stud. *Note: I don’t have a good photo for this step because it took both my husband and I to hold the plank, the level, and the nail gun, so instead you get this badly photoshopped photo with a fake plank inserted. You’re welcome. 😉
If your plank is shorter than the wall you started with, grab your measuring tape and measure how much wall you have left to cover. Cut your next piece from a new plank and nail it to the wall. *Note: We preferred the look of a small gap in between the ends of the planks, so we used popsicle sticks in between each one. You don’t have to leave a gap in between the ends of your planks, though. If you do decide to leave the gap, don’t forget to account for the popsicle stick when you’re measuring for your next plank.
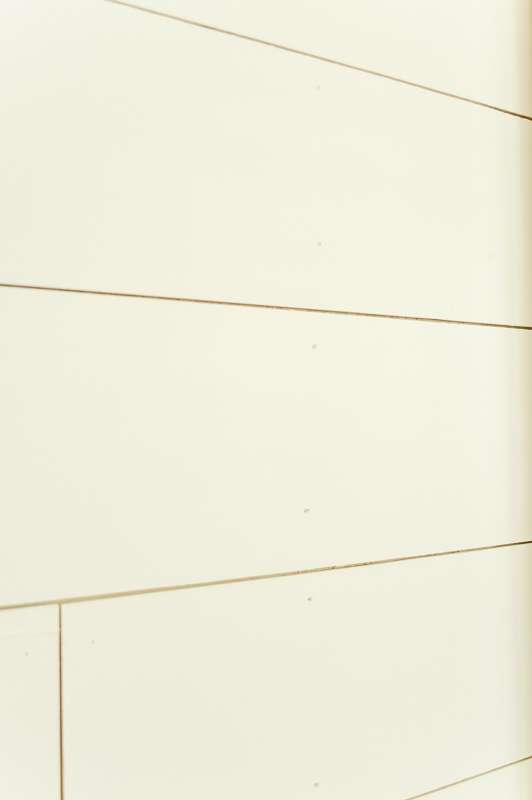
Once that first row is finished, start your next row with the plank from which you just cut. You don’t want to be grabbing a new, full length plank every row you start. You always want to use the remaining piece of the plank you last installed. By using the piece you just cut from, it creates a perfectly staggered pattern. Just like with the vertical seams, we used popsicle sticks to space our planks horizontally. It creates the perfect size gap in between the planks. Just put a popsicle stick up against the last row of planks you nailed up, butt your next plank up to it, and nail it in place.
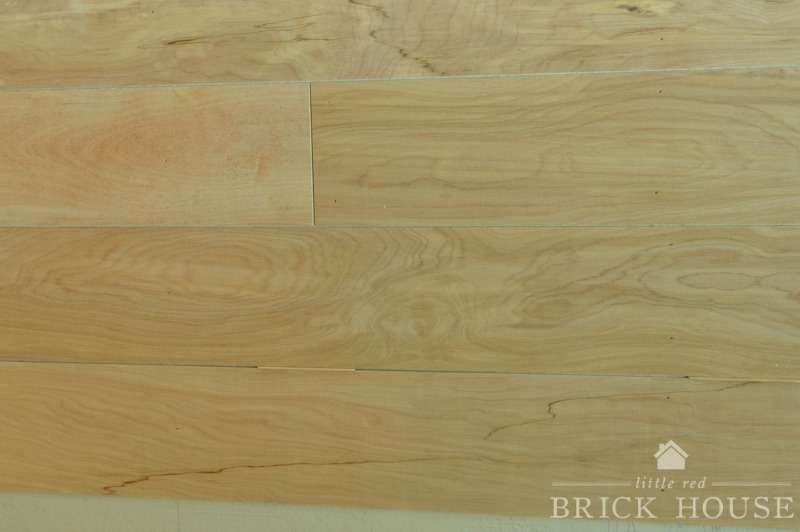
You can really see the staggered seams in the photo below and in even more detail in the photo in the next step.
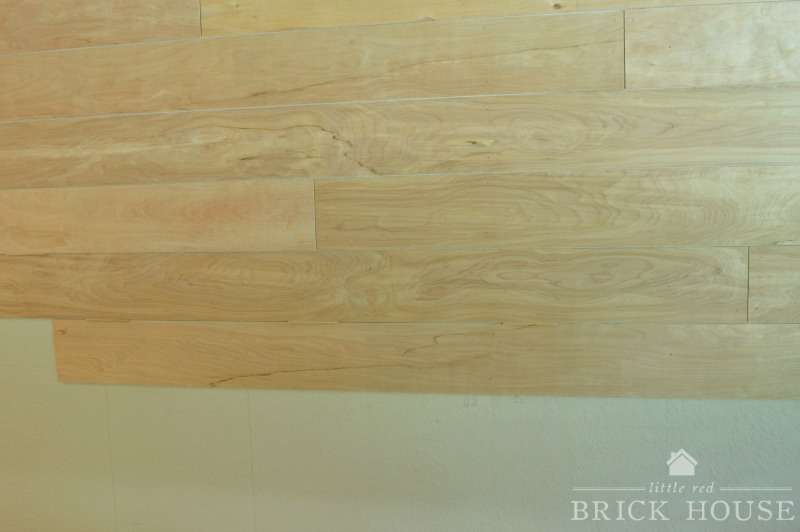
Keep measuring, cutting and nailing your planks to the wall until you reach the bottom. I didn’t bother covering the last 3 to 4 inches of my wall because I knew we’d be adding thick baseboards that would cover the gap.
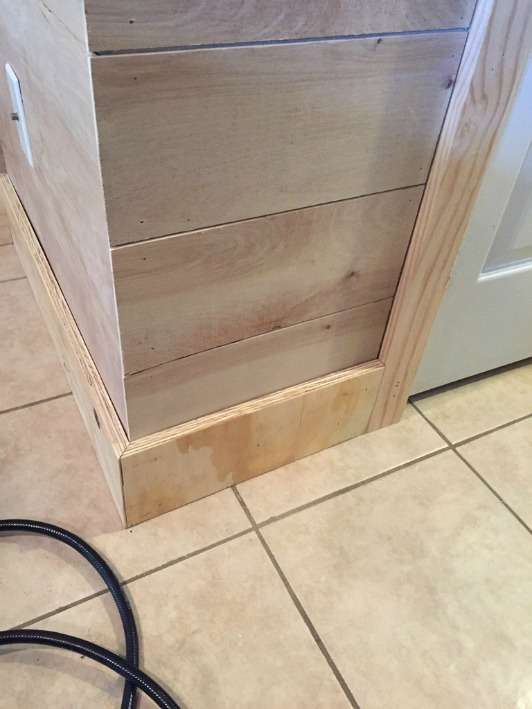
Step 5: Install Baseboards
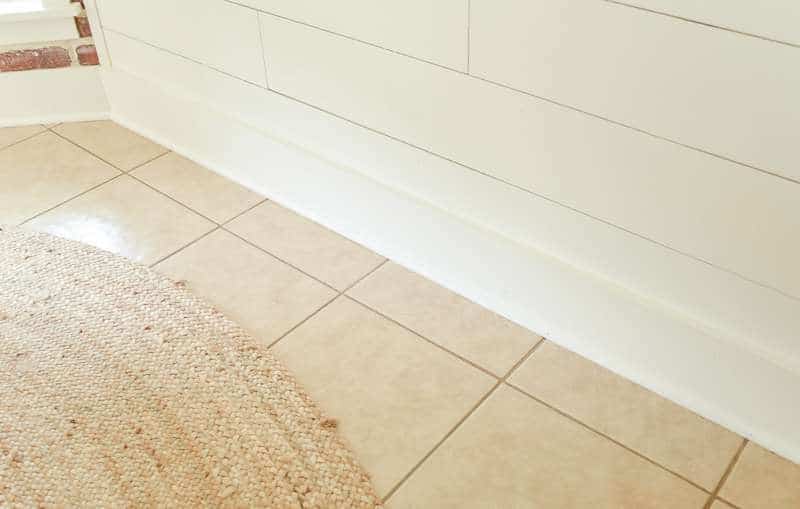
Now would be the time to install your baseboard. For ours, we cut 3/4 in. thick plywood into 5-1/2 in. boards and nailed them in. We finished it off with 3/4 in. base shoe trim. In this photo we still have to install the base shoe trim.
Step 6: Cover the Corner Seams
Now that your walls are covered, it’s time to hide those ugly corner gaps.
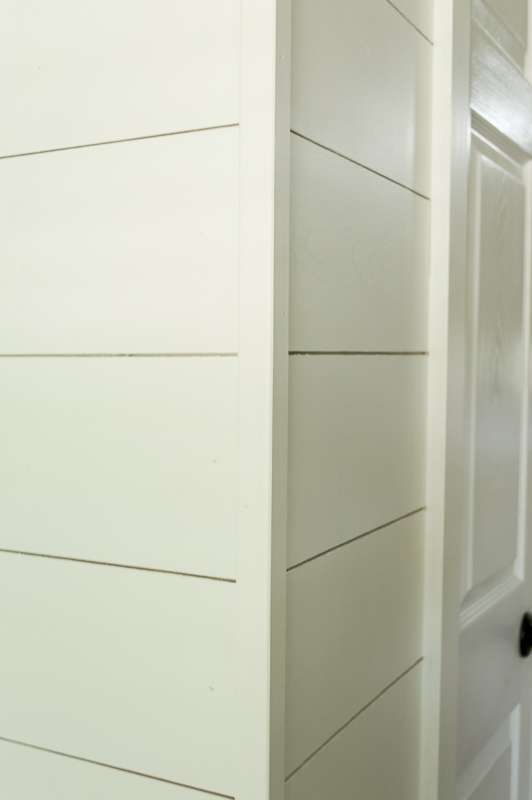
For the outside corners, measure from the ceiling to the top of your baseboard, cut the outside corner moulding piece to that length, and nail it in place.
For the inside (90 degree) corners, measure from the ceiling to the top of your baseboard, cut the quarter round trim to that length, and nail it in place.
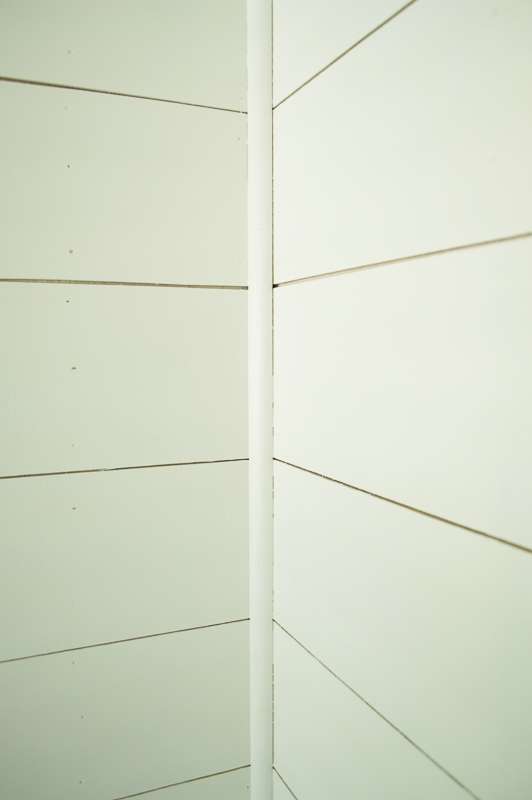
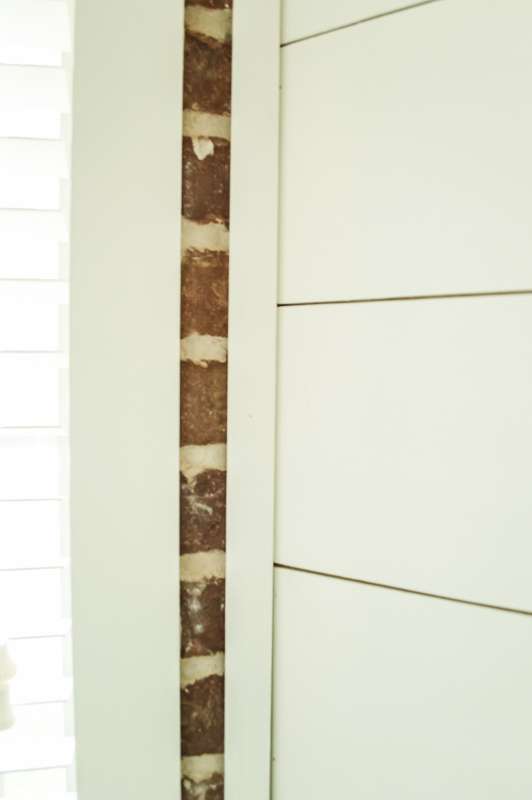
We have a bay window that the shiplap butts up against, and because we were using brick on the other wall, we couldn’t find a piece of quarter round that would fit the angle nicely. To cover that angle we ended up using pine lattice moulding. We just measured from the ceiling to the top of the baseboard, cut the lattice moulding to that length and nailed it in place.
Step 7: Caulk Seams and Fill Nail Holes
Now that your walls and corners are finally covered, it’s time fill any corner seams with caulk. Just add a little along the edges where the planks meet the corner moulding and any other moulding they may come into contact with, like baseboards, window casings and door casings.
You can also fill any nail holes with wood filler and sand it smooth if you want a flawless look to your shiplap. I opted to keep my nail holes and just filled them in with a bit of paint. I like that you can see the character of the holes, but they don’t look like a bunch of odd black holes all over the shiplap. Here’s a close up.
Step 8: Paint Your Shiplap
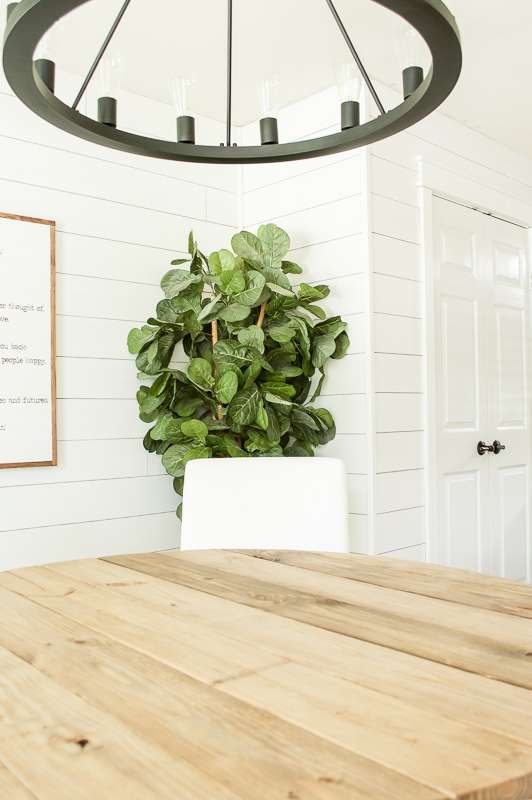
Finally, it’s finally time for primer and paint! I painted on one coat of primer and when that was dry, I started with my paint. My kitchen cabinets and all of the trim in my home are painted with my favorite white of all time, Alabaster from Sherwin-Williams. I gave the shiplap two coats of paint, letting it dry about 3 minutes between each coat.
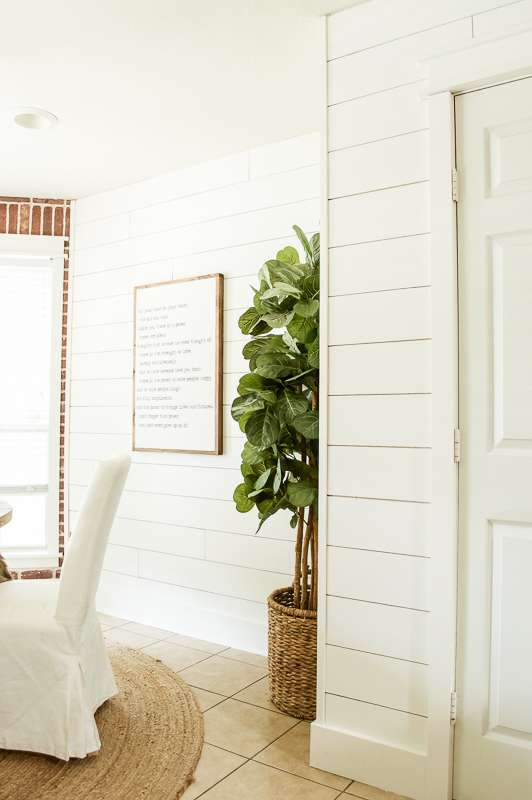
And here it is all finished!
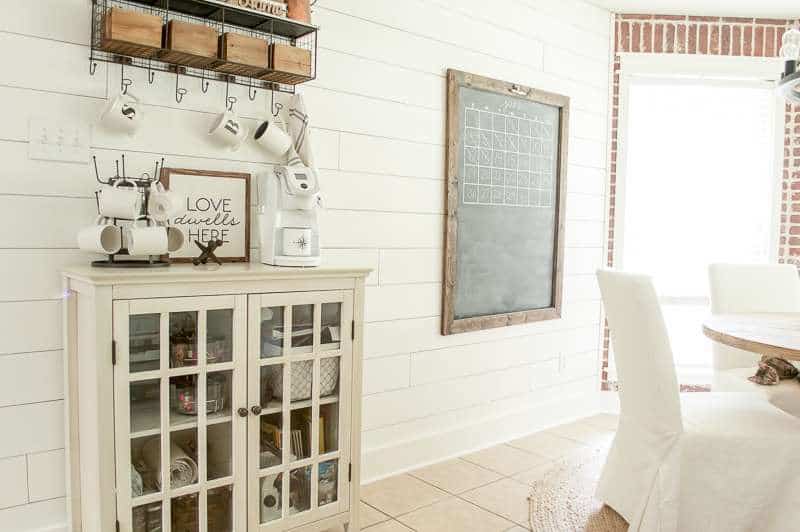
And here’s a closeup of the baseboards.
Isn’t it just beautiful?! I’m completely smitten. Are you inspired to tackle your own DIY shiplap walls? Be sure to check out the rest of the finished dining room makeover here!
xo,
sarah
DIY Shiplap Walls
Materials
- 1/4 inch thick plywood underlayment
- 3/4 in. x 3/4 in. quarter round trim (for inside corners)
- 1-1/8 in. outside corner moulding (for outside corners)
- 1/4 in. x 1-1/8 in. x 8 ft. pine lattice moulding (for non 90 degree inside corners, if applicable)
- baseboard of your choice (we used plywood)
- sandpaper
- popsicle sticks
- 2 in. finish nails
- primer
- paint
- caulk
Tools
- table saw (optional) (your local home improvement store can cut your plywood for you in-store!)
- compound miter saw or miter box
- nail gun
- stud finder
- sander
- level
- measuring tape
- pencil
Instructions
- Rip your plywood into strips on your table saw or have the hardware store rip them for you. We ripped ours to be 6 inches wide, and it took seven sheets of plywood to make enough to cover our dining room walls.
- Sand the edges of the cut planks.
- Mark the studs on your wall.
- Starting at the ceiling, use your level to make sure your first plank is level, and then nail the plank into the wall where you marked the studs. Cut your next piece from a new plank and nail it to the wall next to the plank you just nailed in. Keep measuring, cutting and nailing your planks to the wall in this staggered formation until you reach the bottom
- Install the baseboards.
- Cover the outside corner seams with outside corner moulding. Cover the inside corners with inside corner moulding.
- Caulk the seams where the shiplap meets the baseboard and window trim with caulk. Fill all nail holes with wood putty and sand smooth.
- Prime and paint the shiplap.