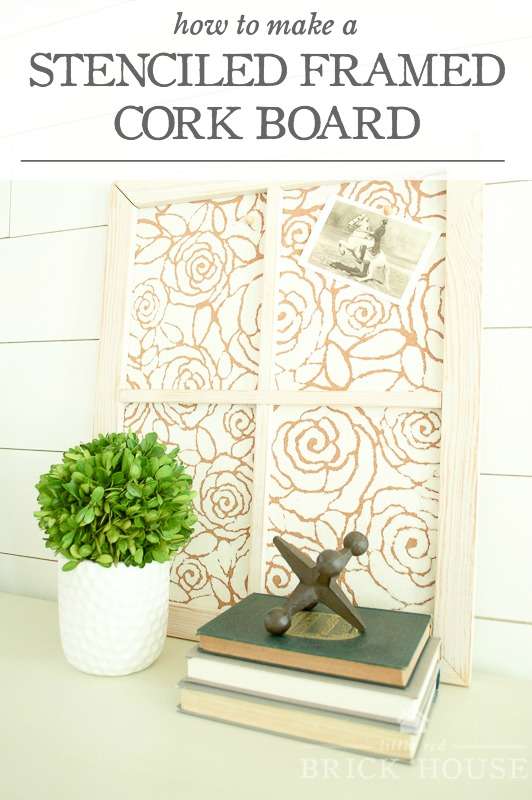
Stay organized with a pretty stenciled framed cork memo board!
It’s a new month. It’s the second Wednesday of said new month. That means it’s time for another Monthly DIY Challenge! I sat out last month due to finishing up all of the madness of the One Room Challenge, but I’m back this month, I’m ready to roll and I can’t wait to share my new stenciled framed cork board with you!
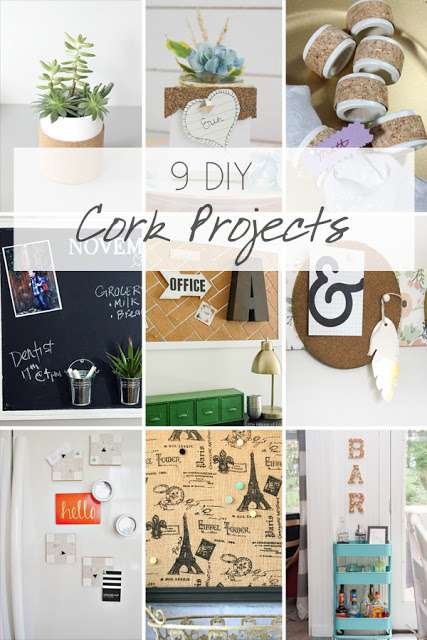
If you’re new to the Monthly DIY Challenge, it’s a little event that my best blogging buddies and I put on, on the second Wednesday of every month. We choose an item or theme and each of us put our own spin on it. For June we are teaming up with Royal Design Studio and creating something with their beautiful stencils.
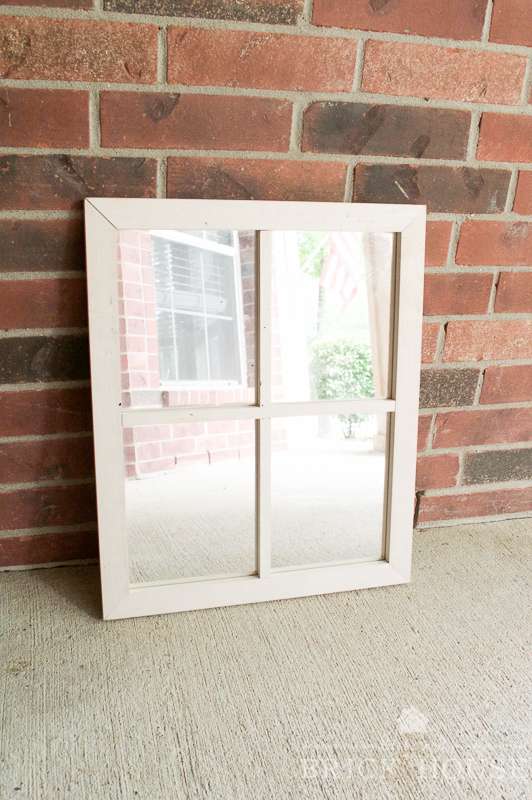
For my project I chose to stencil over a piece of cork board and frame it with a window frame that used to be a mirror. I am so thrilled with out it turned out. This stencil is absolutely gorgeous and I can’t wait to use it again on something large scale. Let me show you how I made it! This post contains affiliate links for your convenience. Click here to read my full disclosure policy.
Tools & Materials Needed:
- Piece of cork sheeting or part of an old cork board
- Stencil (I used the Rockin’ Roses Damask wall stencil from Royal Design Studio)
- Chalk paint in your choice of color
- Utility knife to cut the cork board
- Painter’s tape
- Stippling brush
- Picture frame
How to Make a Stenciled Framed Cork Board:
First, I took the cardboard backing off the mirror. It had been glued on with what looked like hot glue, so I used a utility knife to score the glue and separate it from the frame.
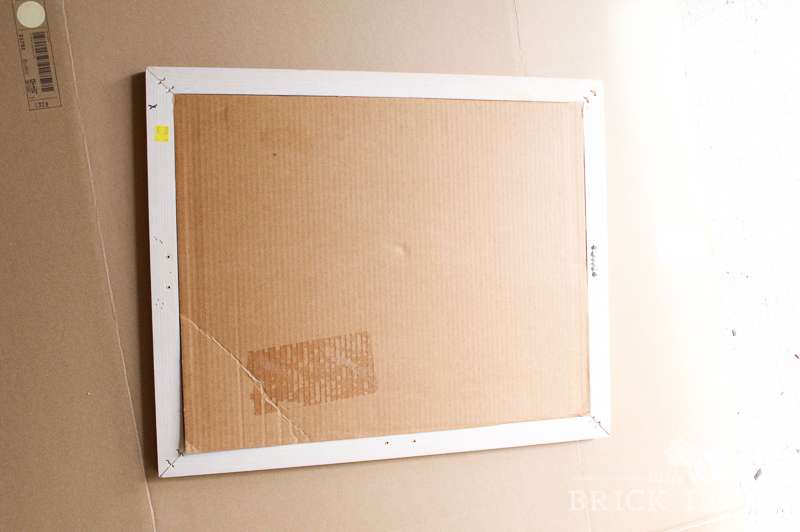
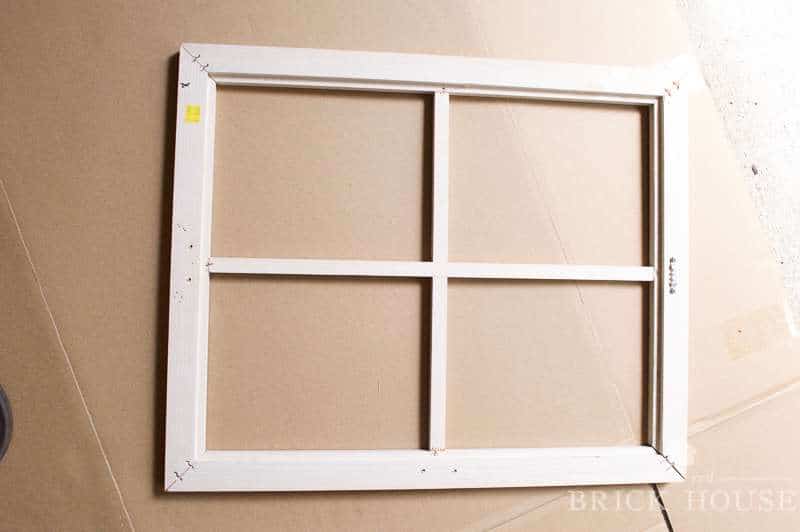
Next, I placed the cardboard backing from the old mirror onto the piece of cork board, traced the shape and cut it out.

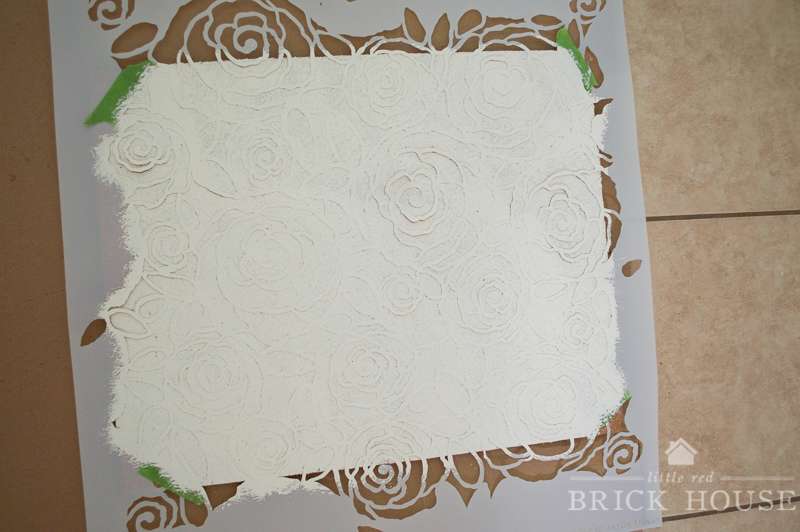
Then, I placed my stencil over the cork board and taped it at each corner with painter’s tape so it wouldn’t move around while I was painting.

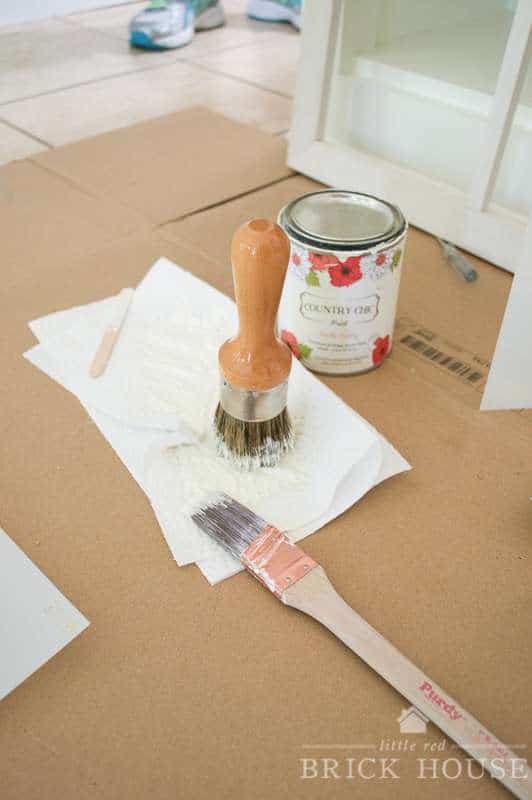
After that it was time to paint! I used a stippling brush to apply my paint. The easiest way to do this is to dip the brush straight into the paint, just until the tip is covered, then, brush any excess off onto a paper towel. You don’t want your brush to be globbed with paint, just enough to wet the bristles without over saturating them.
Gently dot the paint onto the stencil with the brush. There was a little bit of beedthrough under the stencil but I’m thinking it’s because of the porous nature of the cork. It was minimal and the stencil design still showed up nicely, so I am pleased with the turnout.
After the paint fully dried (about 20 minutes) I popped the cork board into the frame. I didn’t bother using any glue since my cork board was such a tight fit, it didn’t feel like it was going to budge.
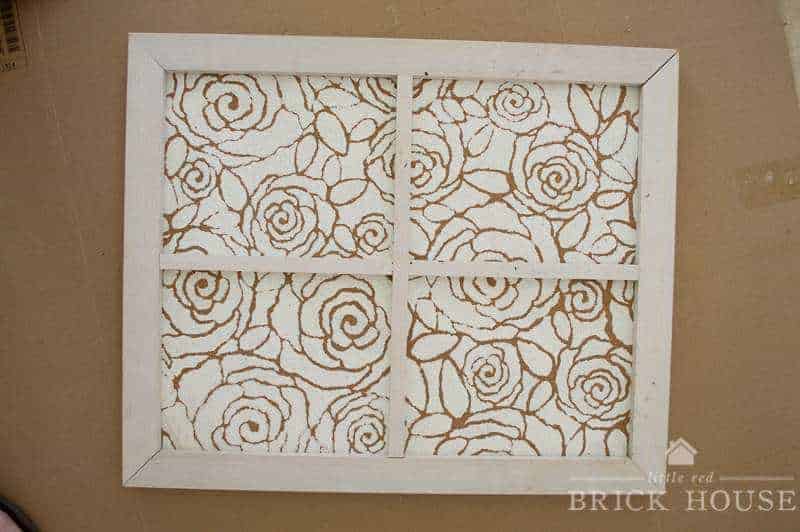
To make it look a bit more distressed, I decided to sand the frame a little. I think it looks so pretty.
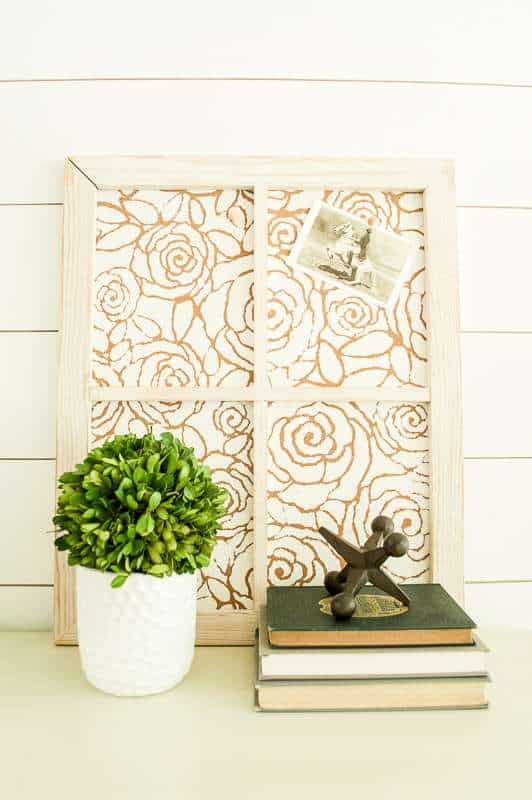
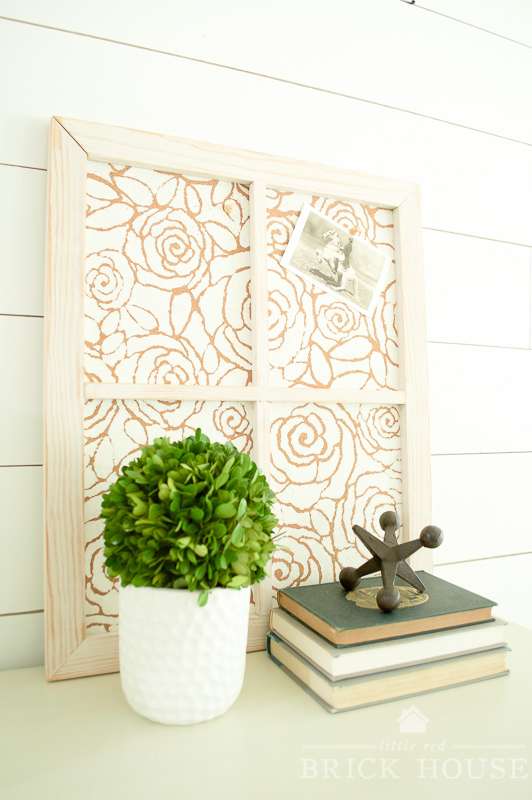


I love how it all turned out! What do you think? If you love it, be sure to pin it so you can find it again. Check out all of the gorgeous stencil projects from the other girls. They really rocked it this month!
xo,
sarah