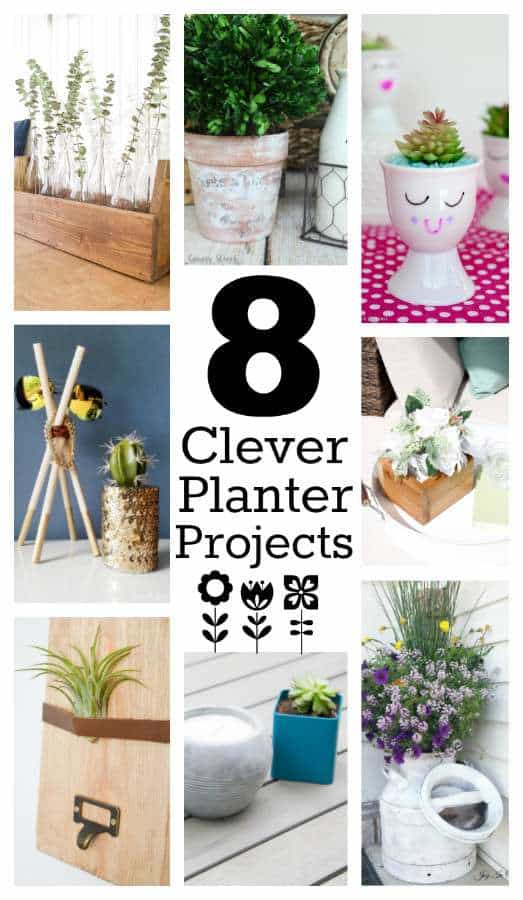
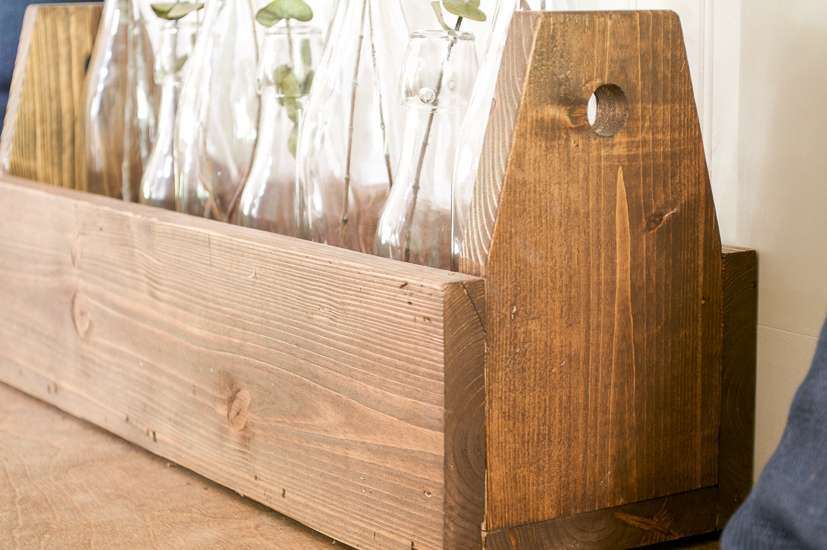
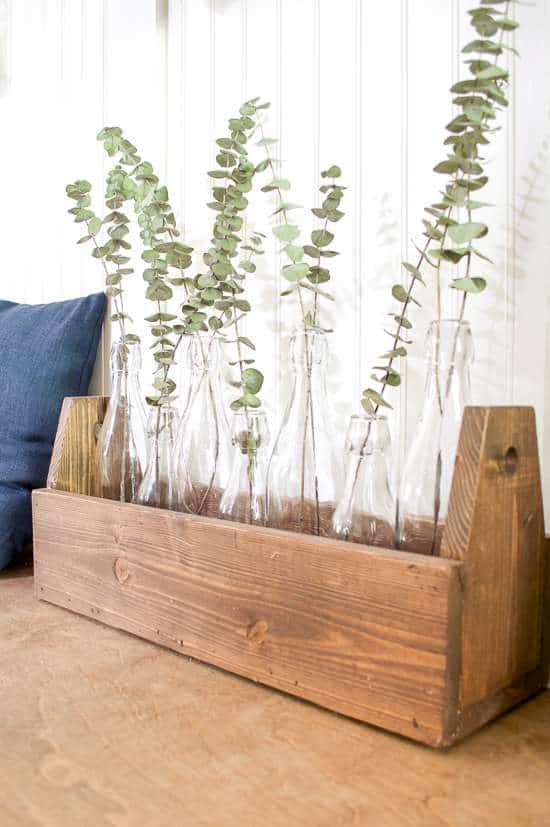
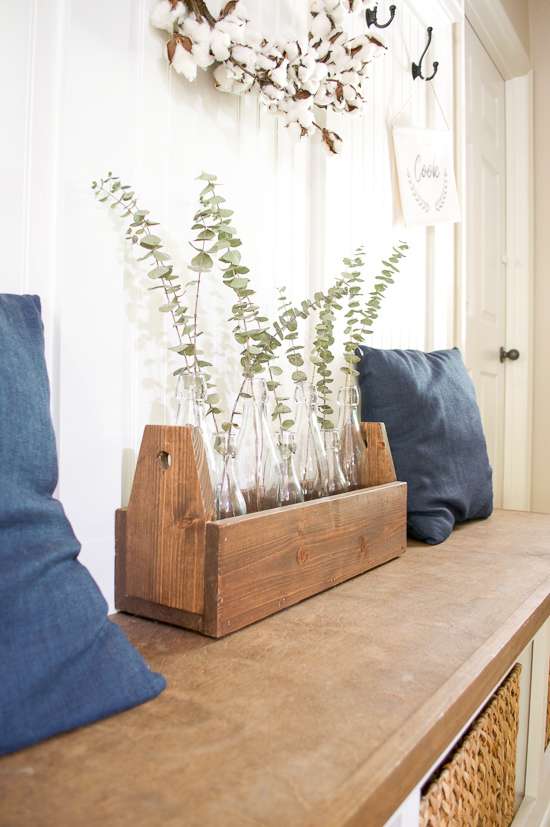
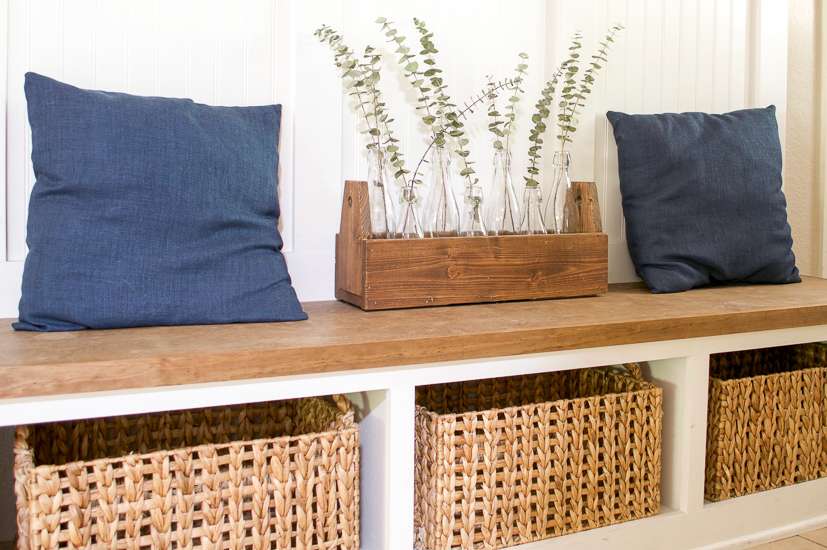
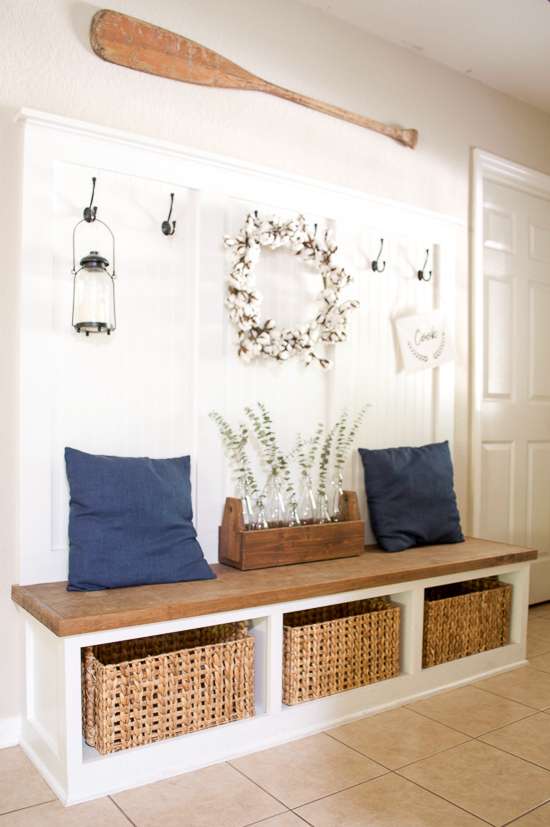
A wooden carpenter’s toolbox is super versatile for home decor! Build your own using this super simple DIY planter tutorial.
Hey, friends! It’s Monthly DIY Challenge time again! If you’re new to the challenge you can read all about it and browse previous month’s projects here. Our theme for May is: flower pots/planters. For this challenge I decided to turn my carpenter’s toolbox into a DIY planter. I’ve seen similar things at home decor stores, but you can make it for way less at home!
This post contains affiliate links for your convenience. Click here to read my full disclosure policy.
Tools & Materials:
- 1×6 board
- miter saw
- nail gun and nails
- wood stain
- 3/4 spade bit
- drill
- assorted glass bottles (you can use old wine bottles or mason jars)
- stems of your choice (I used eucalyptus but flowers would be beautiful too)
How to Build a Carpenter’s Toolbox for a DIY Planter:
First, I cut my pieces to what size I wanted my toolbox to be. For my box, the length is 2 feet long and the sides are 8 inches tall. I cut the corners of the end pieces at an angle and used the spade bit to drill holes in each one.
Then, I nailed all of the pieces together and stained it using my favorite wood stain, Minwax Special Walnut. After the stain was dry, I placed glass bottles inside and filled each one with a couple eucalyptus stems I bought from Trader Joe’s.
I love that it can be switched up each season. You could fill it with little potted flowers or other plants too! I’ve even used mason jars that I filled with fresh cut flowers. It’s super versatile.

Don’t miss any of the planter projects from the rest of the Monthly DIY Challenge group. Check them all out below.
xo,
sarah