It’s Monthly DIY Challenge time! I am super stoked to bring you this project, especially after missing last month’s wood slice challenge. I really wanted to think outside the box this time and I think I succeeded in doing so! Don’t forget to visit the other lovely girls participating. They have tons of amazing creations that I know you’re going to love. There’s a link to each of them at the end of the post.
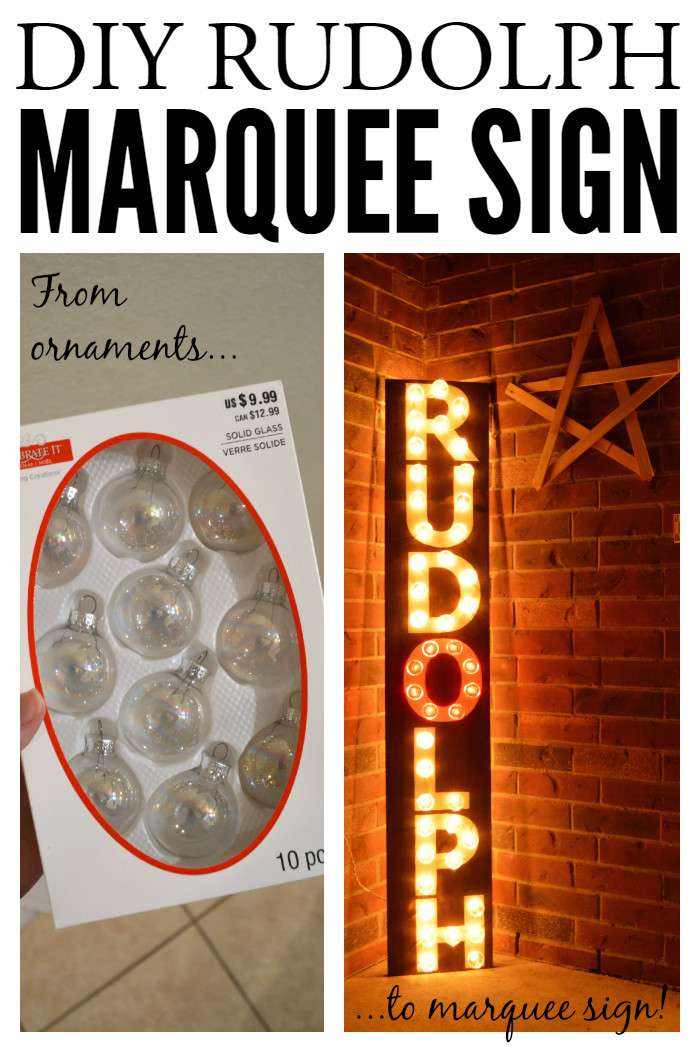
This month’s challenge item is clear ornament bulbs. After a massive brainstorming session one afternoon, I decided to make a DIY Rudolph marquee sign. I have seen so many renditions of marquees around the blogosphere but none made from ornaments! I’ve wanted to make one for the longest time and I’m so glad that the stars aligned for this project.

Materials:
- Mini clear glass ornament bulbs (Got mine from Michaels)
- 1×12 wood board @ 6′
- Wood stain (I used Dark Walnut from Rustoleum)
- White Christmas string lights
- Red Christmas string lights
- White paint (I used Americana Decor Chalky Finish Paint in Lace)
- Glue gun
- Duct tape
- Drill and large drill bit
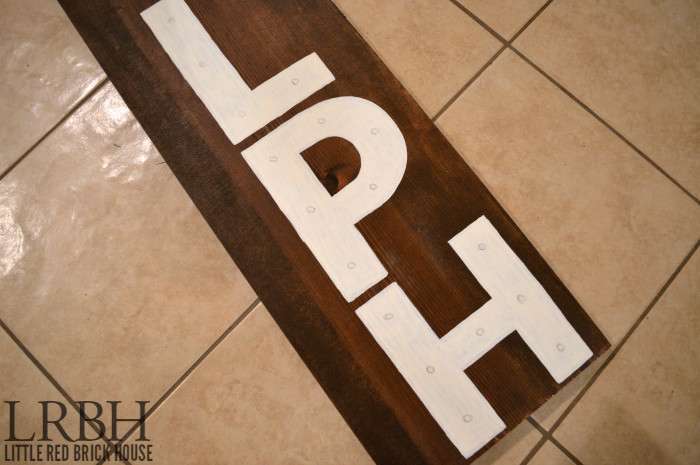
I stained my board and while it was drying I printed out my letter template. The font is Tahoma, bolded. I rubbed a piece of chalk over the back of the printout and then placed it on the board, chalk side down, and traced each letter. Then I just filled in the outline with my white paint. It took about 3 coats to get the white even.
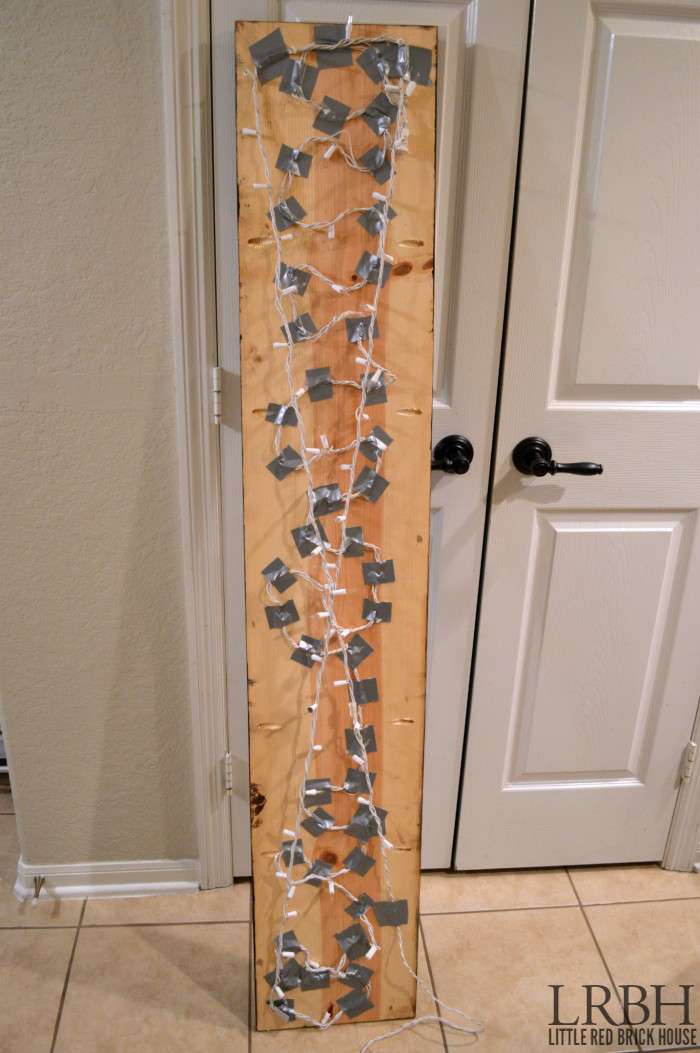
 After that was dry, I set my bulbs up on the letters to plan out the spacing. I marked the spots with a pencil and then drilled my holes all the way through the board. My drill bit is a butthole and decided to gnaw up the wood instead of making clean holes but I just repainted over the splintered parts and you really can’t see anything once the bulbs are put in place. So, if that happens to you, resist the urge to throw your drill across the room and know that all will be okay.
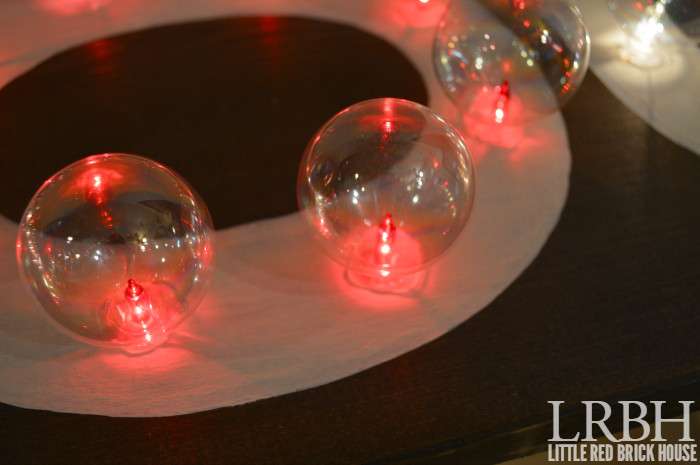
Next, I grabbed my string of white lights and popped a light into each hole. I taped the string to the board with duct tape to keep the string in place and to keep the lights from popping back out.
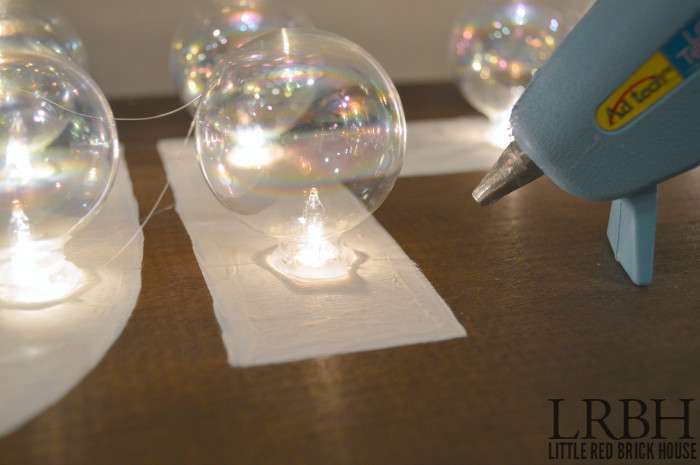
I wanted to stick the opening of the ornaments into the holes I drilled but I didn’t have a large enough drill bit on hand. Not to worry, though. I just hot glued the bulbs in place. I applied a generous amount of hot glue around the opening of each ornament and then quickly put it in place on the board, holding it steady for about 30 seconds until it dried completely. I was worried about the lights melting the glue but they don’t get nearly hot enough and I haven’t had any trouble with the bulbs falling off.
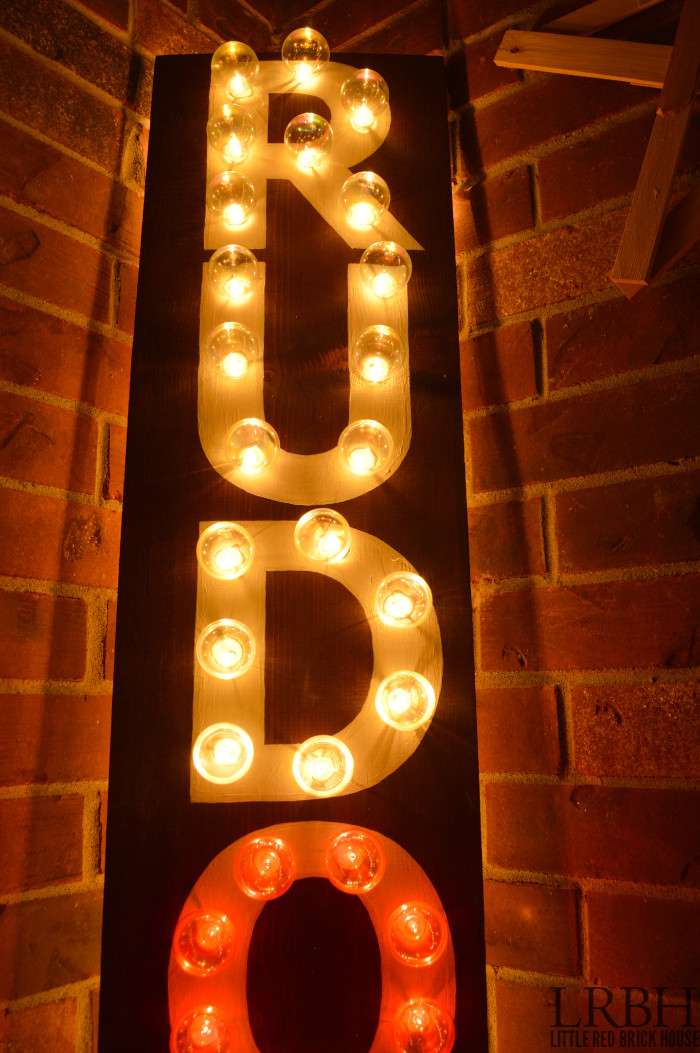
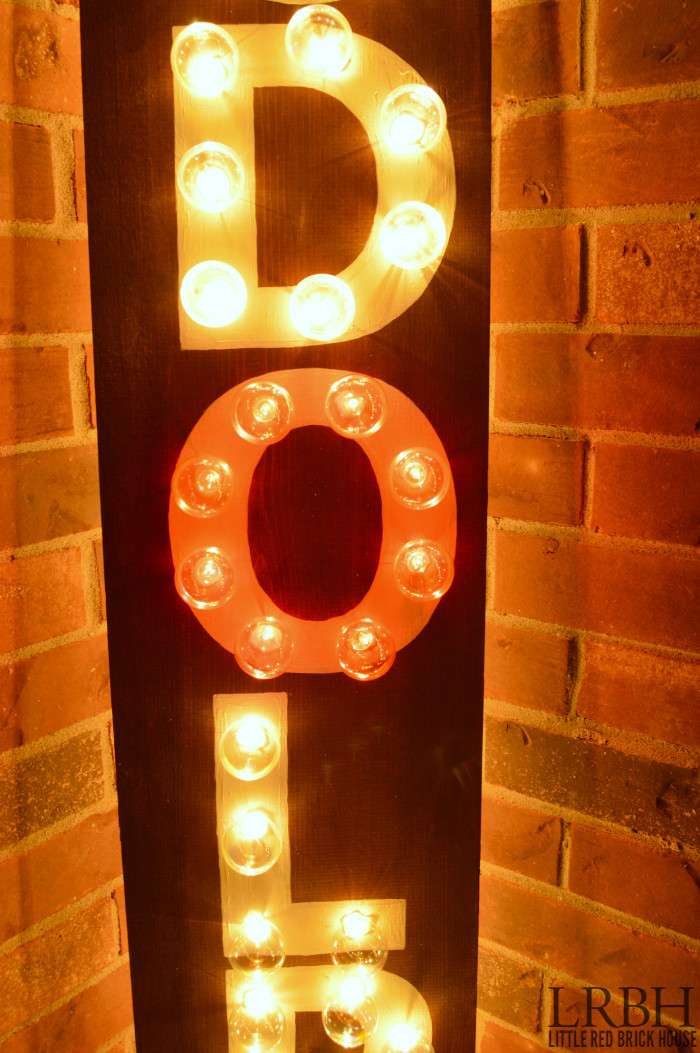
I replaced the white lights of the ‘O’ with red lights because it’s just not Rudolph with out that shiny red nose.
All done! I think this was definitely one of the coolest projects I’ve made.
You can check out all of the other girl’s awesome projects by clicking on each of the pictures below.

I heart, heart, heart this Rudolph sign! Thank you for linking up to On Display Thursday!
Thank you so much, Carmody!
Thank you thank you thank you for showing the back to this project! I have seen several DIY marquee tutorials but none with true honest pictures. Great post! Makes me want to create my own right now! Haha
You are so welcome! Duct tape definitely isn’t the prettiest but it got the job done, LOL. Thank you for stopping by! 🙂
I just love this! I included it in a round up of DIY gift ideas…Hope you had a wonderful holiday and a great New Year! Thanks for linking up at Totally Terrific Tuesday!
Jess
Thank you very much, Jess! I will definitely check it out. Happy New Year to you, too!
When it comes to marquee signs, I’m definitely a fan!
And this one is so clever with the red ‘nose’! Cute 🙂
xx
Thank you so much, Mila! You are so kind!
This is so fun! What an awesome idea. Thanks for sharing on Take A Look Tuesday!!
Thank you so much, Courtney!
I love this look! It would be great to make one to keep up all year round! Thanks for sharing!
Thanks, Bri! I’m totally considering making another one for my bedroom. It was so fun!
So cool!! I love that you made the O red!
Thanks, my friend! It’s just not Rudolph without it! 😉
WHAT THE CUTE!? SARAH. This is amazingly clever and adorable. I applaud you!
LOL! Thank you, Karisa! 🙂
This is SO SUPER cool Sarah!!! I love that you painted the letters behind the bulbs to make it really stand out! BRILLIANT!
Thank you, Kristi! This project was so much fun! I can’t wait ’til the next one!
Nicely done! I love the idea of using clear ornaments as the bulbs. You rock!
Thank you so much, Christie!
I love, love, love this Sarah! So cute and creative–especially making the O red while all the other lights are white. Great idea!
Thank you so much, Carrie! I had to pay homage to that red nose somehow. 😉
This is so so so stinkin’ cute, Sarah! I love the red “O” – it’s the perfect touch! Also, I need to try this text transfer method – it is intriguing to me. Sorry your drill is a butthole. 🙂
LOl! Thanks, Bre! The transfer method is pretty darn easy and a lot less expensive than a cutting machine. And you’re right about that darn drill. :/
Clearly I love marquee signs too and this is just fabulous! I love the red lights in the middle and give you props for drilling all those holes!!
Thanks, Bre! They weren’t too bad with the drill but that thing sure has a mind of its own.
Fabulous Sarah! I am loving all these amazing marquee signs, making me want to make one pronto! Terrific job!
Thanks, Tara! Do it! They are super fun. I’m thinking of making one for my bedroom.
Sarah, I love Rudolph and I love your project for the challenge. What is Christmas without reindeer this season?
Thanks, Michelle! There’s no presents without Santa’s sleigh and reindeer! 🙂
Oh my goodness this is SO. COOL. I love all of your signs – they’re so perfect! Love the pop of the red ‘o’. Success!
Thank you so much, Erica! I’m getting a little sign crazy, huh? 😉
Way to rock the challenge, lady!! This came out AWESOME!!!
Thanks so much, Christina!
I love this, especially the red “O!” Good thing I don’t know where you live or I would totally snatch this off your porch 🙂
LOL! Thanks, Katie! I’m totally visualizing you sneaking around my porch now.
I love this! I’ve seen so many marquee DIY’s lately but I’ve been afraid to try. You make it seem do-able so I’ve been inspired. Thanks!
xokathleen
Charm Bracelet Diva {at Home}
Thank you so much, Kathleen! I’m glad I could be of some encouragement! 🙂
This is amazeballs!! I love the added pop of color with the red lights too! Looks great.
Thank you so much, Kristine! The red lights are my favorite part! 🙂