Update old books to match your current decor with painted book covers!
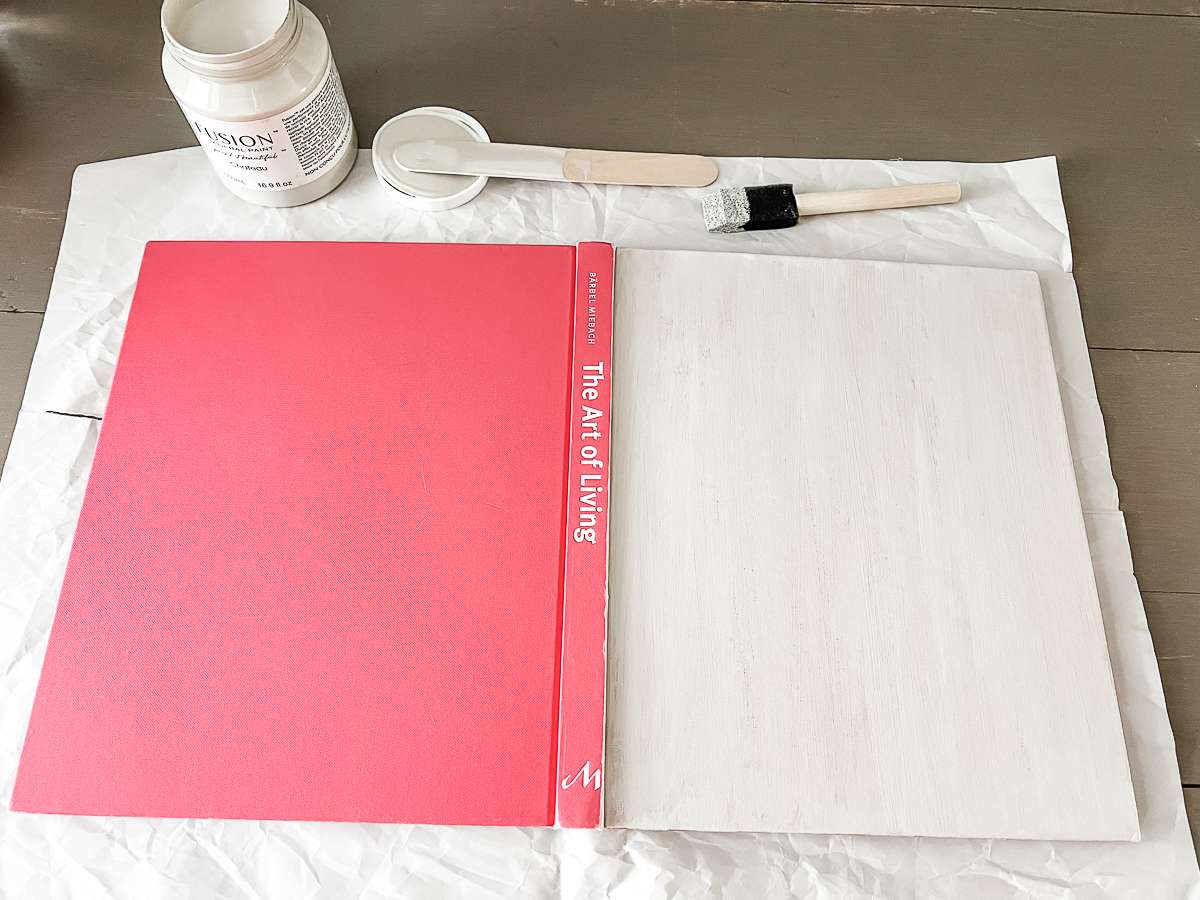
Do you have any books around your home that you love but the covers don’t match your current decor? That was a recent problem I stumbled upon when I found a great coffee table book about home design at the thrift store for $1.99.
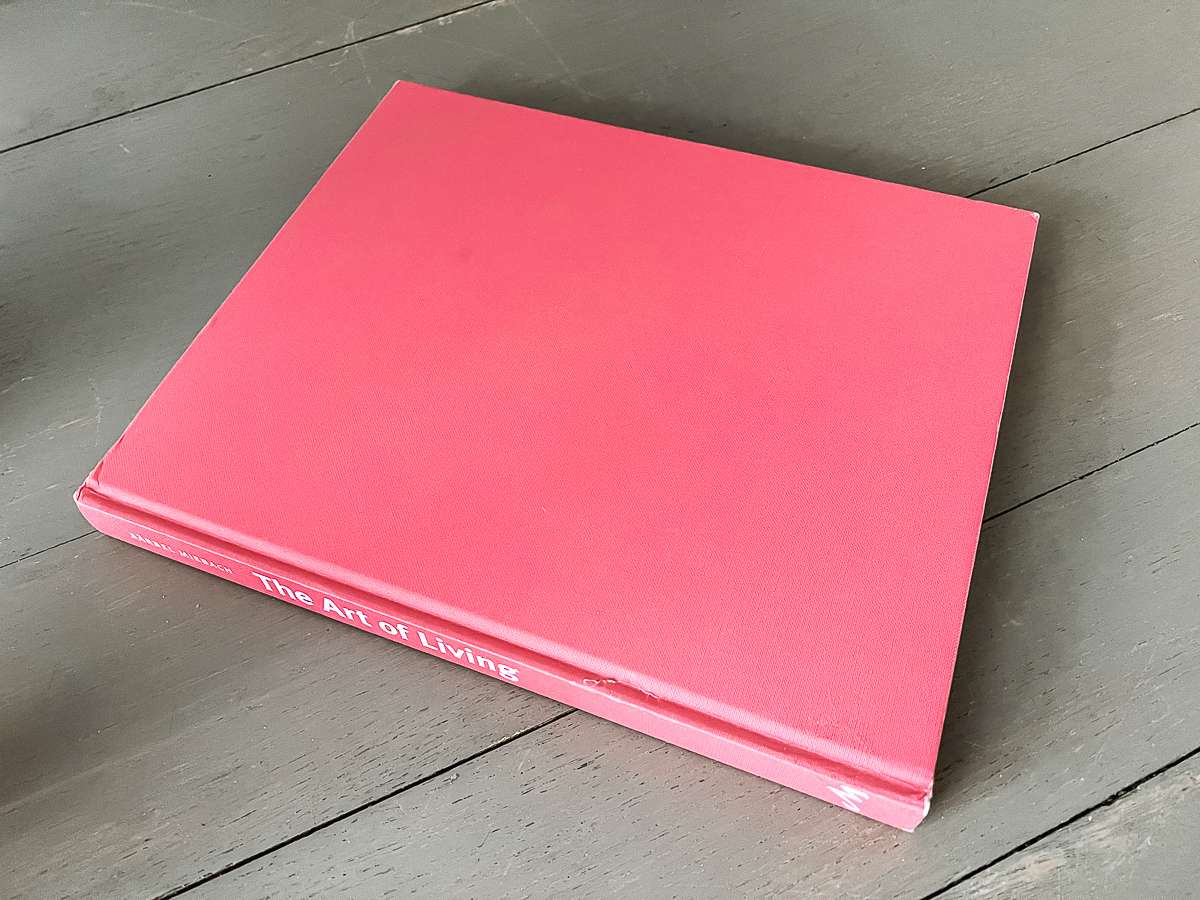
I couldn’t pass up that deal, but I was a bit bummed with the hot pink cover. I knew it wouldn’t be a book I’d keep out on display because of how it would clash with the rest of the decor.
Then, an idea came to me. What if I just painted the cover? I figured I would try it. The worst that could happen is that it would look terrible, and I wouldn’t be able to display it on my coffee table like originally. This post contains affiliate links for your convenience. Click here to read my full disclosure policy.
DIY Painted Book Cover Tools & Materials:
- old book (mine is The Art of Living by Barbel Meibach)
- paint (I used Fusion Mineral Paint in Chateau)
- foam paint brush
- Sharpie in your color of choice (optional)
- something small to prop the book open
How to: DIY Painted Book Cover
First, I laid the book out so that both sides of the cover would be visible. It’s best if you divide the book in half to where there is an equal amount of pages on each side. Then, I began painting the cover, using thin coats.
This was what the cover looked like after one coat of paint.
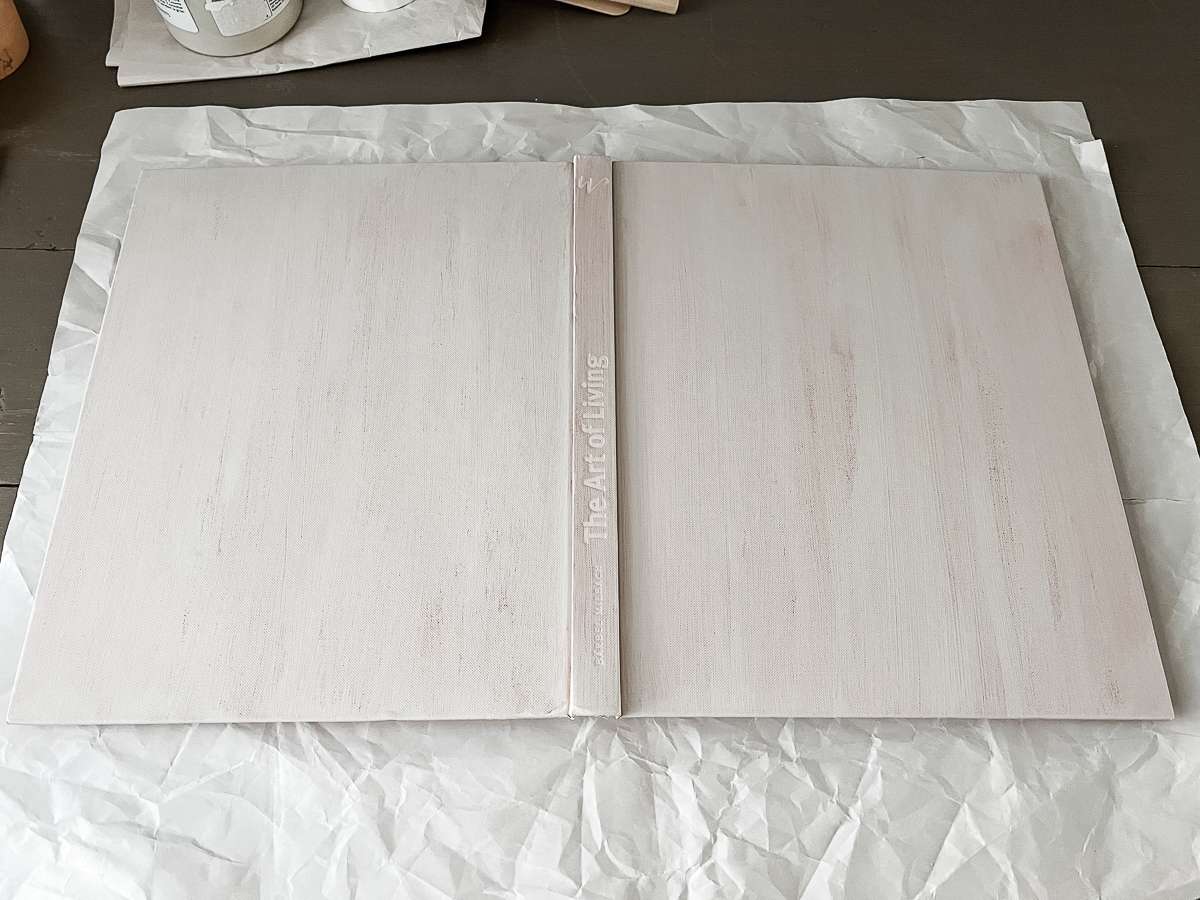
The paint dried really fast. As soon as I finished painting the first coat, I went back and began painting the second coat.
This was after two coats.
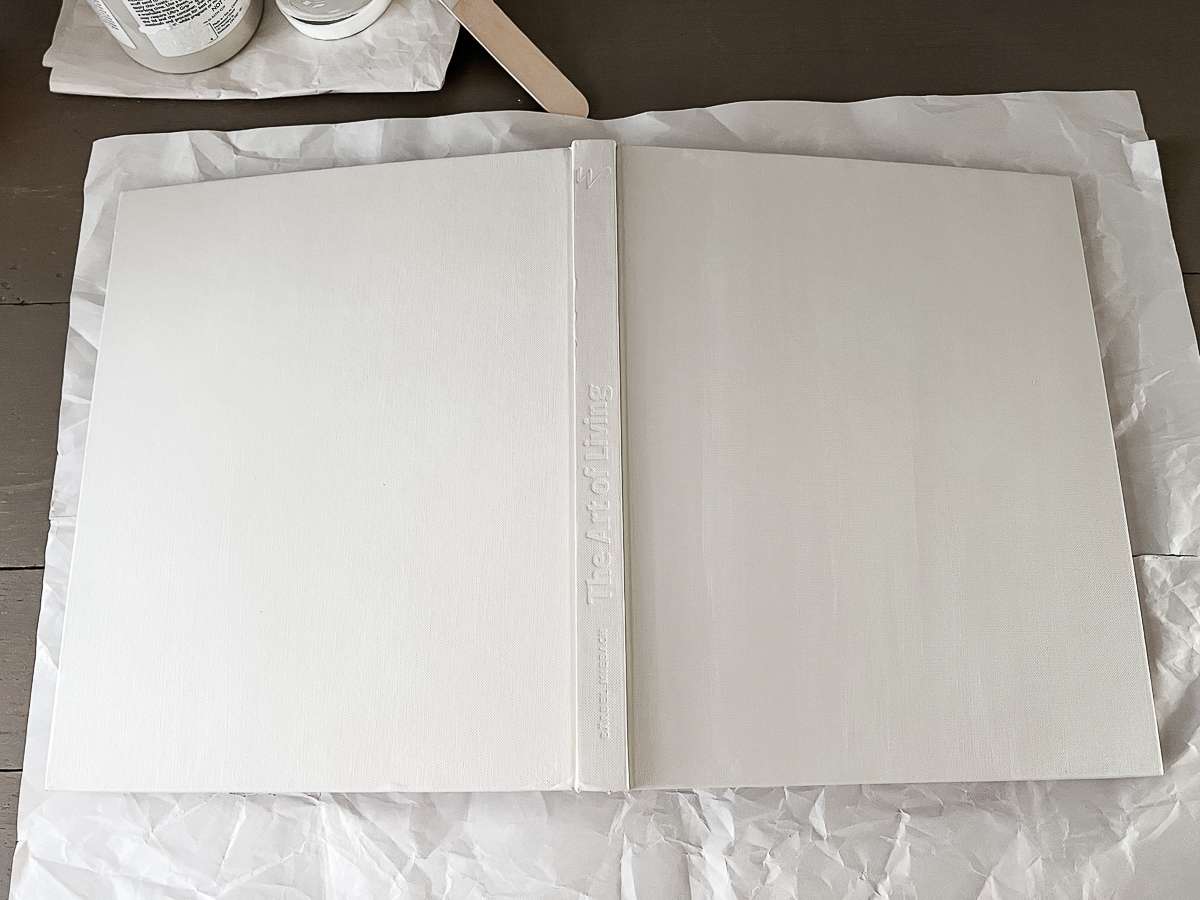
And finally, the third and final coat. I felt like three coats was enough to get even coverage, so I stopped there.
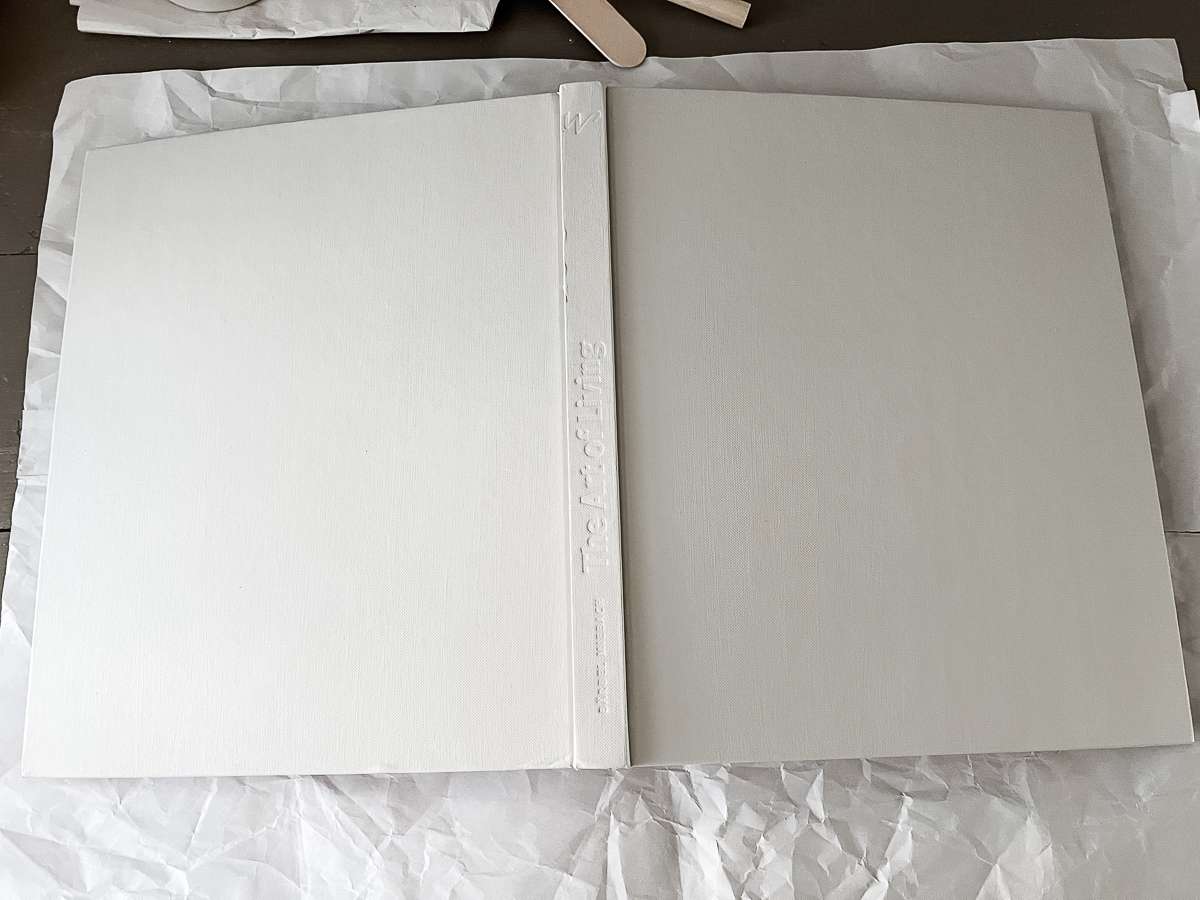
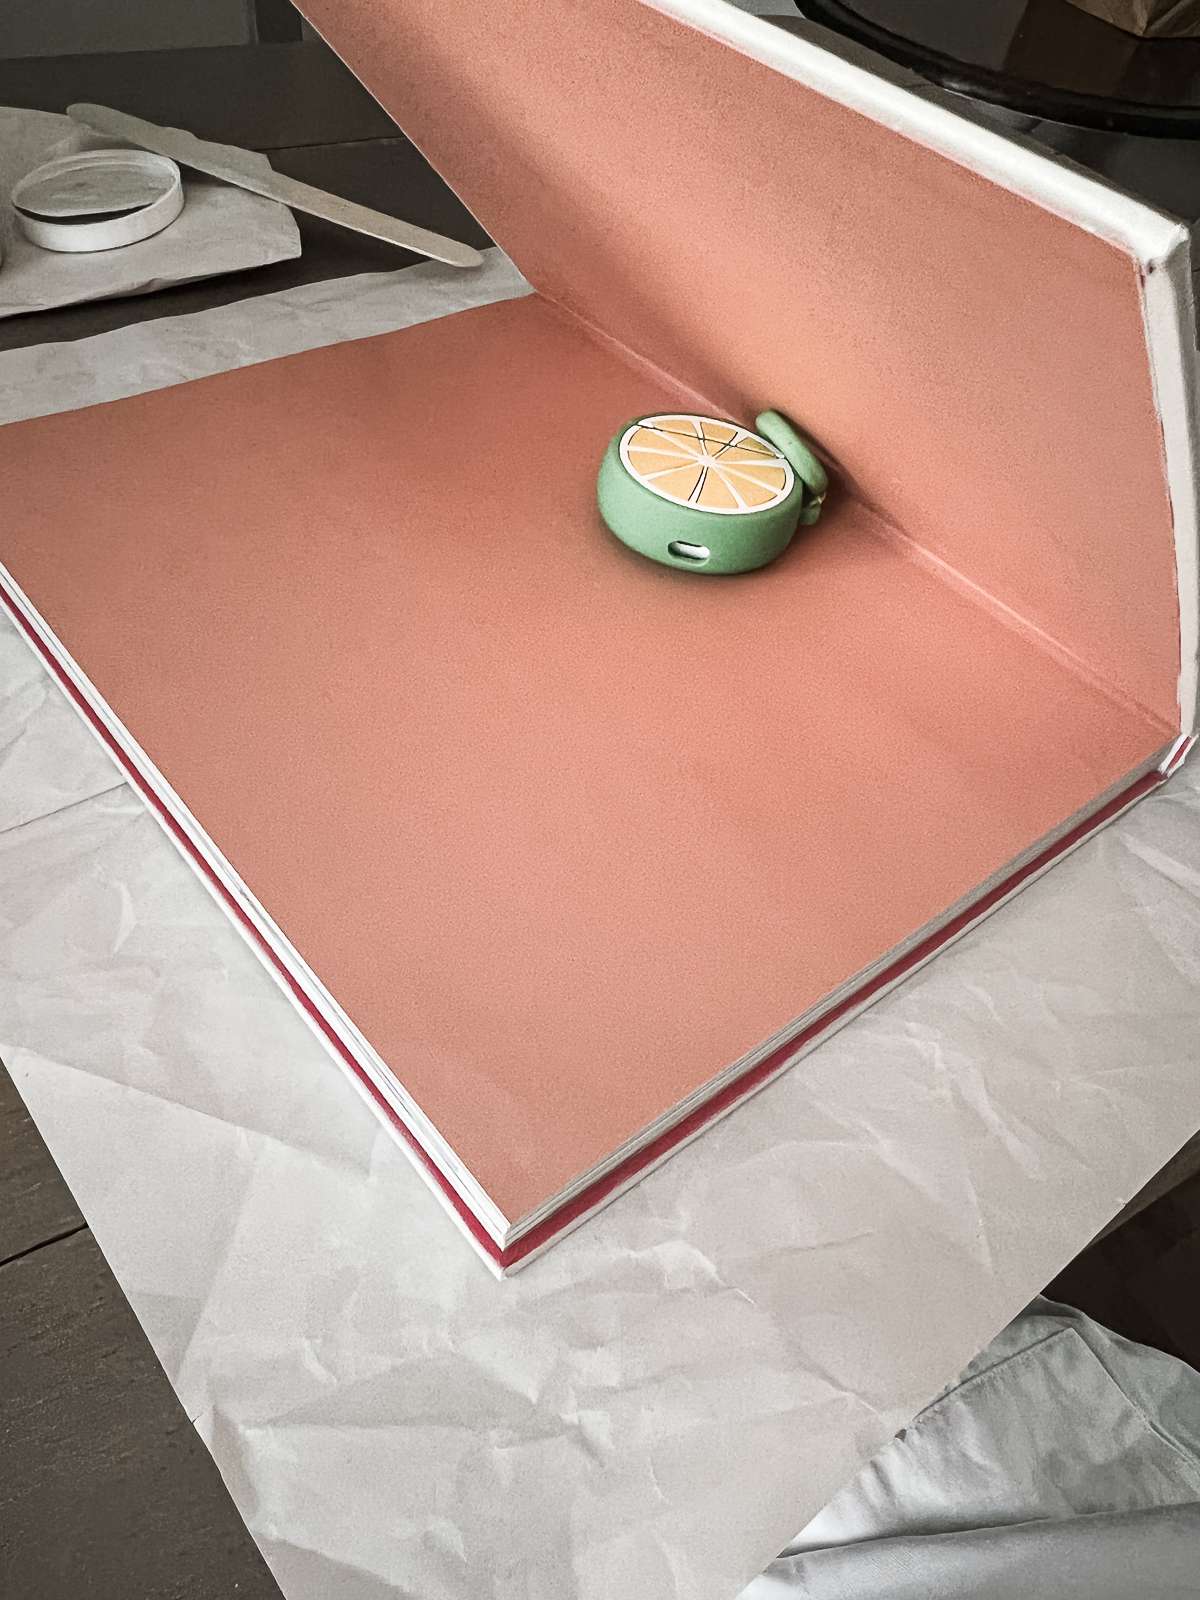
In order to paint the inside of the cover that shows when the book is closed, I propped the book open with my air pods case. I waited about ten minutes to flip it over to paint the other side’s inside trim, just to be sure that the paint was dry and didn’t stick to the pages.
I let the book dry for about thirty minutes, and then it was time for styling!
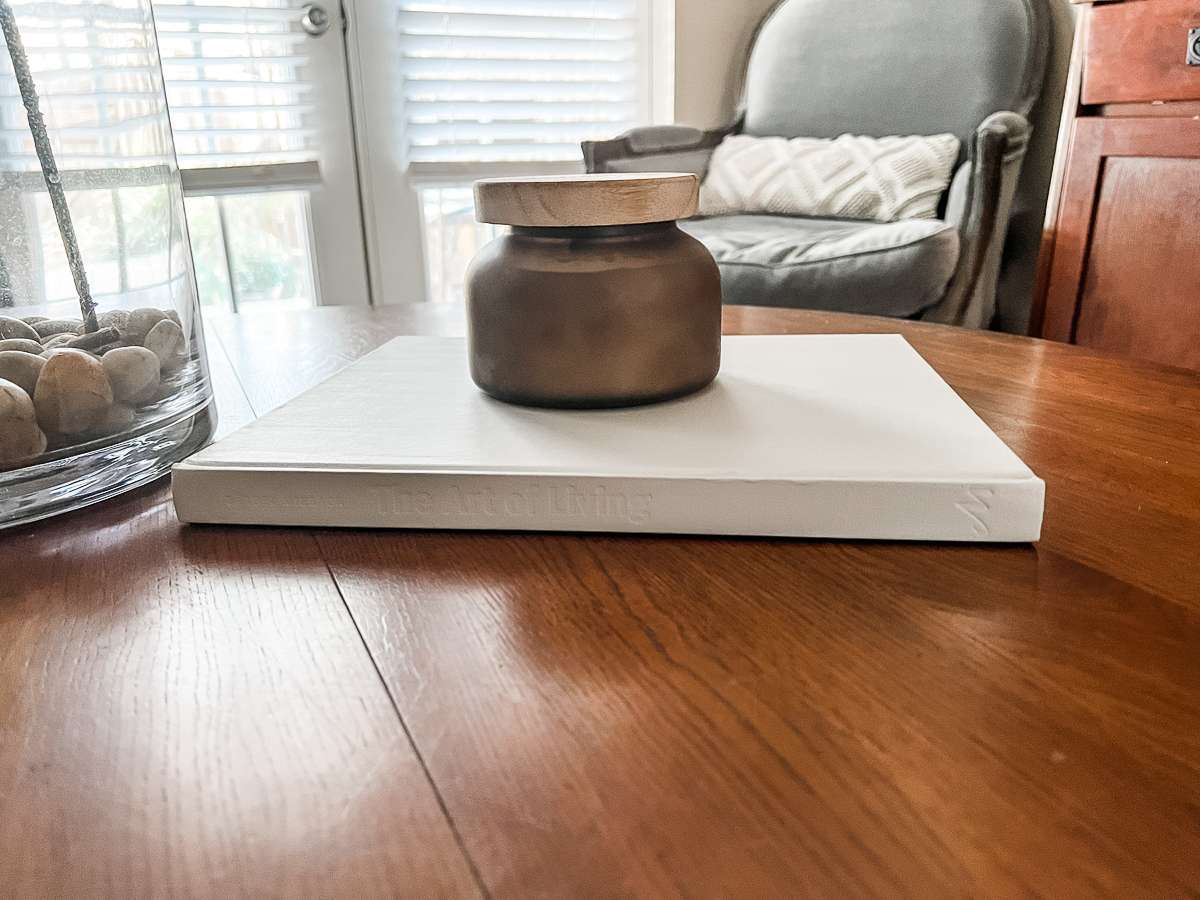
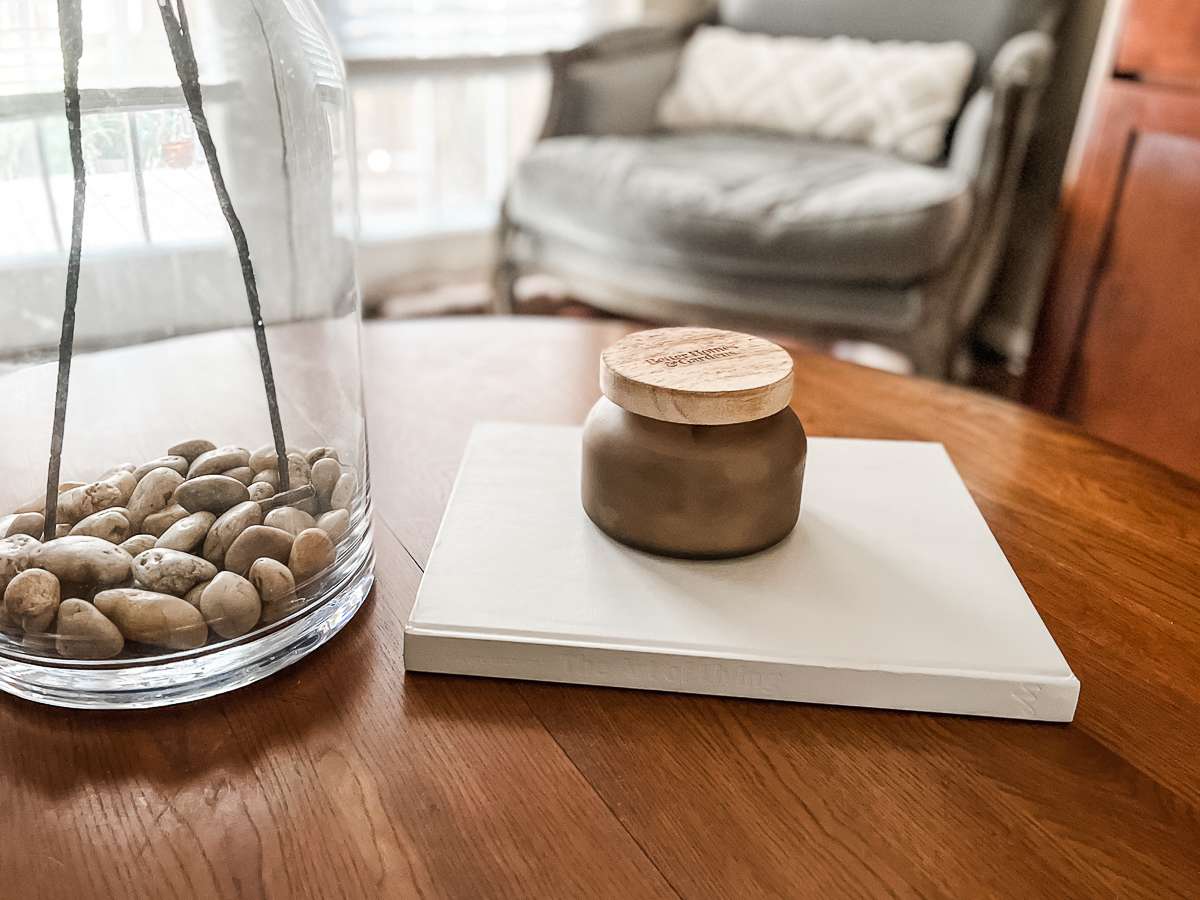
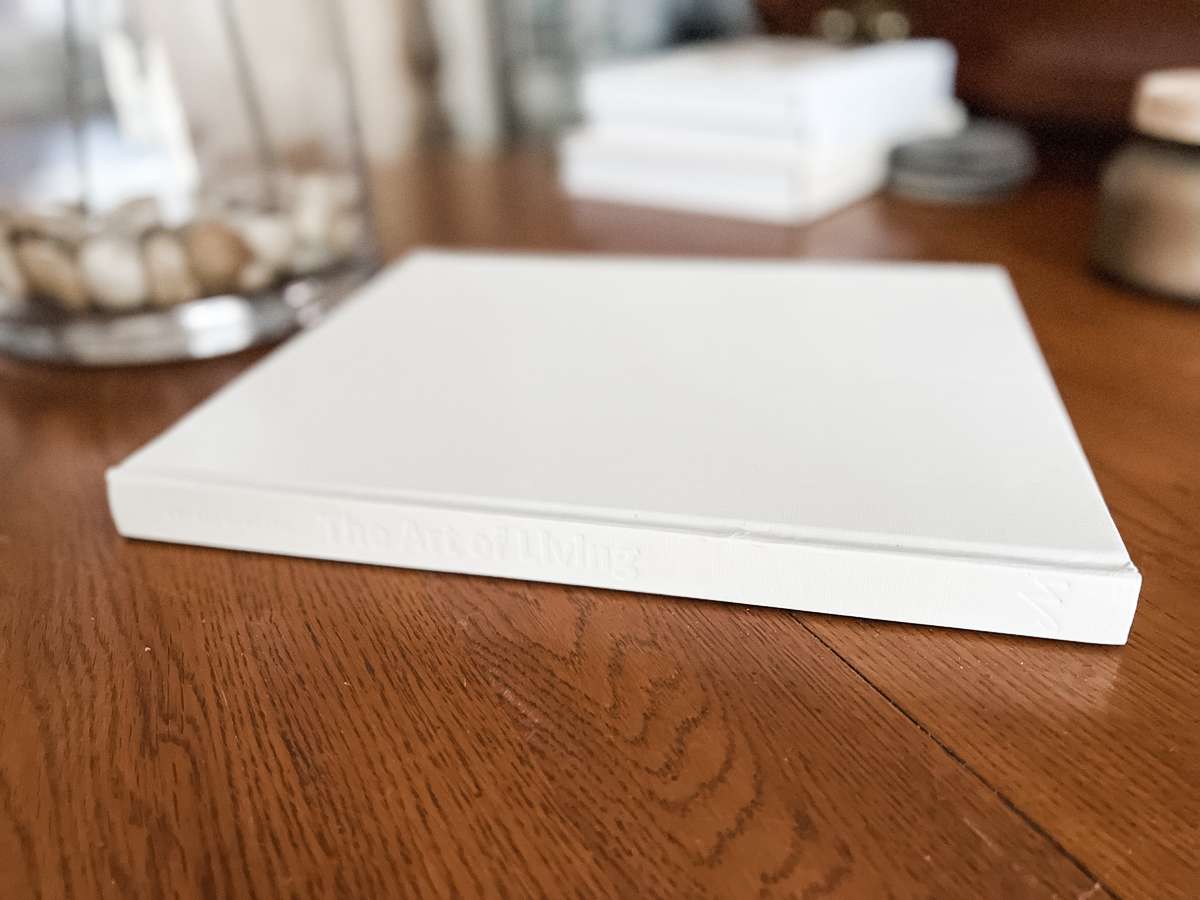
I may go back and trace the inside of the title letters with a gold sharpie, but for now I am happy with the progress this little book has made. It fits right in with all of my other favorite coffee table books.
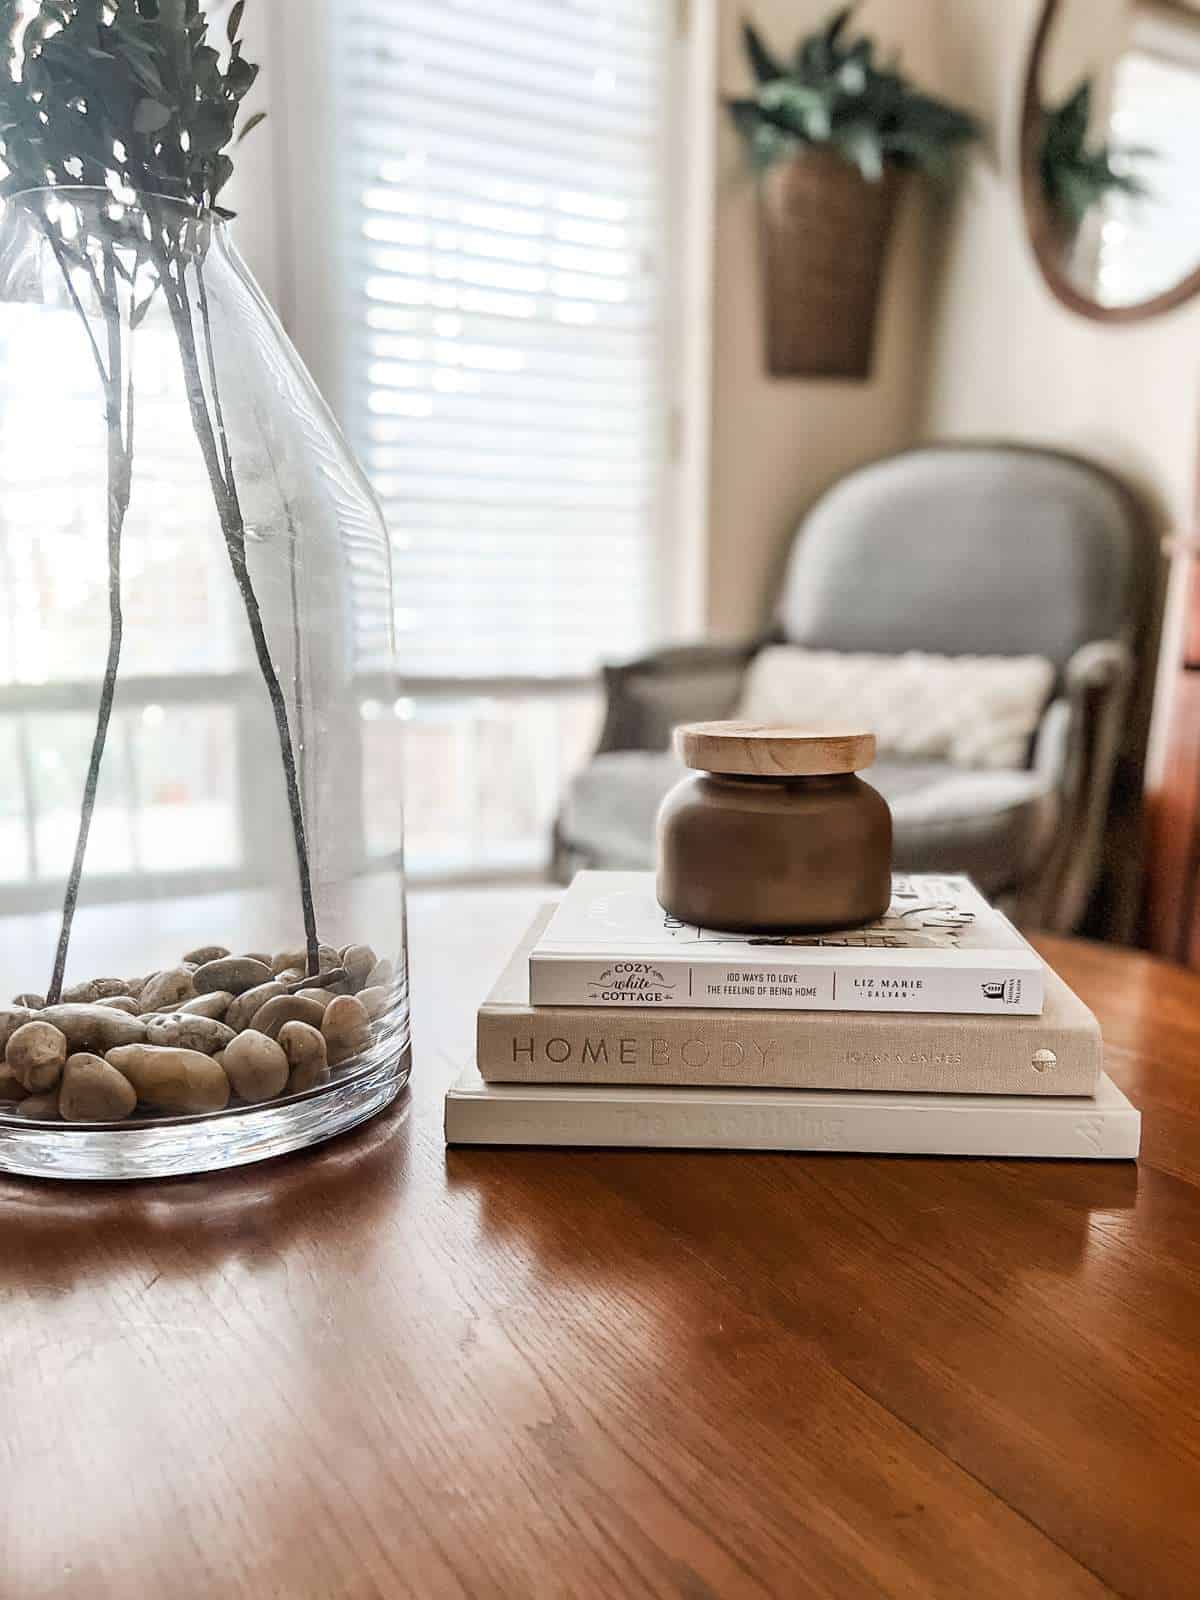
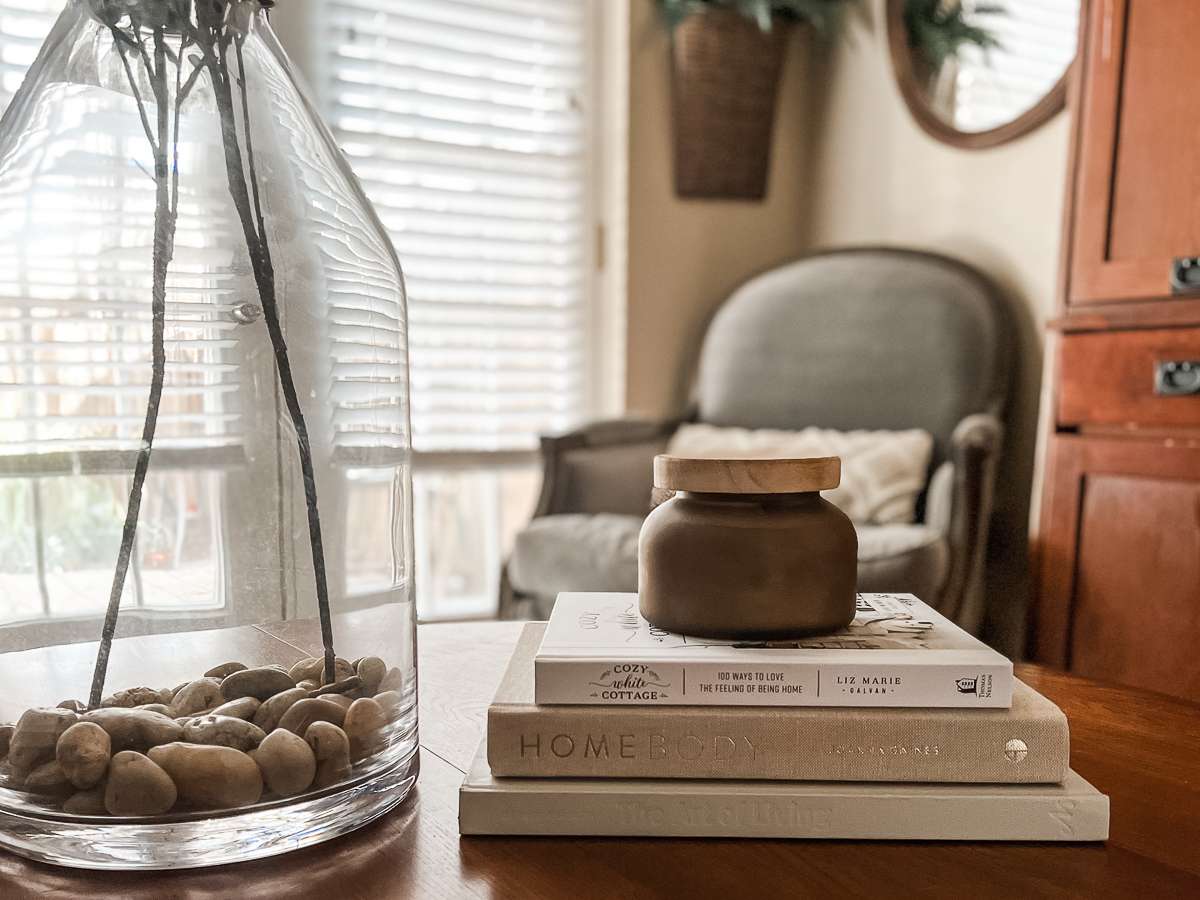
Not too bad for about thirty minutes of work and a little drying time. Makes me want to find more stuff to makeover with paint!
xo,
sarah
DIY Painted Book Cover

Tools
- Foam paint brush
- Small object to prop open book
Instructions
- Lay the book out so that both sides of the cover are visible. It’s best if you divide the book in half to where there is an equal amount of pages on each side.
- Paint three thin coats of paint.
- Prop the book open with a small object in order to paint the inside edges of the cover. Wait about ten minutes to flip it over to paint the other side’s inside trim, just to be sure that the paint is dry and doesn't stick to the pages.
- Let dry for 30 minutes.
- Trace the lettering with a Sharpie in your color of choice. (optional)