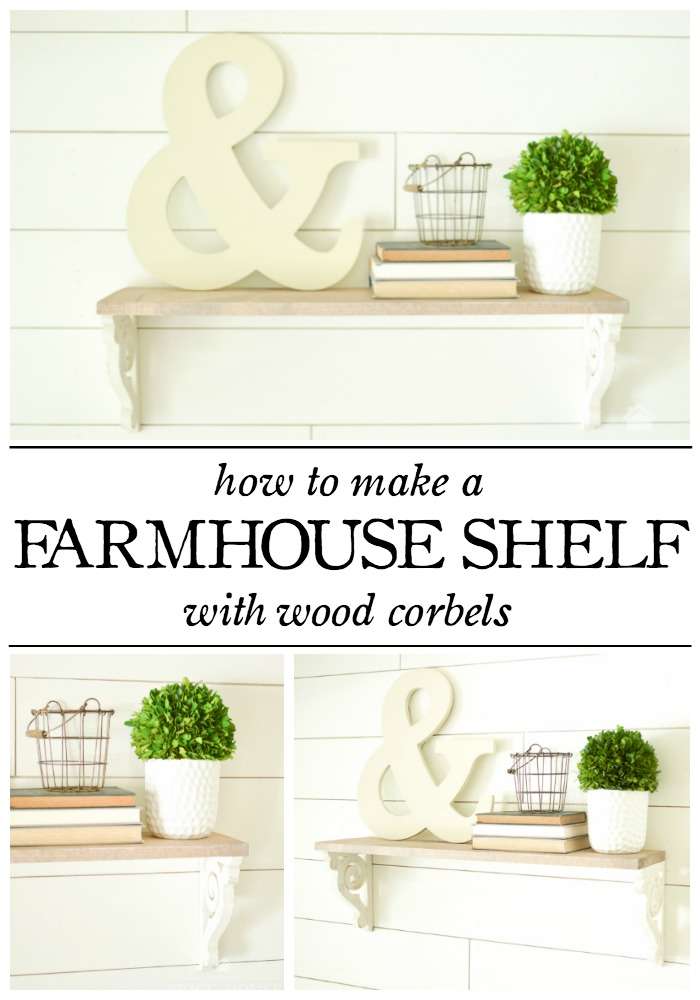
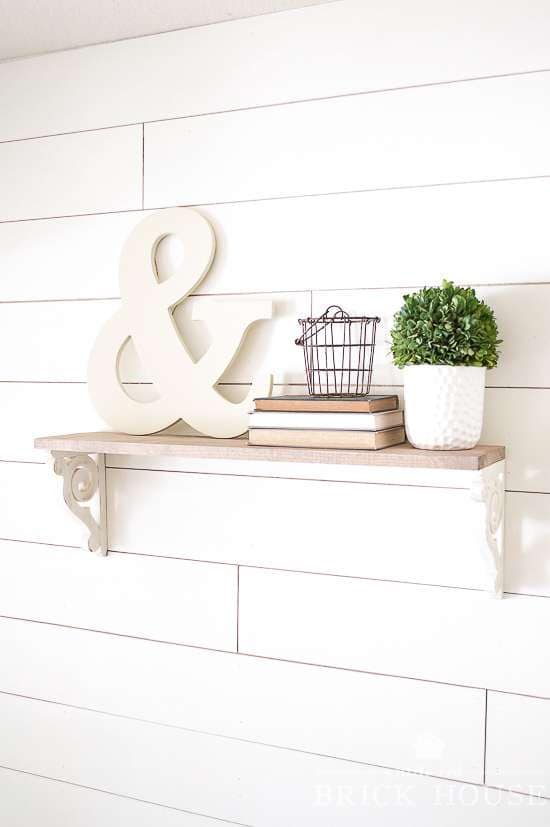
Thrifted decor and a wood board combine to create this stunning wood corbel farmhouse shelf!
I just love bringing new life to thrifted finds. It’s so fun to take an item that someone has decided to discard and give it a new home with a new spin. This little wood corbel farmhouse shelf was a fun upgrade to these wood corbels and provides function as well as beauty.
Tools & Materials
This post contains affiliate links for your convenience. Click here to read my full disclosure policy.
- corbels
- 1×12 wood board
- wood stain (I used Special Walnut from Minwax)
- white paint
- nail gun
- nails
- wood glue
How to Make a Farmhouse Shelf from Thrifted Wood Corbels:
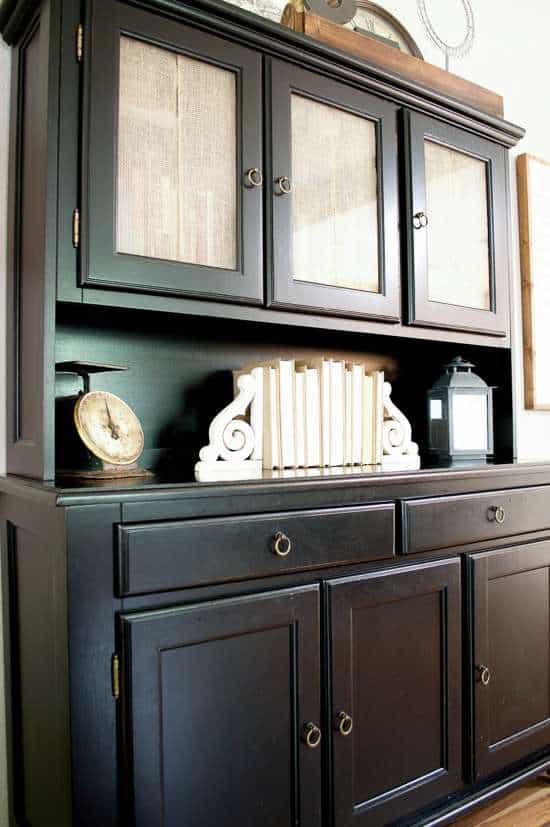
So, my corbels were actually given to me by my mother-in-law. She found them at a garage sale and mailed them to me along with some other cool thrifted items. You can find corbels on Amazon or at a ton of craft stores though. Mine were already painted and perfectly distressed but you can easily get the look by painting yours and then sanding random areas with a sheet of sandpaper.
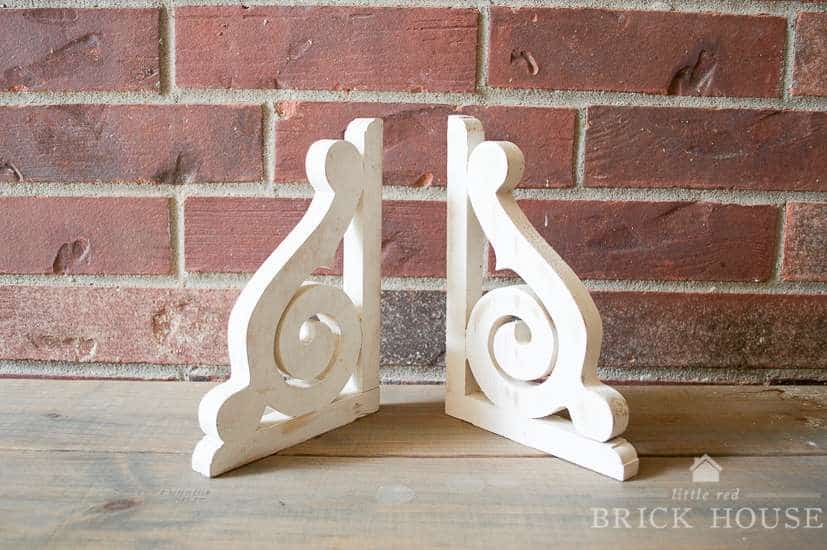
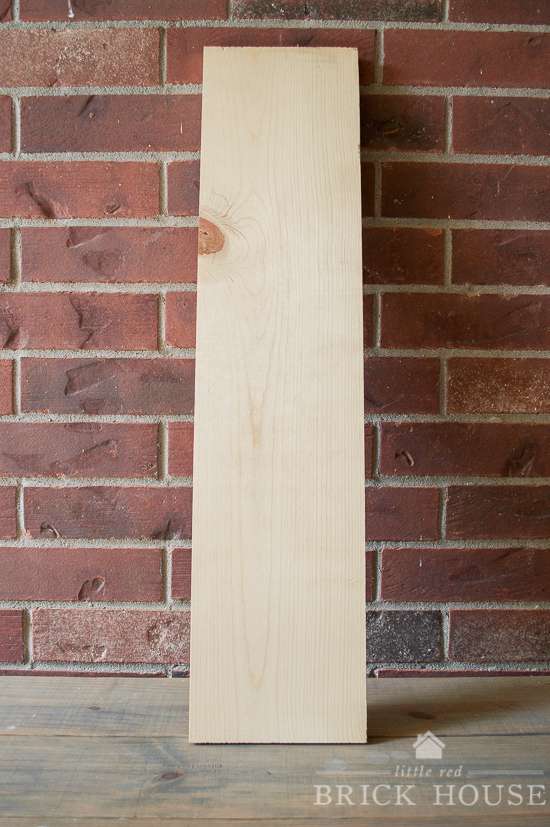
First, I cut my board to length and width. I decided that 2 and a half feet long would be a good size for my shelf, so my hubby cut the board to 30 inches on the table saw. My corbels measure 6.5″ at the top where they meet the shelf, so he cut the board to 7.5″ wide to allow for a slight overhang.
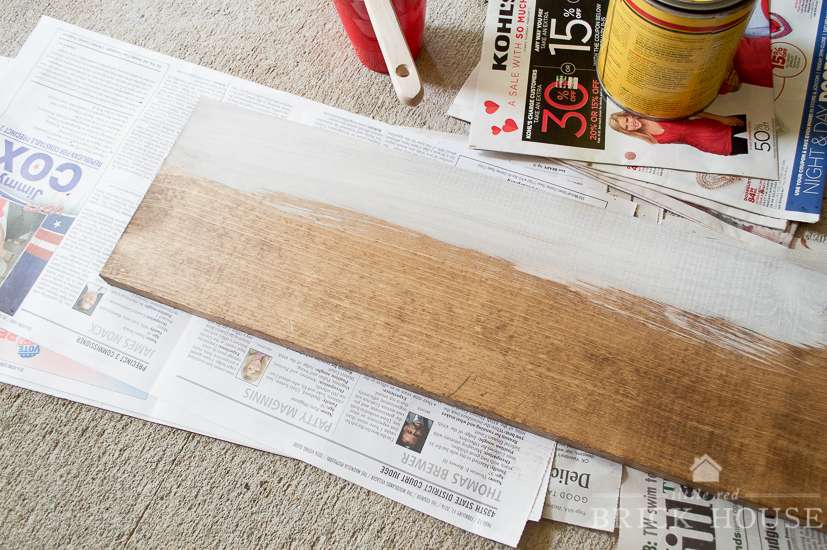
After he had cut everything, I took over and stained the board. To give the wood an aged look, I white washed it with a mixture of half white paint and half water. I just mixed up about a 1/4 cup of each in a plastic cup and then brushed it over the wood. I didn’t want my board to be too light, so I immediately wiped the whitewash off with a rag
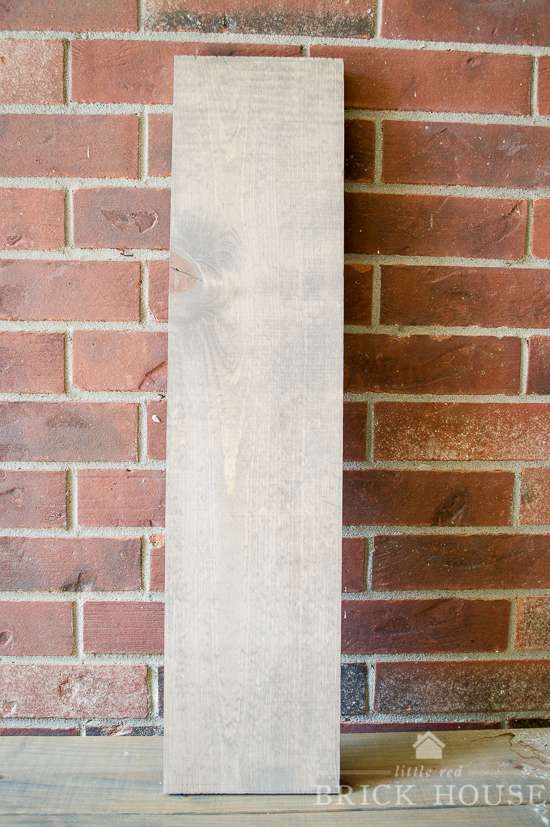
Once I had finished whitewashing the whole board, it looked like this. I love the weathered look that the whitewashing gives.
Next, after everything was dry, I carefully attached my corbels with wood glue and a nail gun, from the top of the board.
I made sure the corbels were flush with the board on the outer sides and at the back where everything would meet the wall once it was hung. Then I popped two hanging nails into the wall between the shiplap boards and hung my new shelf!
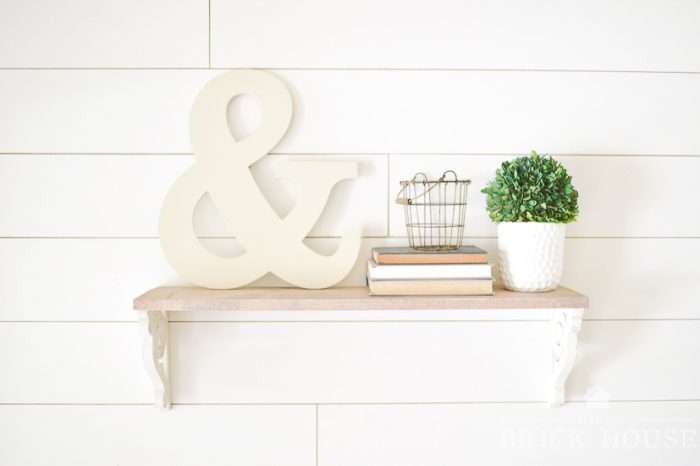

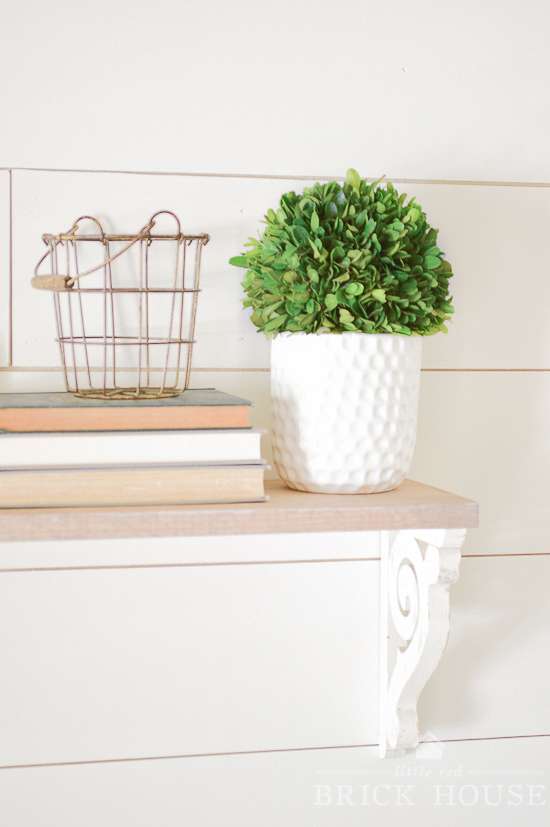
Well, there you have it! Easy peasy. This shelf is going to be so fun to decorate throughout the holidays and seasons.
