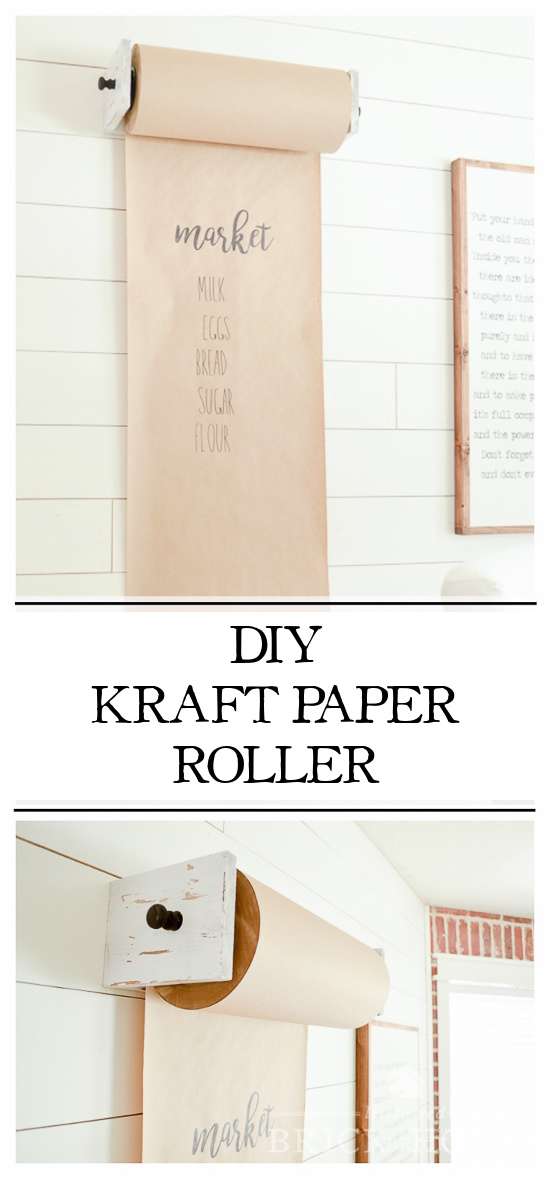
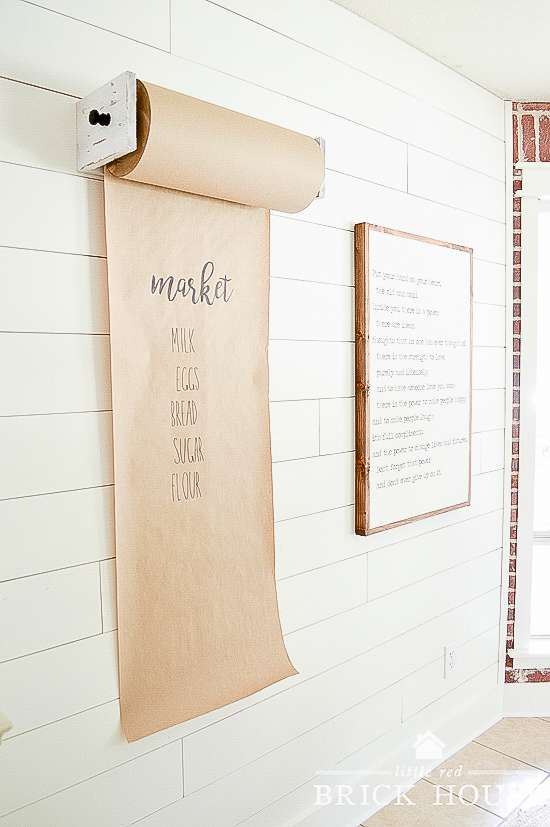
Paint and wood are all it takes to create this handy DIY kraft paper roller!
And just like that, another Monthly DIY Challenge has snuck up on me! If you’re new to the MDC, every month my best blogging buddies and I each try to come up with a unique project based on that month’s theme or item. This month our theme was paint, and I decided to paint a DIY kraft paper roller that I made.

A huge “thank you” goes out to HomeRight for sponsoring this post and for providing all of the amazing giveaway prizes! For August we thought we’d show you all of the ways you can use the super handy spray shelters from HomeRight!
You definitely want to hang out ’til the end because we have a whopper of a giveaway for one lucky reader!
Ever since I watched the Beanstalk Bungalow episode of Fixer Upper and saw the kraft paper roller hanging hanging in the kitchen, I knew I had to have one for myself. It’s perfect as a grocery list!
We’re always thinking of things we need to grab from the store and this project makes it so easy to quickly jot down what we need as it comes to mind. It’s in a highly visible spot in the kitchen/dining room, so it’s convenient for me when I’m creating my grocery list and scoping out what we already have on hand in the pantry and fridge.
This post contains affiliate links for your convenience. Click here to read my full disclosure policy.
Tools & Materials:
- 1×6 board @ 4 ft. long
- 3/4″ wood dowel
- (2) drawer/cabinet knobs (mine are leftovers from an IKEA dresser I made over but you can use pretty much any cabinet or drawer knob)
- 1″ hanger bolts
- Oil rubbed bronze spray paint
- stain and spray paint of your choice
- vaseline
- paper towels
- butcher/kraft paper roll
- pocket hole jig
- drill
- pocket hole screws
- 3/4″ spade bit
- miter saw or miter box
- drill bit
- super glue
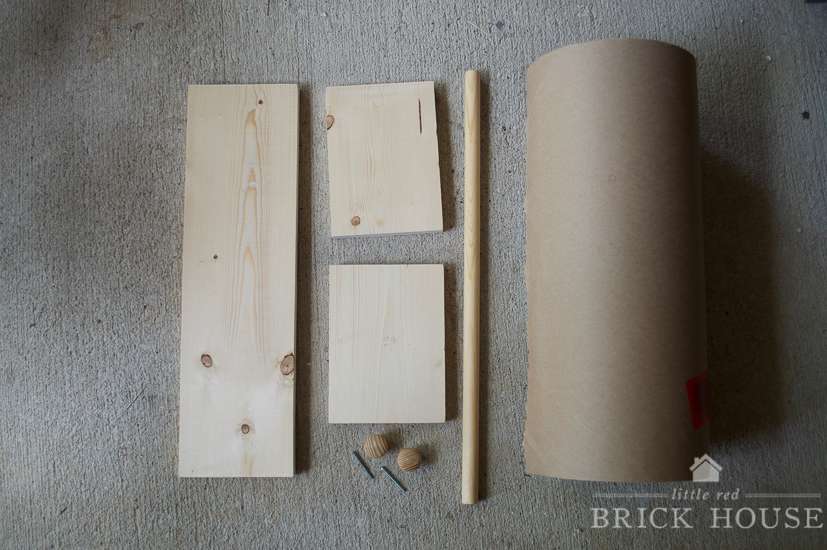
How to Make a DIY Kraft Paper Roller:
First, you want to build your base or mount for the paper roll. You’ll need three pieces of wood. One at 19″ long and two at 7.5″ long. Drill four pocket holes in each end of your long piece.
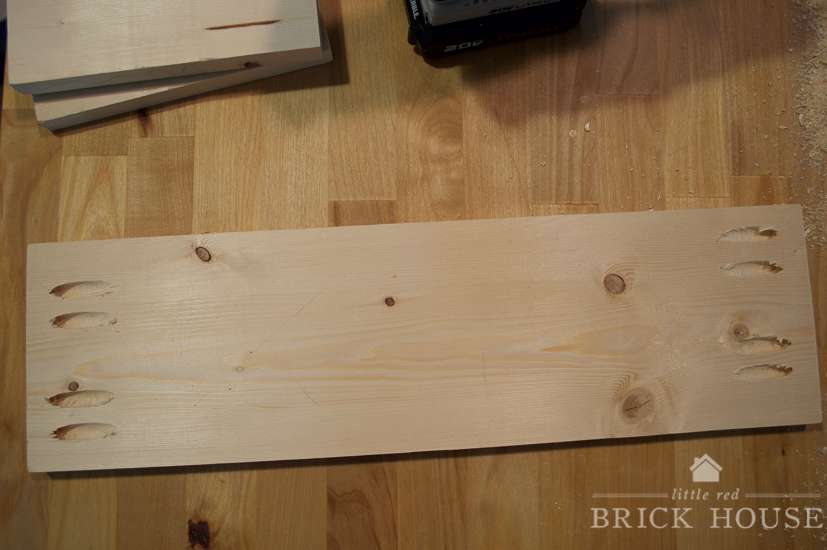
Screw the long piece into the two smaller pieces of wood. Make sure the pocket holes are on the back side when you assemble the base. They will be hidden when you hang it up.
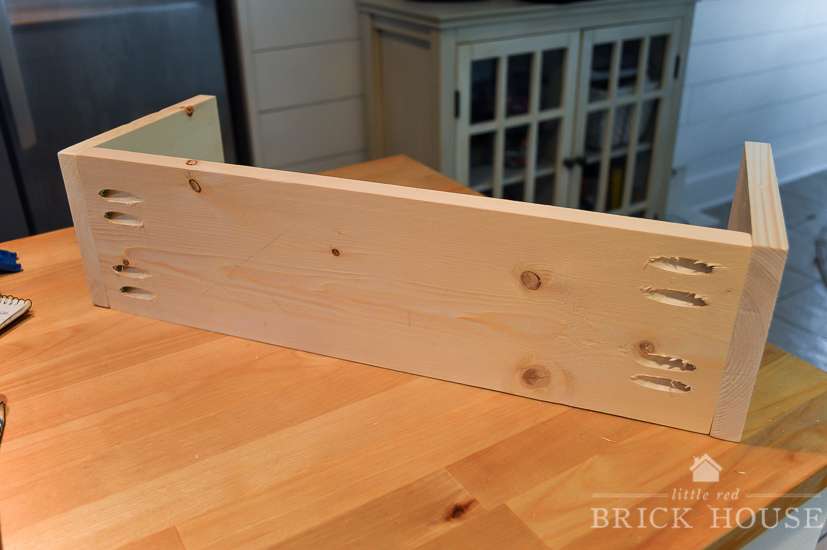
Next, you need to drill holes in the side pieces with the spade bit. You could do this before you assemble the base if it’s easier.
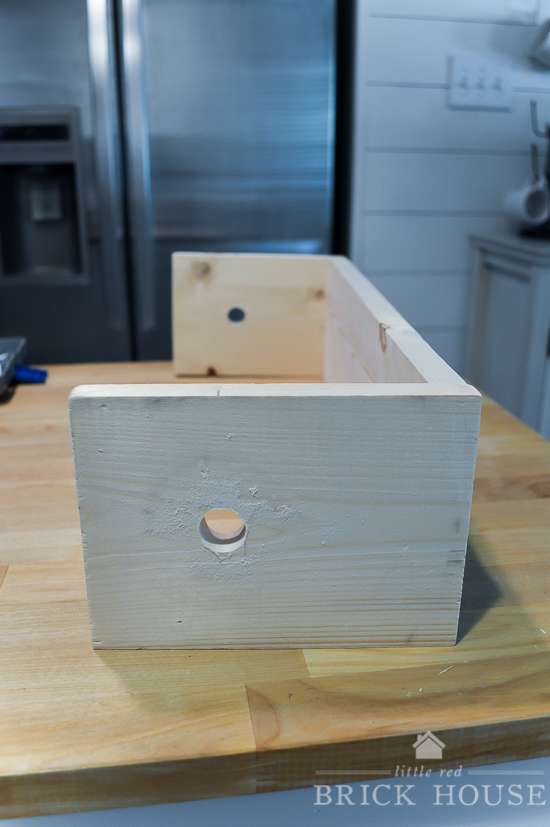
Now it’s time to work on the pole. Cut your dowel to 21″ long.
The dowel needs pilot holes in each end so that the hanger bolts don’t split the wood when screwed in. Use a drill bit that is slightly smaller than the diameter of your hanger bolts to create the pilot hole.
Once the hole is drilled, carefully squeeze a small amount of super glue into the hole and screw your hanger bolt in. Leave about half an inch sticking out so the knobs can be screwed on. Make a pilot hole in the knobs if there isn’t one already.
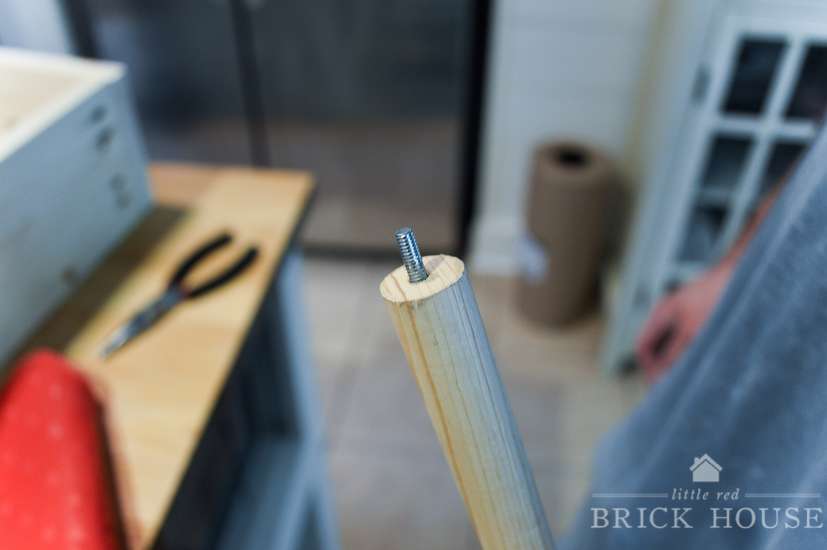
Spray the dowel and the knobs with the oil rubbed bronze paint.
While those are drying you can stain the base. I used Minwax Special Walnut on mine.
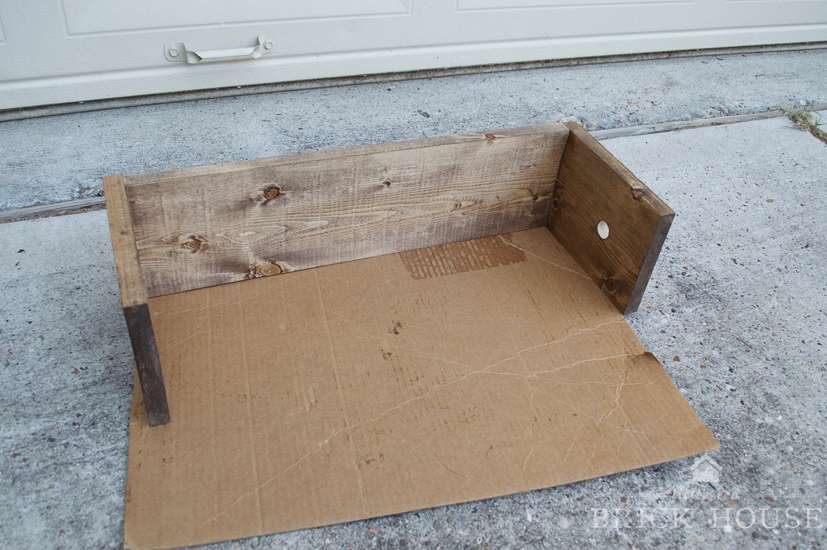
Once that is dry it’s time to paint and distress.
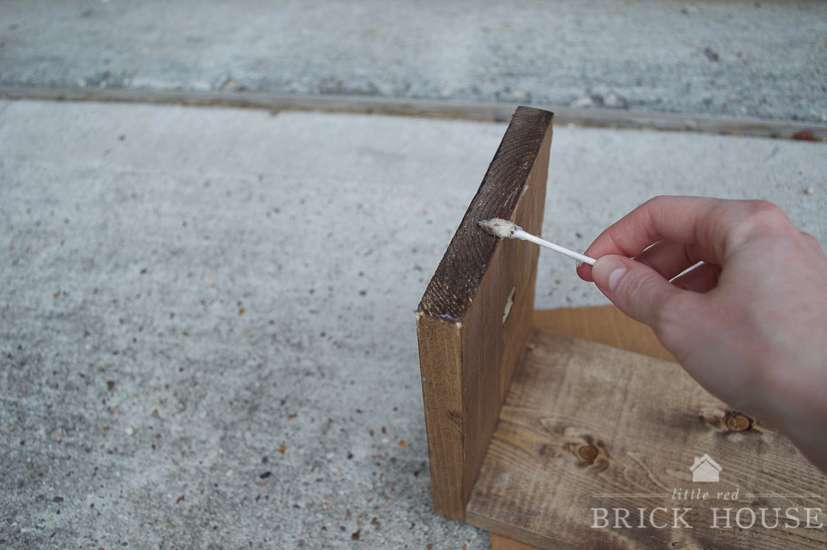
Rub a small amount of vaseline on random edges and flat areas of the boards. Use enough vaseline to create a barrier but don’t put it on too thick.
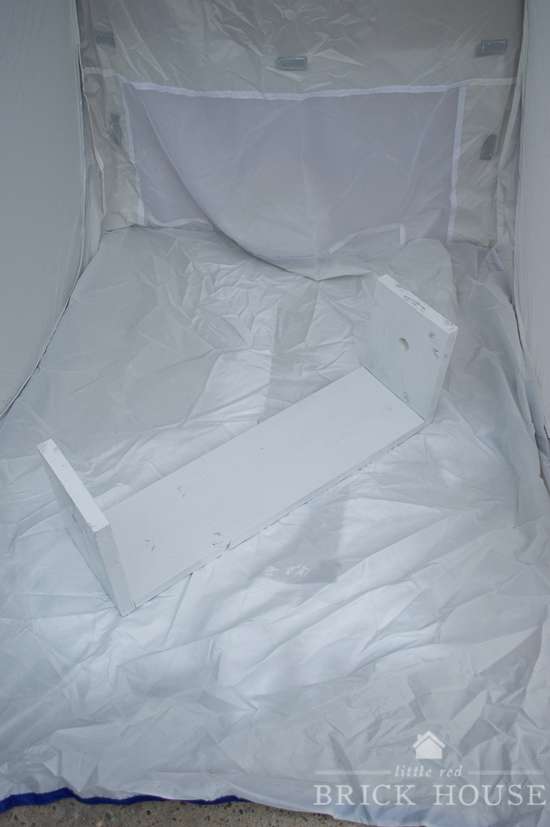
Time to paint! I popped my base into the spray shelter and went to town. It was great for keeping my project clean from flying leaves and dirt from the gusts of wind but be sure to use a few bricks or other heavy objects to weigh the shelter down because it will want to take flight if you don’t!
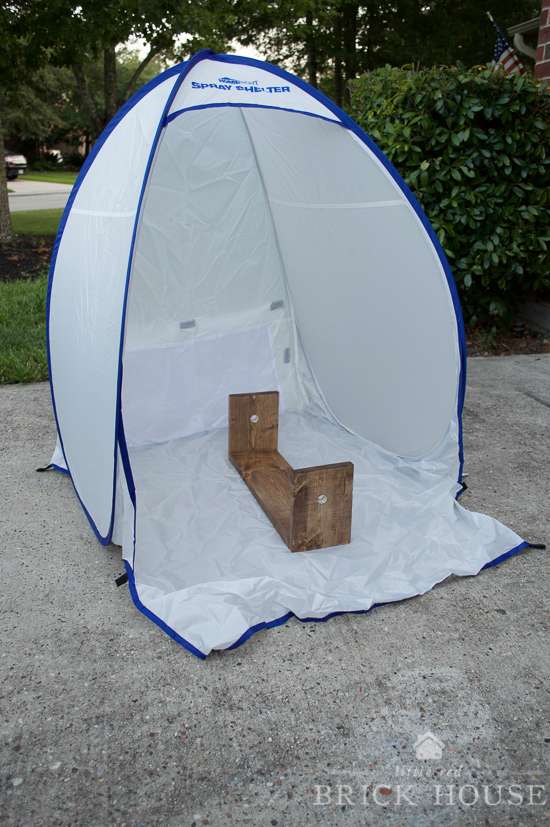
All painted! The ends of the boards soaked up the paint quite a bit, but it’s ok because I was going for the distressed look.
Once the paint is dry, you can distress it by rubbing the parts where the vaseline was applied with a paper towel. Just rub over the whole piece and you’ll start to see areas of paint come off.
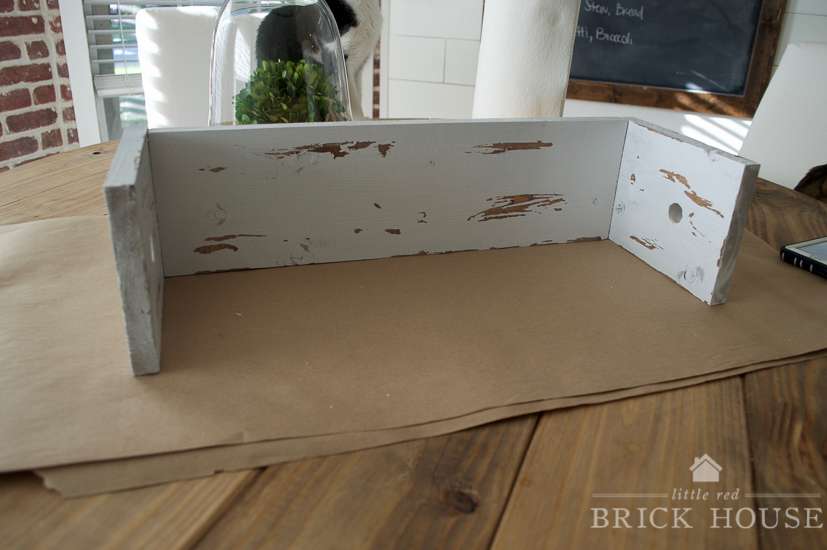
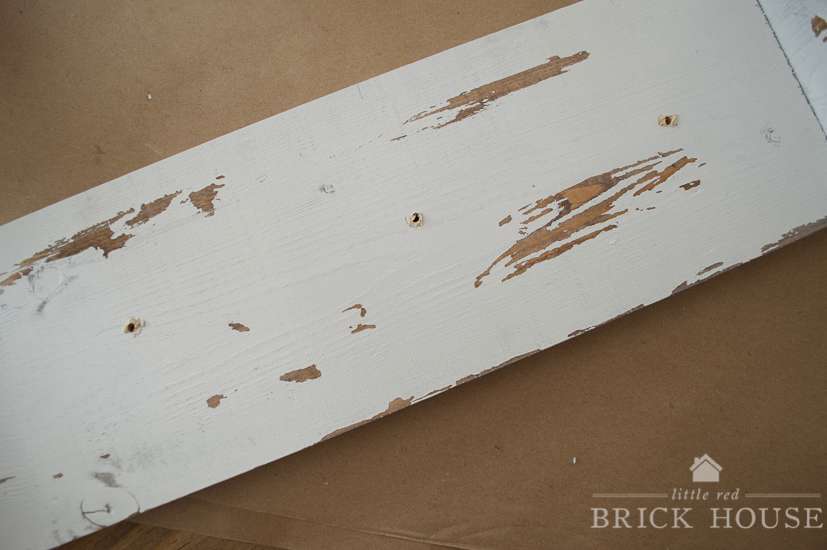
Next, rill a few pilot holes in the back piece of your base so the screws don’t split the wood when you screw it into the wall.
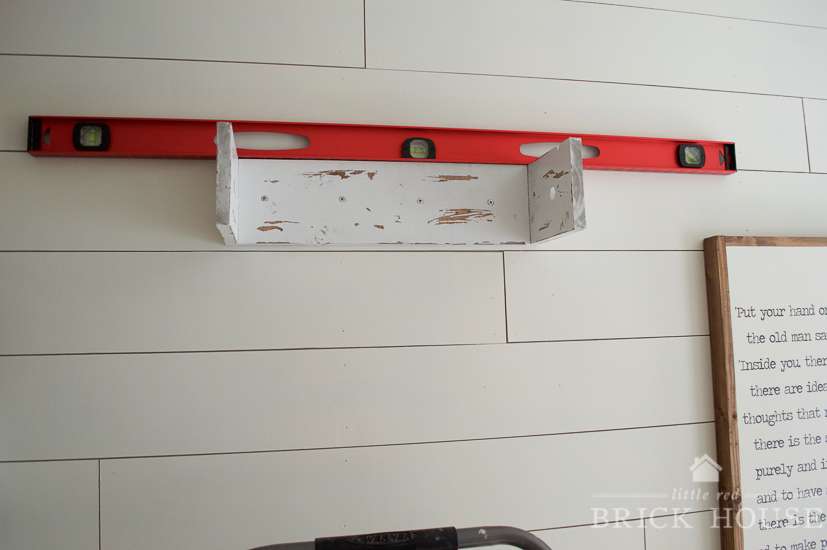
Use a level to ensure that the base is straight. Make sure to screw at least one of the screws into a stud in the wall. The roll of kraft paper is pretty heavy and it would be tragic for it to rip right out of the drywall.
To mount the paper roll, slide the pole into a hole on one end, then through the kraft paper roll, and then out through the other hole. An extra set of hands definitely would have helped but I managed to do it on my own. 😉
Last, just screw the knobs onto the hanger bolts on each end of the pole.
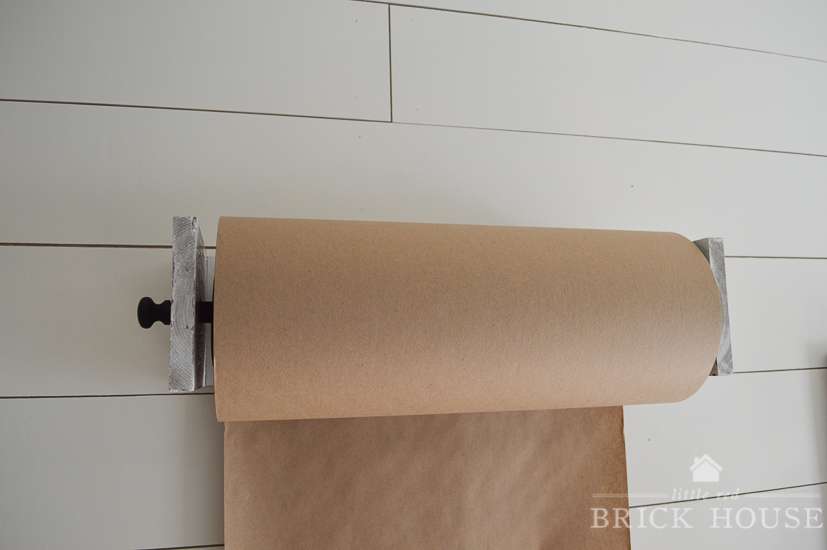
Phew! Now step back and marvel at the beauty.
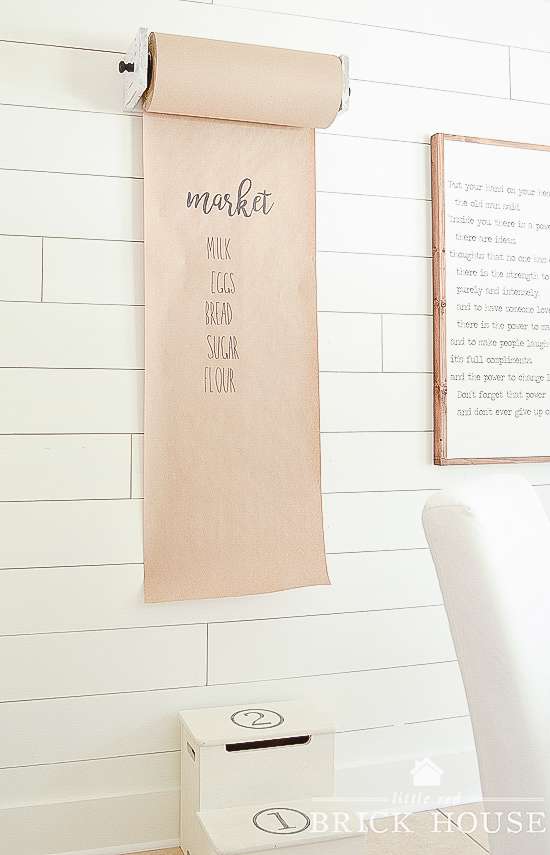
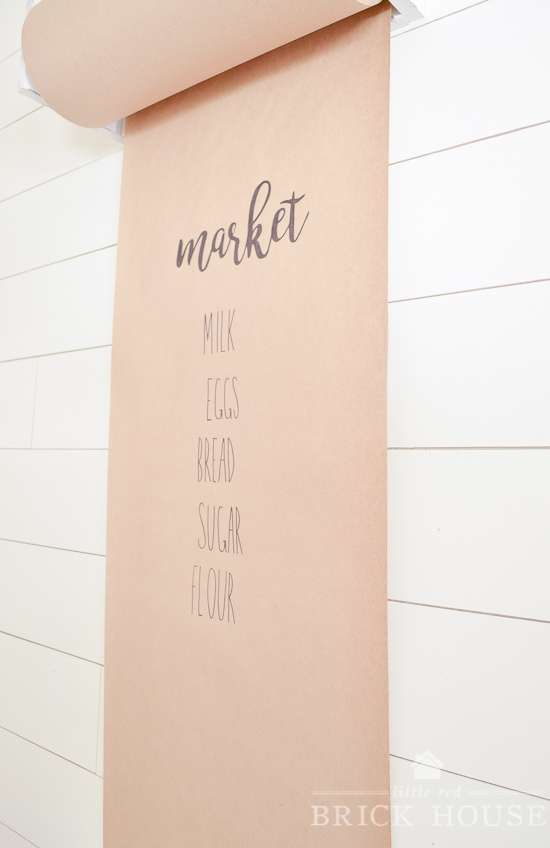
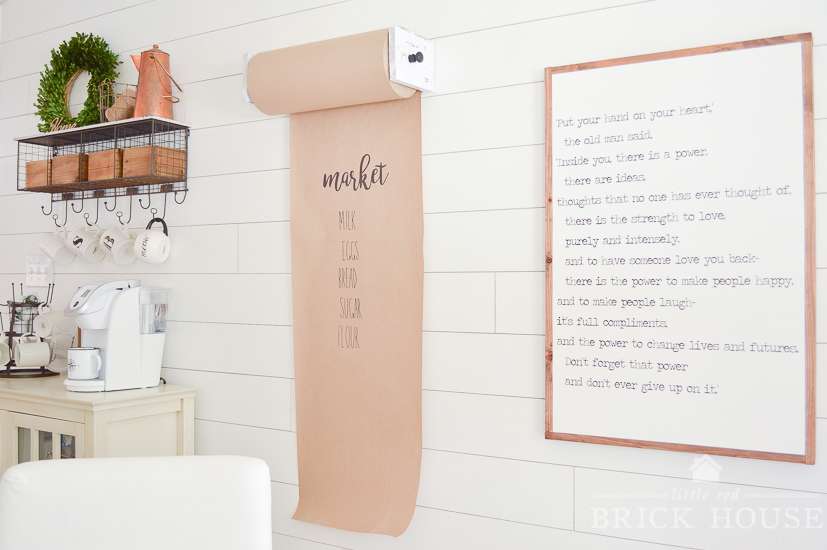
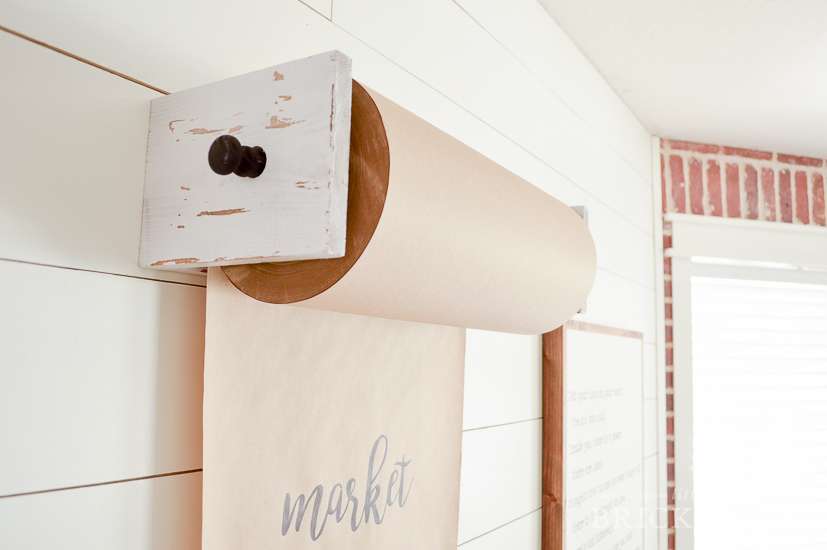
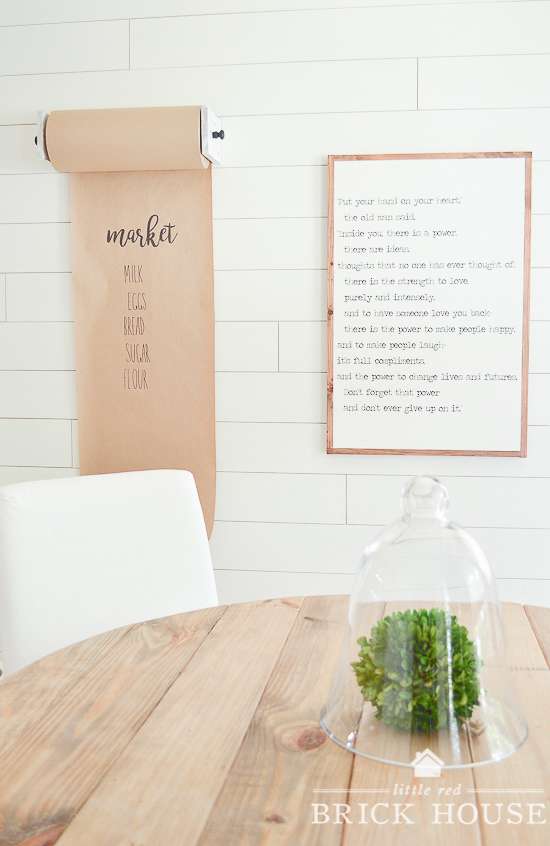
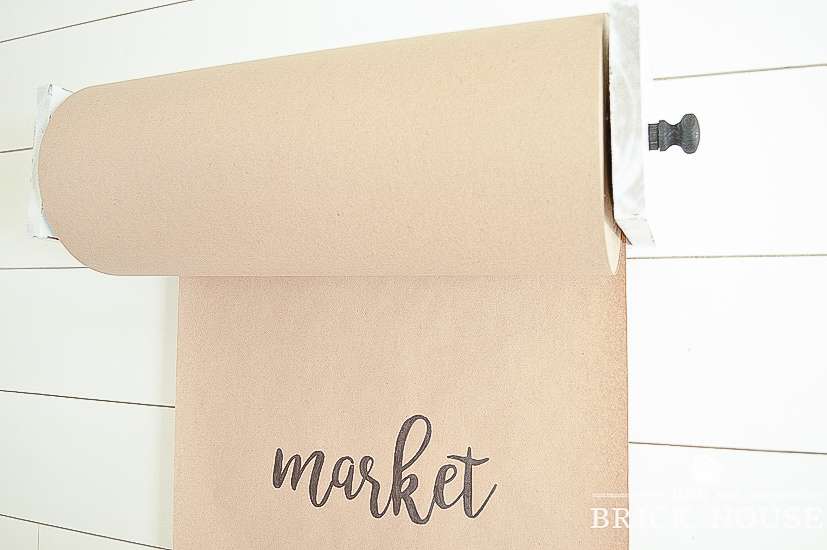

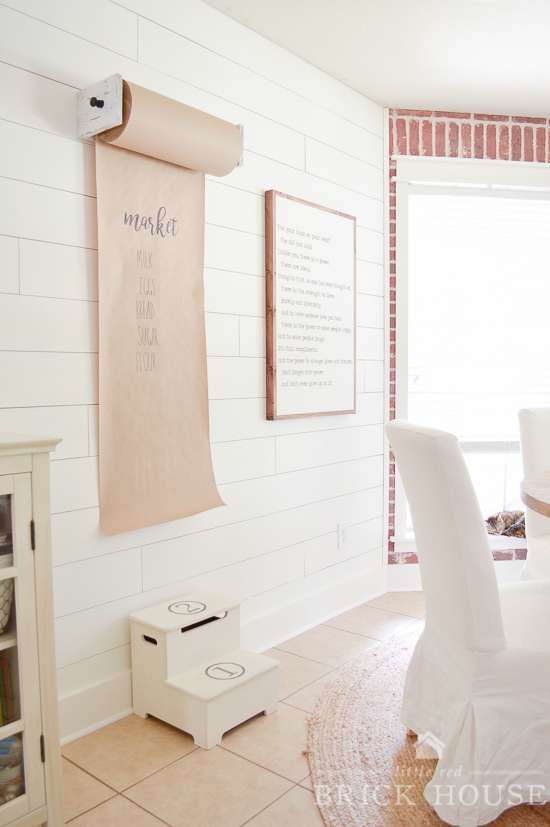
Aaaah! I love it so much! It fits the space perfectly and it really is super convenient. I can just snap a pic of the grocery list on shopping day and head to the store!
I’m sure you’re wondering if I hand lettered the writing and the answer is yes and no. I printed out the word “market” in Microsoft Word and traced it onto the paper using the transfer method I used in my DIY Anniversary Date Sign tutorial. For the other words, I just wrote them in really skinny uppercase letters.
The fun isn’t over yet! Be sure to click through the photos below and check out all of my Monthly DIY Challenge pals’ projects.
xo,
sarah
GIVEAWAY:
Friends, let’s talk about this awesome giveaway from HomeRight. They graciously provided a Finish Max paint sprayer, a Rapid Clean tool, a large spray shelter AND a small shelter for one of you lucky readers! Amazing, right!? Just complete the Rafflecopter below to enter. Good luck!
