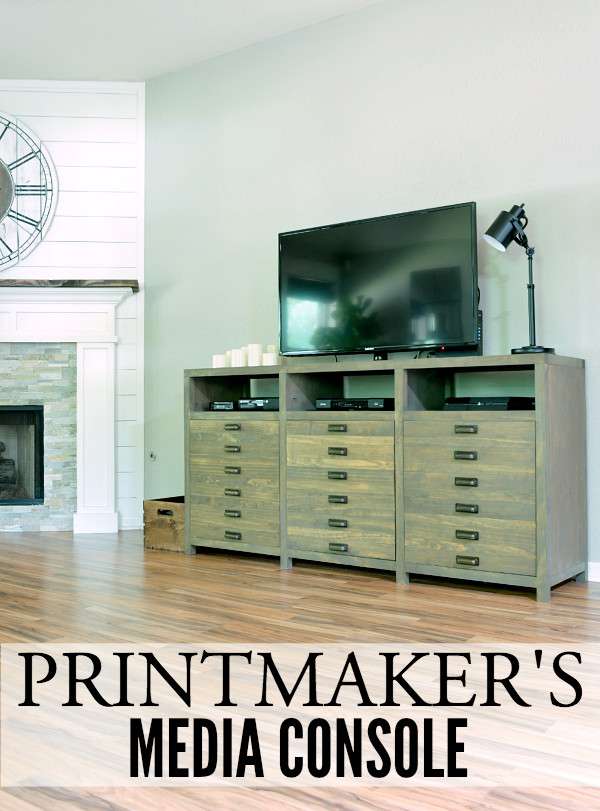
Build your own high-end furniture on a budget with this printmaker’s media console tutorial!
Well, hello there. I thought I’d take a break from all of the kitchen talk to show you a project I completed some time ago but never got around to sharing. Ever since I first saw the Printmaker’s Media Console from Restoration Hardware, I knew I had to have one in my life. All of those gorgeous pulls give me major heart eyes. And don’t even get me started on that grey washed stain.
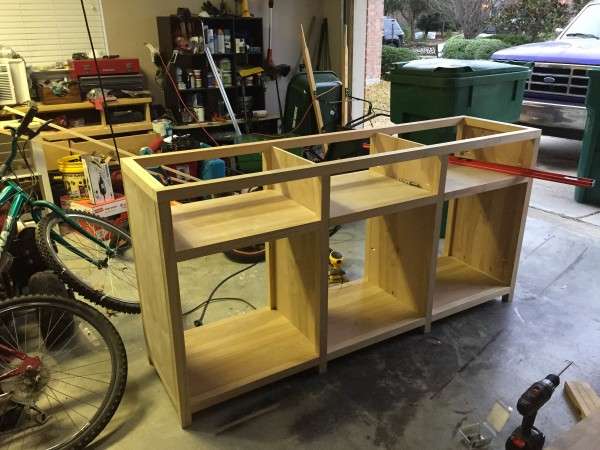
I found the plans to build the unit on Ana White. I changed things up a bit and decided to forgo the top drawers and just keep the space open for our cable box and game consoles. We bought the select pine from Home Depot because it’s great quality and requires minimal sanding. This post contains affiliate links for your convenience. Click here to read my full disclosure policy.
We assembled our frame and then added the sides, middle dividers and bottom piece. Everything was assembled pocket hole style so the screws would be invisible from the outside. When putting your doors together you want to make sure they are perfectly square. If not, then you will have a hard time fitting them in the openings. Ask me how I know! 😉
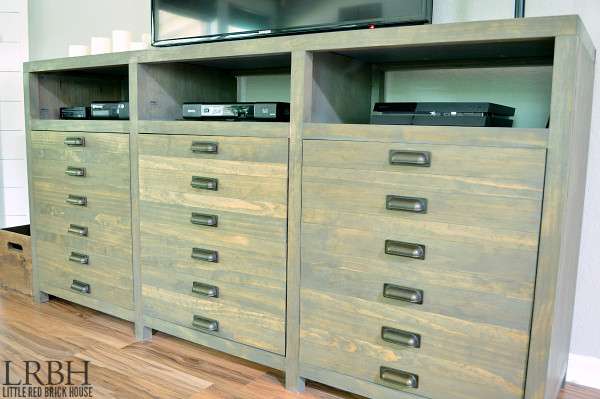
Once the unit was put together, it was time for the stain. This was a time consuming process, not only because the console is a big piece, but also because we used two different stains to achieve our desired color. To get that gorgeous Restoration Hardware grey washed wood stain, we first applied a layer of Rustoleum Weathered Gray and immediately wiped off the excess with a rag. Then we applied a layer of Minwax Provincial and let that sit for about 10 minutes before wiping off the excess.
After the stain dried completely, I brushed on two layers of polycrylic. Once that was dried, I drilled holes in the doors for the hardware. I loved the look of these pulls from Home Depot. They have an antique brass finish and I think it goes with the stain very nicely. With there being so many pulls (24 in all!), this is definitely where the bulk of the project budget went to.
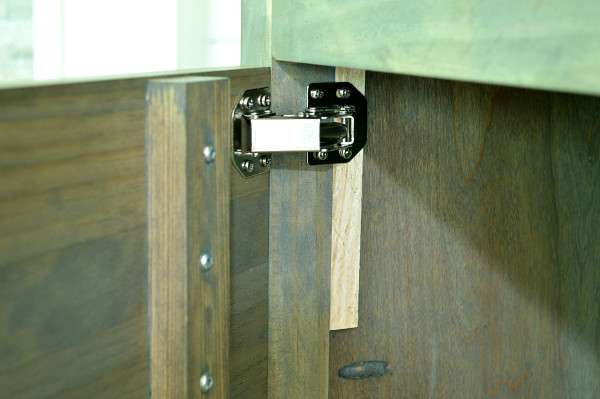
We had to attach some cleats to the sides for the door hinges to attach properly. We just screwed some scrap wood to the frame and attached our hinges to them.
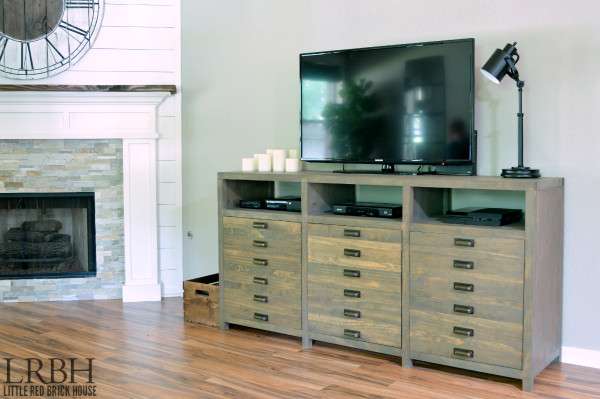
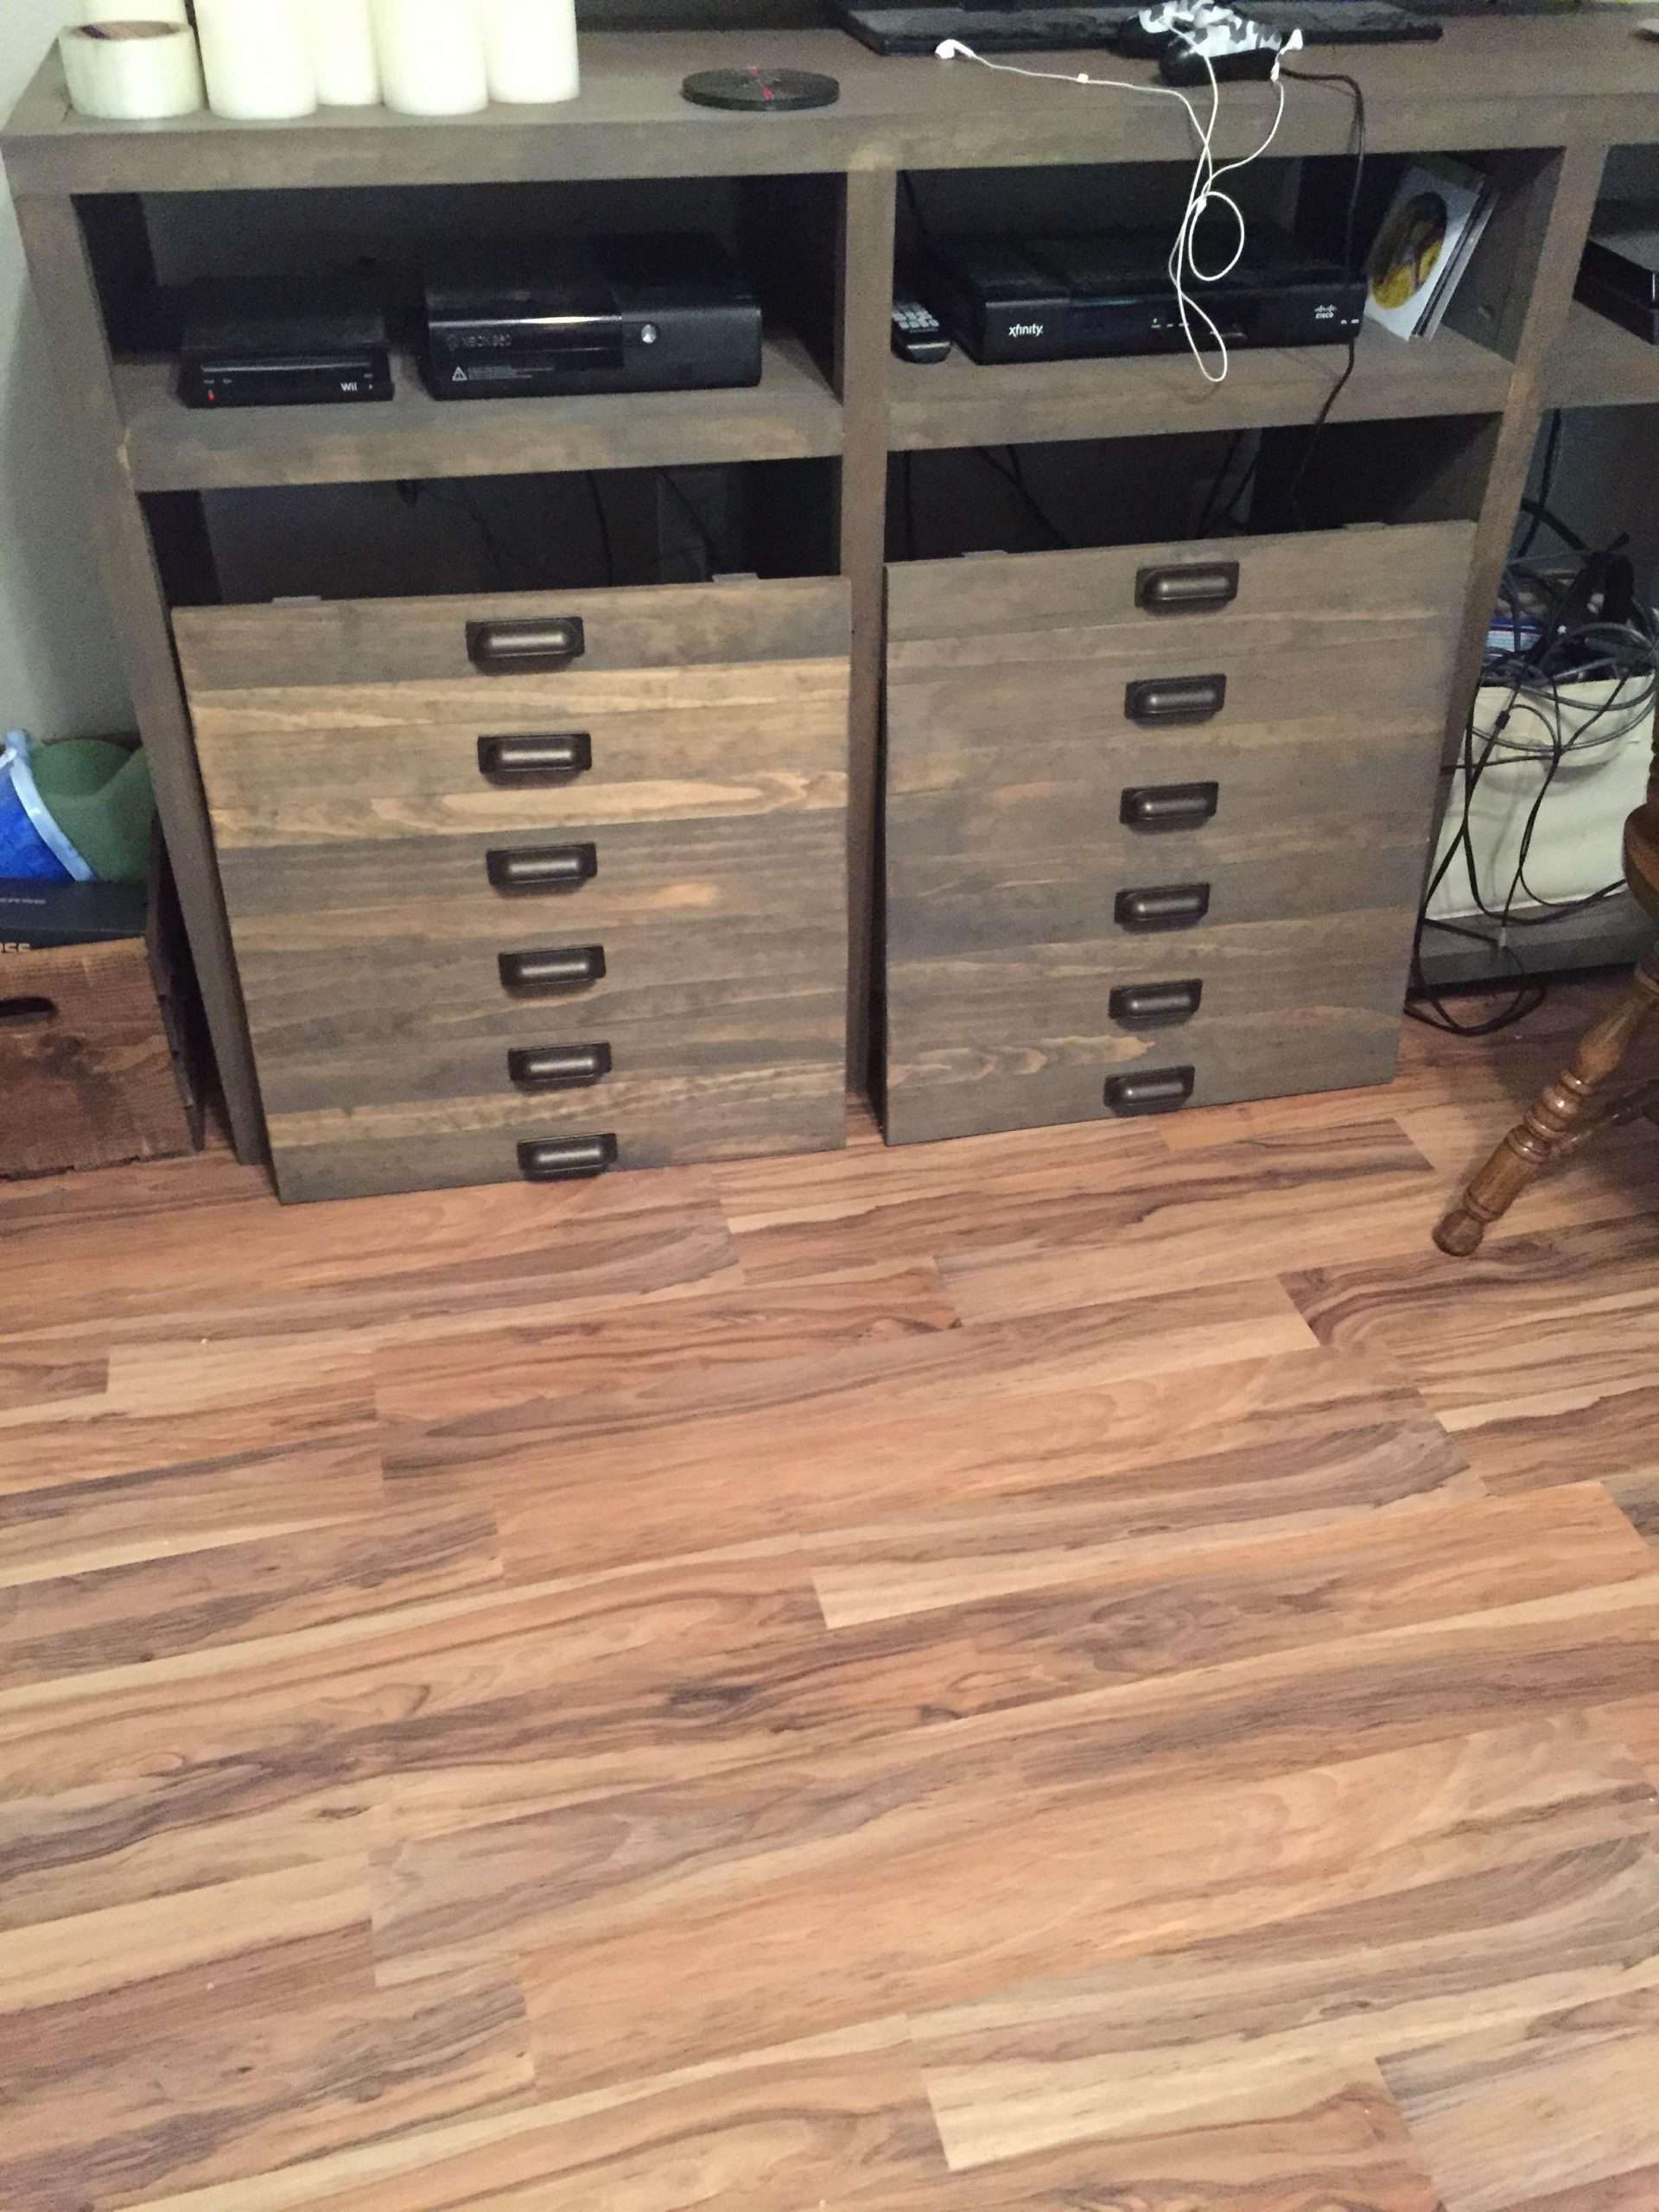
And with that, we were finished! I may go back and add a thin layer of plywood to close up the backs (You can just nail that into the back of the frame and then drill a small circle for your cords to run through). But for now, we’re good! My son is a pretty avid video gamer, so the consoles could use the extra airflow.
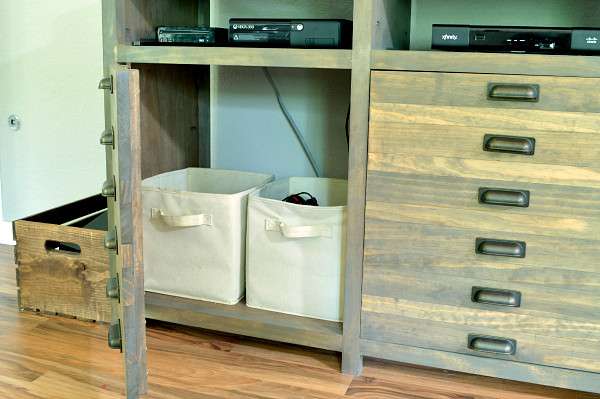
The doors open to a large amount of space inside. You can add shelves but we opted not to for now. Our bins fit everything we have very nicely.
This post was originally published at Domestically Speaking on August 27th, 2015.
xo,
sarah