I am so glad to be back in action and participating in this month’s DIY Challenge! This one was particularly fun because our theme for April is dollar store creations. There are so many odds and ends to choose from at the dollar store and coming up with something to create was a fun task.
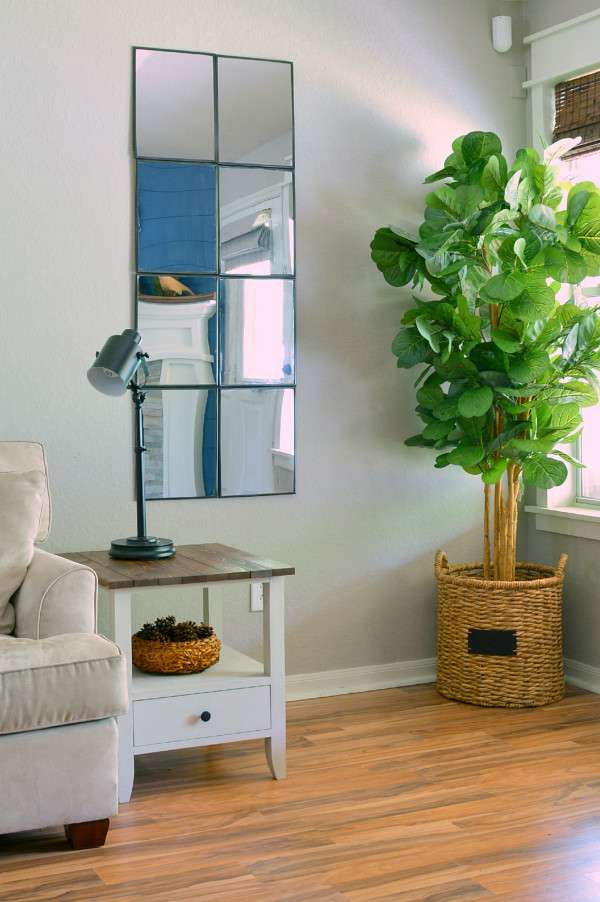
I ultimately chose something that I have been wanting to make for a long time- a windowpane mirror! We’ve all seen the gorgeous Pottery Barn Eagan mirror. That was my inspiration for this project.
All I needed was a few dollar store mirrors, some scrap pieces of thin plywood, and some Liquid Nails glue.

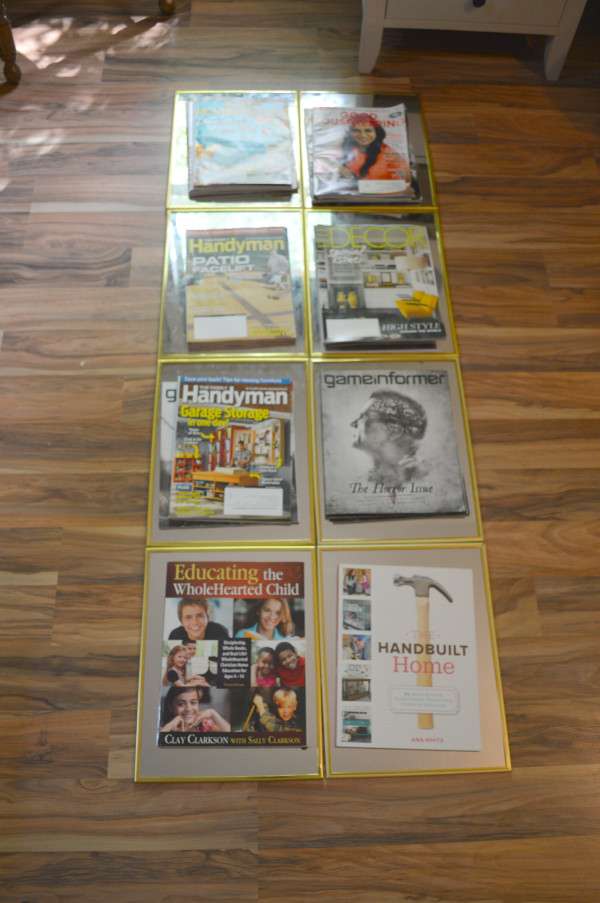
First, I glued all of the mirrors to the scrap plywood. I didn’t have any larger pieces of wood on hand, and in the spirit of keeping things inexpensive, I just decided to glue the mirrors in rows of four onto two pieces of thin plywood.
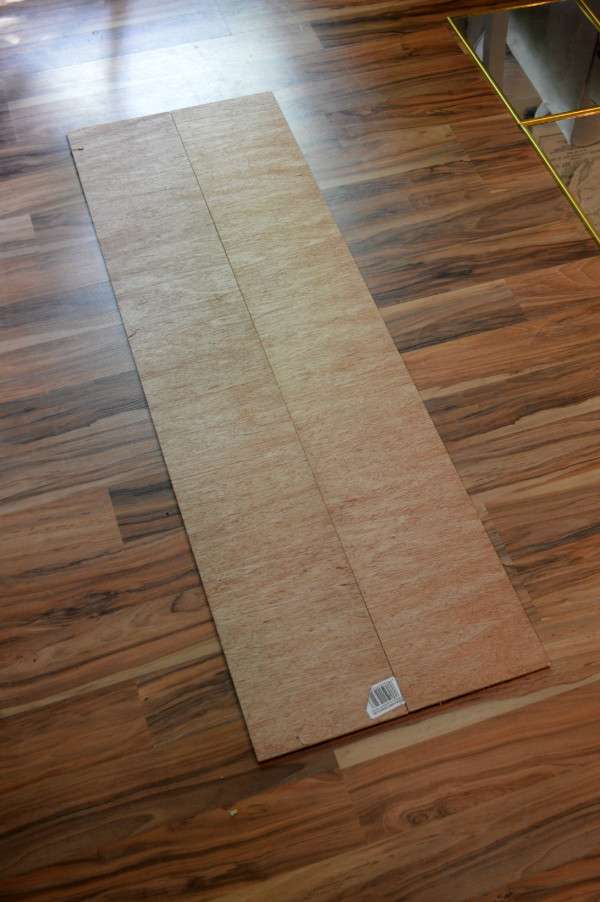
I let that sit overnight with some weight on top to help secure everything nice and flat.
The next day, I spray painted the frames of the mirrors with Rustoleum Oil Rubbed Bronze spray paint. Now, here’s where things got a little hairy. At first I decided that I was going to cover the mirrored part by taping over it with painter’s tape and paper. But I was running out of time and couldn’t find my tape so I just sprayed right over those babies, uncovered, and thought I could remove the paint with a razor blade once it dried. I don’t have an actual picture of this part because I was about two seconds from pulling my hair out and my hands were cramping up from all of the scraping. So I decided to just paint you a little picture.
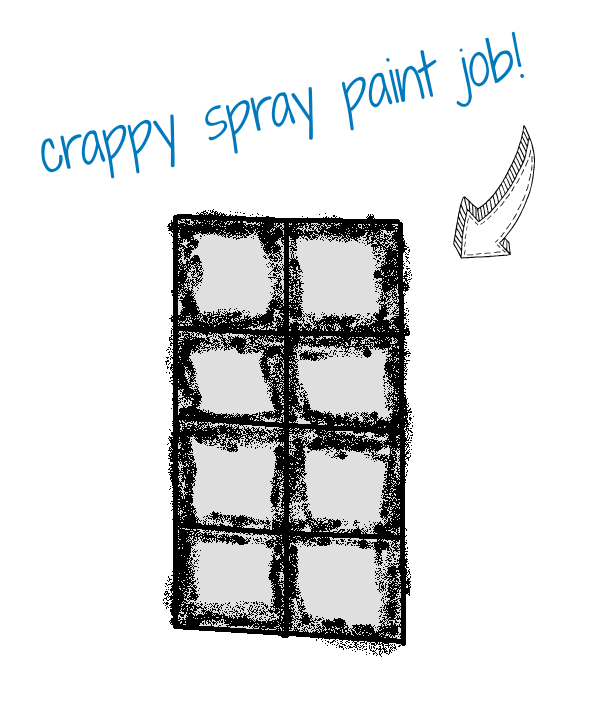
Do yourself a favor and take the time to tape up the mirror. Or even better, buy mirrors with black frames. Lucky for me, my store didn’t have any on hand. Perfect. It was a heck of a job scratching every last bit of paint off with my crappy box cutter razor, but in the end I prevailed. A few swipes of nail polish remover and a couple spritzes of Windex and those mirrors were sparkling! If you do decide to repeat my shenanigans, just make sure you scrape carefully so that you don’t scratch the mirror or possibly break it.
After all was said and done, I mounted each row of mirrors to the wall using the hangers that were already installed on the two top mirrors. Easy peasy! I love how it looks like it’s one piece but really it’s two, split right down the middle.
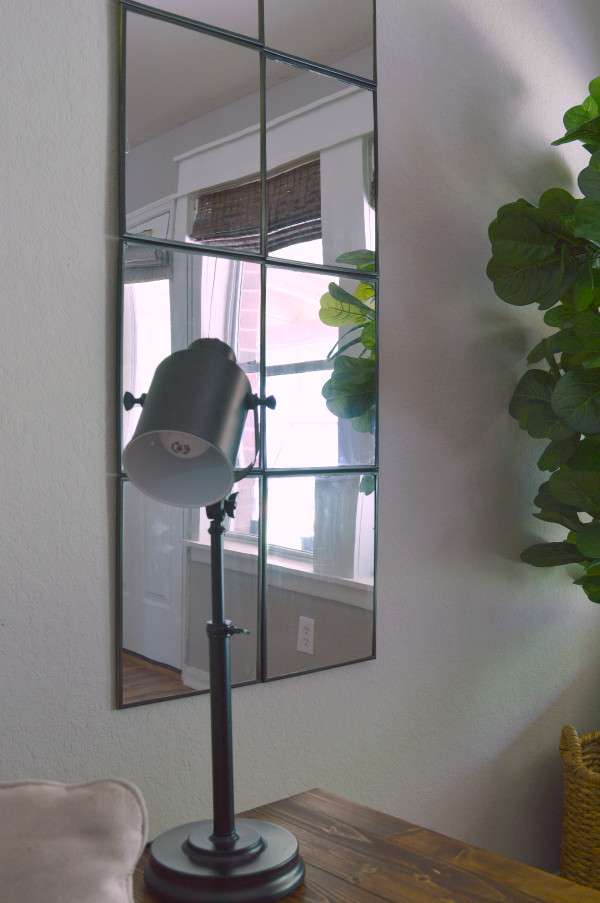
I am more than likely going to go back and re-do the mirror to my specifications because I am a perfectionist and every tiny detail gets to me. Those little imperfections will call out to me from across the room, I swear. But I still think it’s a great and inexpensive alternative to the look I’m going for. And for a grand total of eight bucks, it’s a great statement piece.

I hope you all enjoyed my little windowpane mirror! Be sure to check out all of the other girl’s projects below. They rocked it this month! I absolutely love being a part of such a creative and inspiring group of ladies.

Looks great! Would there be any reason you couldn’t paint the frames before you glue them to the backing?
Thanks!
Thank you, Dorothy! You could absolutely paint the frames before gluing them together. Either way works just fine! 🙂
Ahh, what a pain of having to scrape all the extra paint off! I’ve deffffiniittelly had to do that more than a few times because I couldn’t find the tape or was too lazy to do it. Haha. I really love how this project turned out – it looks like a fancy vintage piece that you would find at a store or estate sale. Love how it reflects the light and brightens your space! 🙂
Thank you so much, Erica! I appreciate it. I really needed something in that corner to bounce some light around to the rest of the room.
Love this, Sarah! It’s so pretty, and looks a whole heck of a lot more expensive than $8! 🙂
Aww! Thanks so much, Amanda!
Love this, Sarah! It turned out so great. I also love your crappy paint job drawing :).
Ha ha! Thanks, Amy!! Somehow I knew you’d enjoy that drawing. Skills, yo!
I wonder if it’d be possible to take the mirrors out of the frames, spray paint ’em, then put them back in. I’ve pried into the backing of a few dollar store frames before and they normally have a staple system under the backing. Just a thought! I’m not sure prying back all those staples would be more or less time consuming than just taping everything off though…
That would have been so much easier! I wish! Unfortunately my frames were glued on and some of them had even chipped off and separated from the frames. Thank goodness I bought extras.
Turned out fabulous, Sarah! Love how the mirror turned out and what a great statement piece!
Thank you so much, Tara!
So genius! Those mirrors can be so pricey and this is an amazing solution! It looks fabulous! And I’m so sorry you had to scrape all that paint off, but it was worth it!
Thanks, Bre! Ha ha! I’m just glad it’s all behind me. 🙂
What a great idea! It’s definitely a great statement piece! And I’ve TOTALLY been there with hand scraping paint off of a mirror! I feel your pain! I got so frustrated that I decided to try a brillo pad which of course scratched the mirror.. Oopsy! 🙂
Thanks, Nicole! Oh no! All that work and it scratched. I was so scared that I’d mess it up with the razor.
OOOOOOOH, this is such a great way to get that Pottery Barn look for less! Great thinking, Sarah! I never would have thought to group the mirrors together like this. Sorry for all of your spray paint troubles!
Thank you, Bre! Lessons learned, for sure. 😉
SO awesome! Totally worth the hours of scraping and crampy hands! LOVE how it turned out!!!
LOL! Thank you, Kristi! I’m not sure my hands will forget the experience any time soon. 😉
I think it looks fantastic, Sarah! Great idea and for a ton less than the expensive ones! You did a great job!
Thank you, Kendra! I may just have to make some more since they are so affordable!
I love this, Sarah! It’s such a great use for these mirrors and a fantastic way to make a statement on a budget. Great job! 🙂
Thank you, Christina! Can’t beat $8!