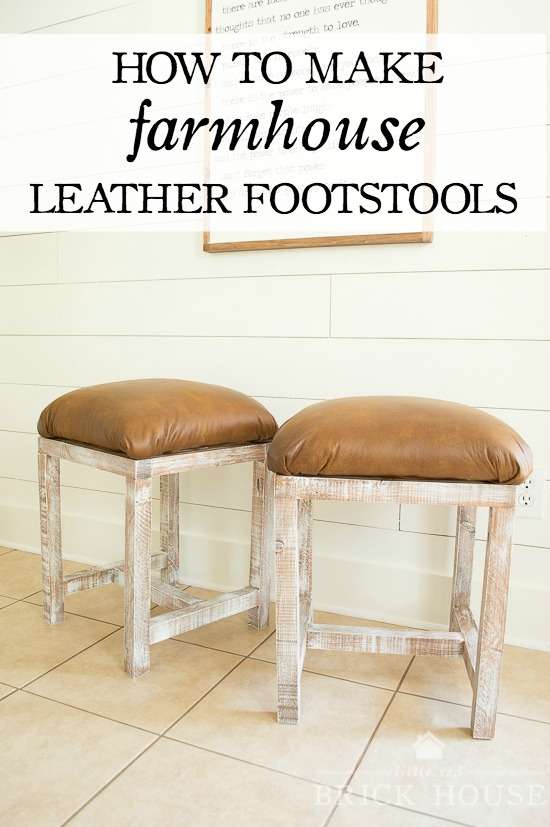
These DIY farmhouse leather footstools are the perfect solution for extra seating!
Hello, friends! Are you ready for another round of the Monthly DIY Challenge? This month our theme is leather and I had such a blast creating these cute little farmhouse leather footstools.
I want to give a huge “thank you” to Leather Hide Store for partnering with Little Red Brick House on these farmhouse leather footstools. Stick around ’til the end because one lucky winner will have a chance to score a full-size hide from Leather Hide Store!!

These were super easy to make; no crazy angled cuts or anything complicated like that. And the materials were all easy to find items I already had on hand at home. This post contains affiliate links for your convenience. Click here to read my full disclosure policy.
Tools & Materials Needed:
- (4) 2×2 wood boards @ 8 ft.
- pocket hole jig
- 2.5″ pocket hole screws
- power drill
- wood stain
- white paint
- leather upholstery piece
- old throw pillow or upholstery foam
- thin foam mattress topper
- 3/4″ plywood @ 15″ x 15″
- staple gun
- staples
How to Make Farmhouse Leather Footstools:
First, cut the wood for the stool frames. I cut my 2×2 boards to the dimensions below:
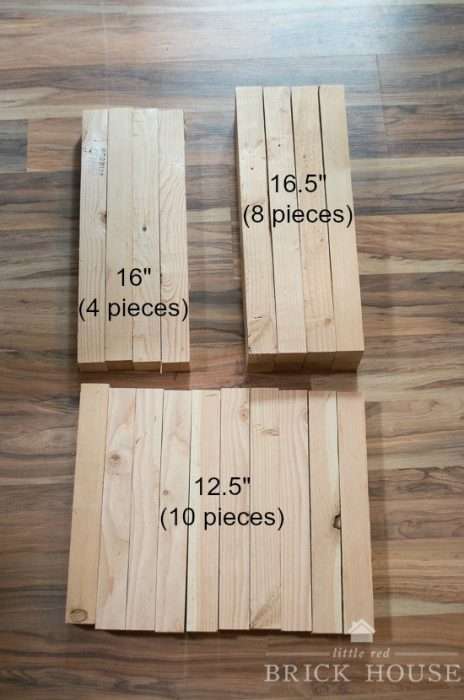
Once all my cuts were made, I drilled out the pocket holes as follows:
- All of the 12.5″ boards should have pocket holes in both ends.
- All of the 16.5″ boards should have a pocket hole in one end.
- The 16″ boards do NOT need any pocket hole drilled in them.
The frames are really easy to assemble. For each frame you basically make two upside down U-shaped pieces, one I-shaped piece and then there are two 12.5″ boards left that join the two U-shaped pieces. Please refer to the amazing mock-up below. The little arrows show where to drill your pocket holes.
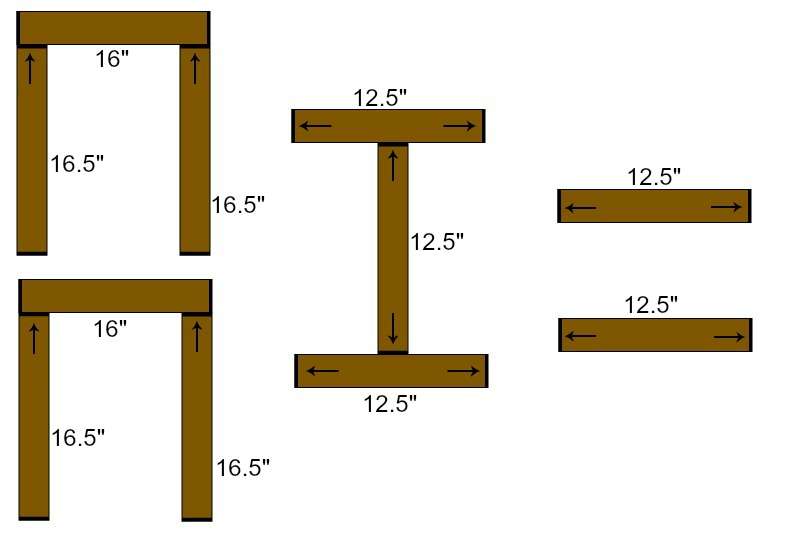
*I didn’t get good pictures of this because my sweet hubby decided to put the stools together for me while I was sleeping off a migraine. Being that he is not a blogger (at all) he didn’t think to take process shots. It’s all good though. That’s what my amazing graphic design skills are for. 😉
Moving on…
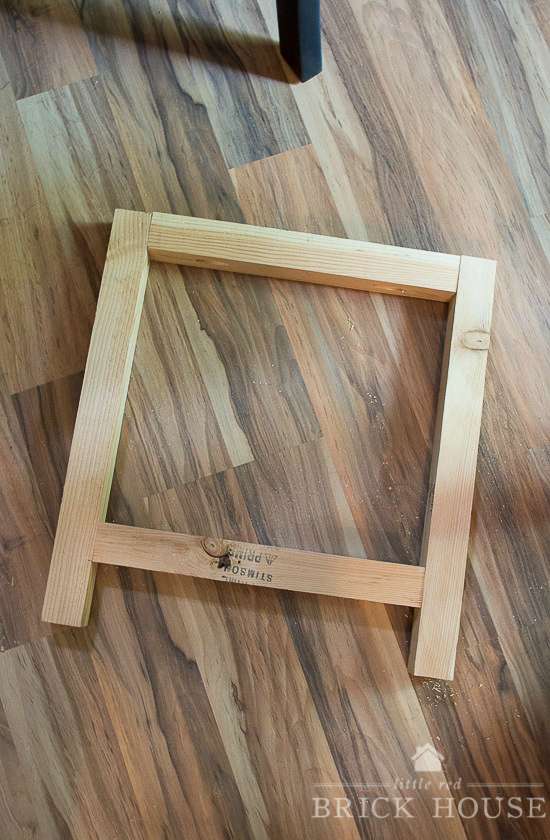
To assemble each frame, I screwed the two upside down U-shaped pieces together at the top with the two extra pieces that we had leftover in the last step. Then I screwed the I-shaped piece in between the two U-shaped pieces, about 2 1/2″ up from the bottom.
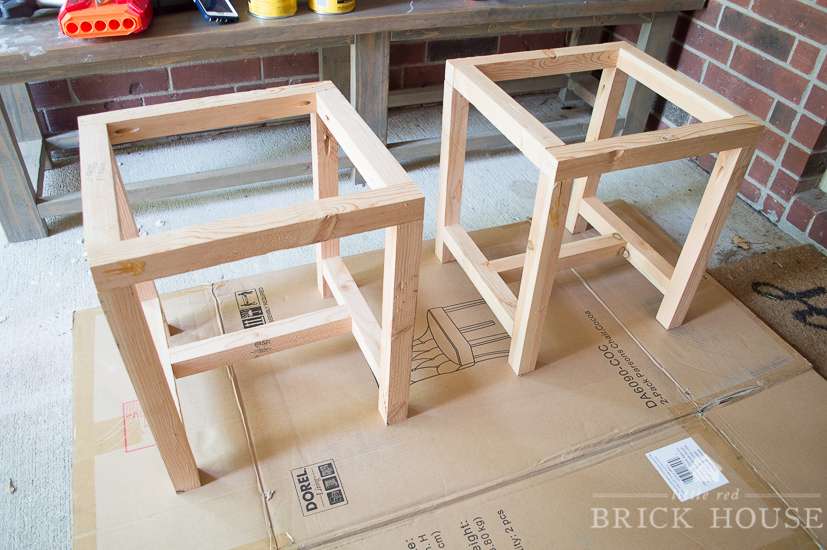
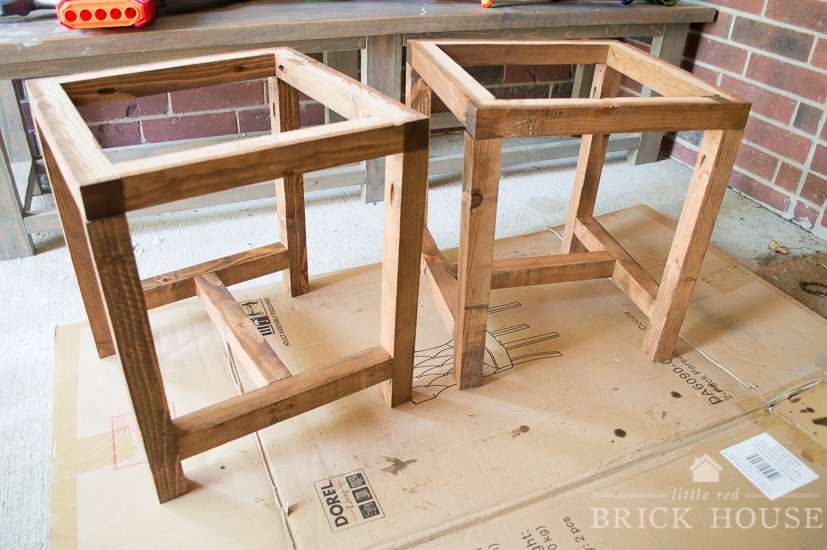
Then, I stained the frames.
While the stain was drying, I assembled my cushions.
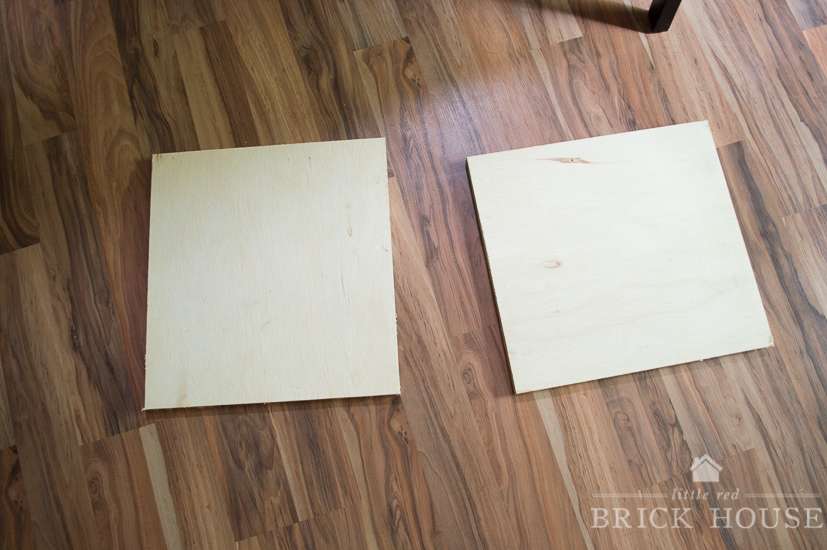
I had to cut the plywood to size first at 15 x 15 inch squares.
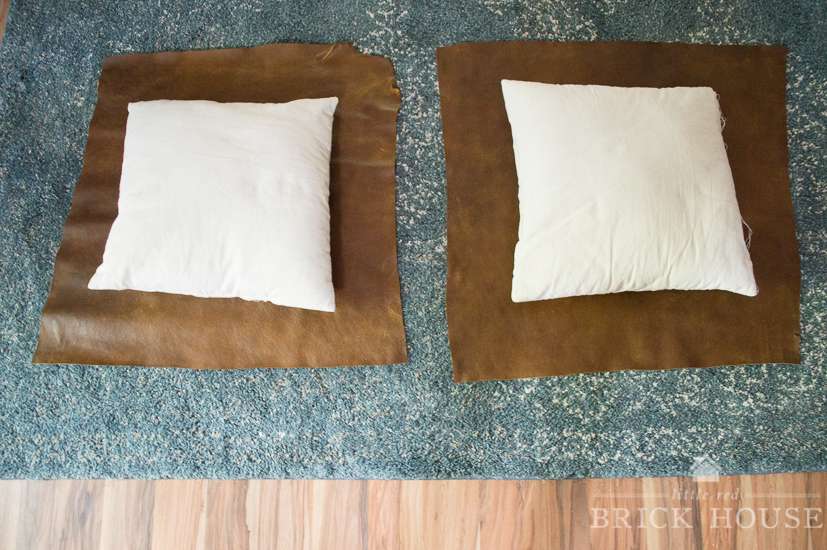
I had two 18″ throw pillows leftover that I wasn’t using, so rather than buy upholstery foam, I decided to give these a whirl and see if I could make them work. If you don’t have any extra pillows laying around you can totally use foam. Just cut it to 18 inches square. I set my pillows on top of my leather and cut around them, allowing for an extra 3 inches or so on all sides.
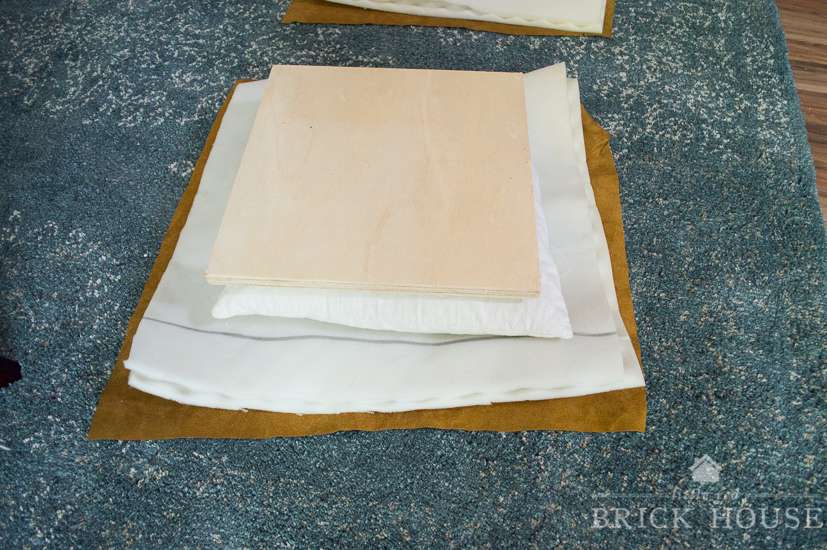
Next, I assembled my cushion sandwich, as I like to call it. I laid the leather upside down, placed two pieces of foam mattress topper on top, placed my pillow on top of that, and then last the square piece of plywood.
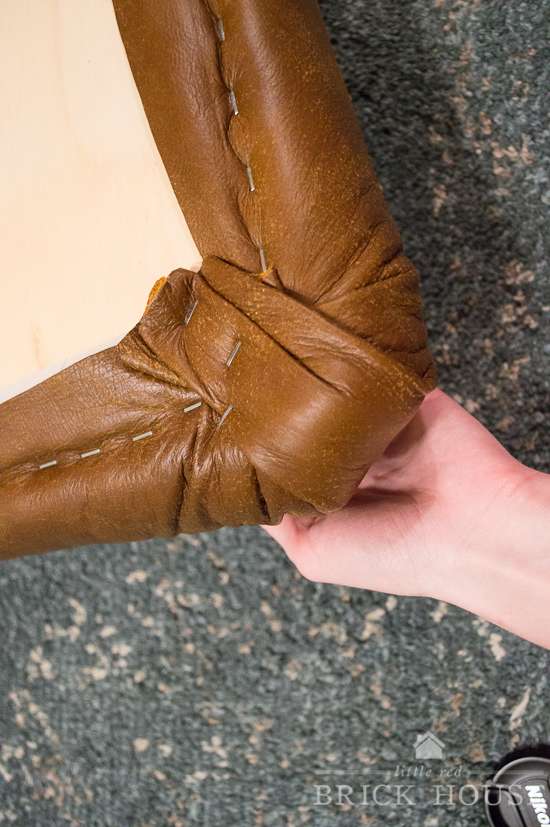
Then, I stretched one side of the leather over to the underside of the plywood and stapled it down. You want to staple one side and then move the the direct opposite side, making sure to pull the leather snug, but not too tight. Then do the same for the two remaining sides. Once you have all four sides secure continue to to staple the edges, pulling snugly, until you get to about 2 inches from the corners.
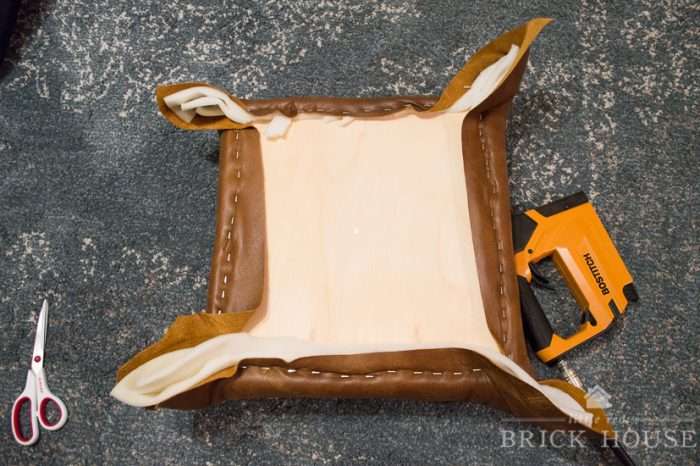
For the corners, I cut away any excess foam that was sticking out of the corners. I folded the side edges under and stapled the leather down, trying to keep the corner as flat as possible. There was a lot of folding and rearranging going on.
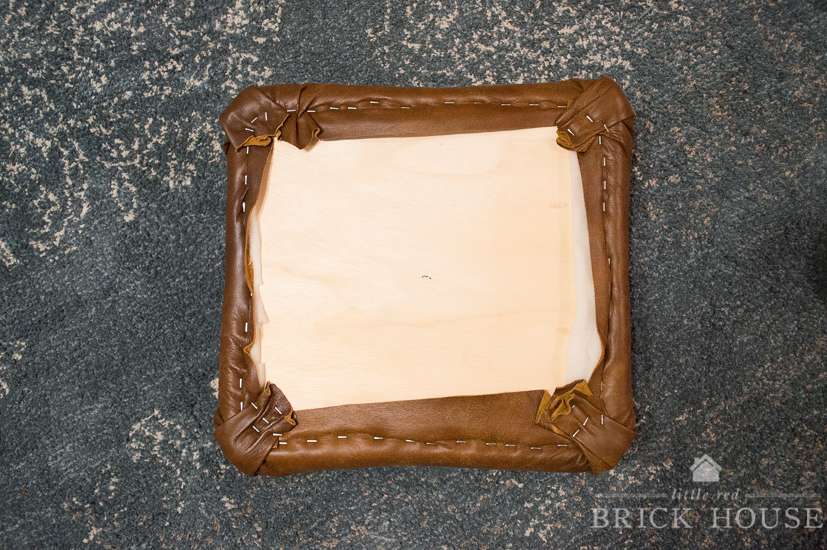
Here’s the finished cushion from the underside.
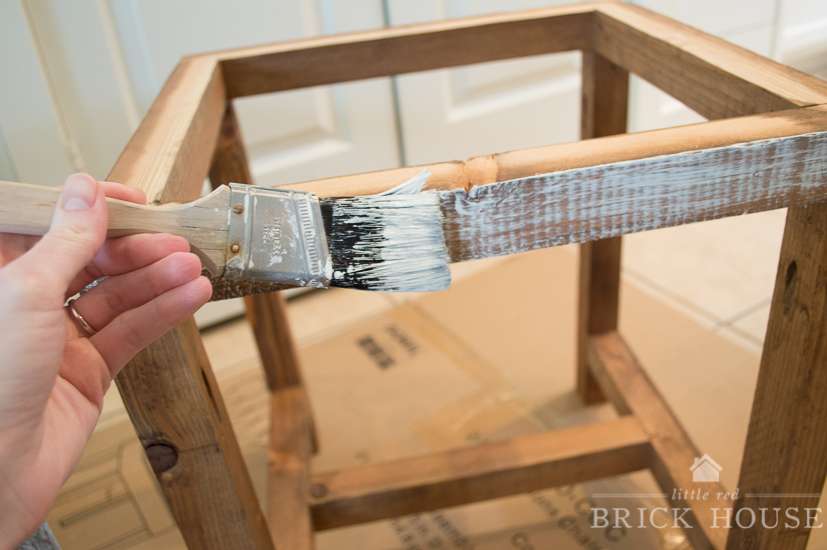
Before I attached the cushions to the frames, I wanted to dry brush the frames with white paint because they were almost exactly the same color as the leather. To do this I dipped the very tip of my paintbrush into the paint and wiped off any excess paint onto a paper towel. You don’t want the paintbrush to be globbed with paint at all. Just a light layer.
Then, lightly brush the paint over the wood in back and forth motions, trying to keep only the tip of the paintbrush on the wood. You’re not trying to cover the wood in paint, just deposit a bit over the grain to bring out some detail.
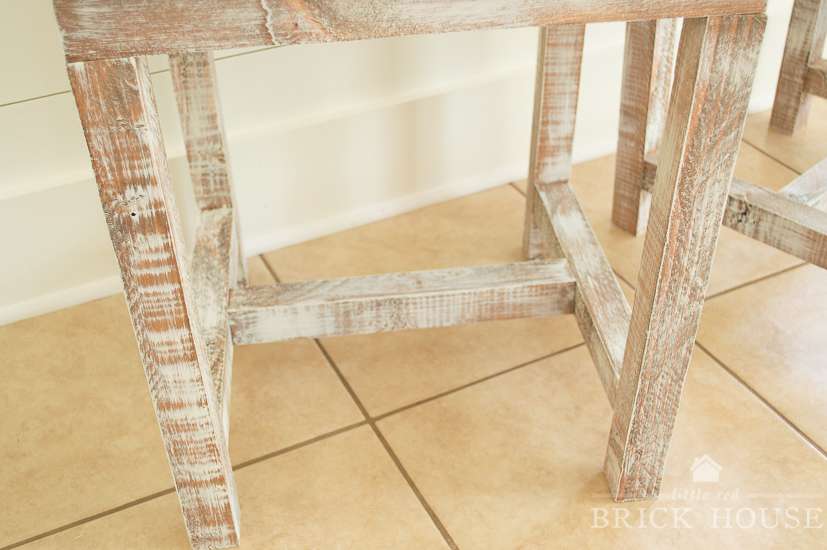
Here are my frames after dry brushing.
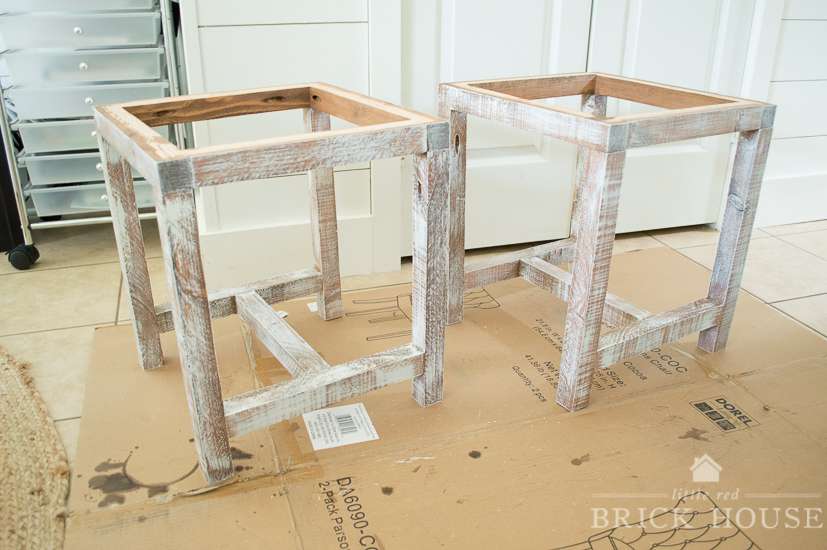
And a closeup.
To attach the cushions to the frame, I turned the cushions upside down and flipped the frames over on top. I screwed through the 2x2s into the plywood on the underside of the cushion. Be sure to drill pilot holes in your 2x2s first because the wood could split if you try to drill straight through.
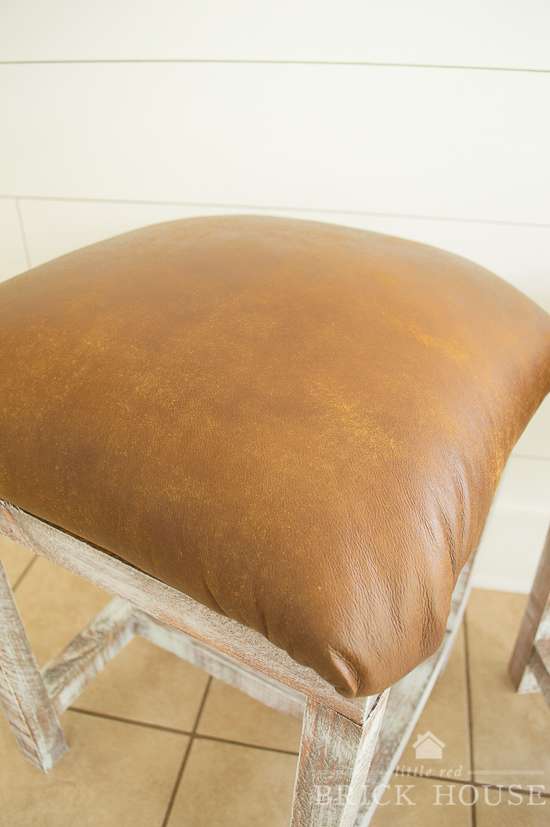
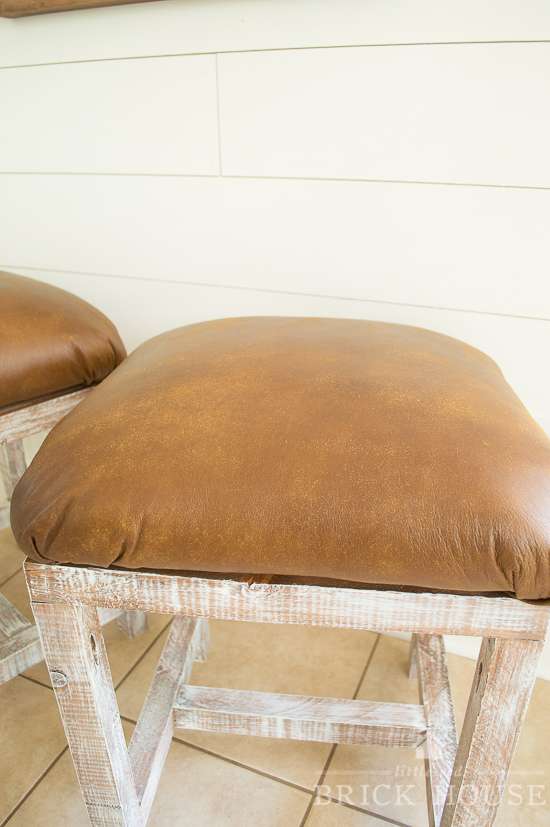
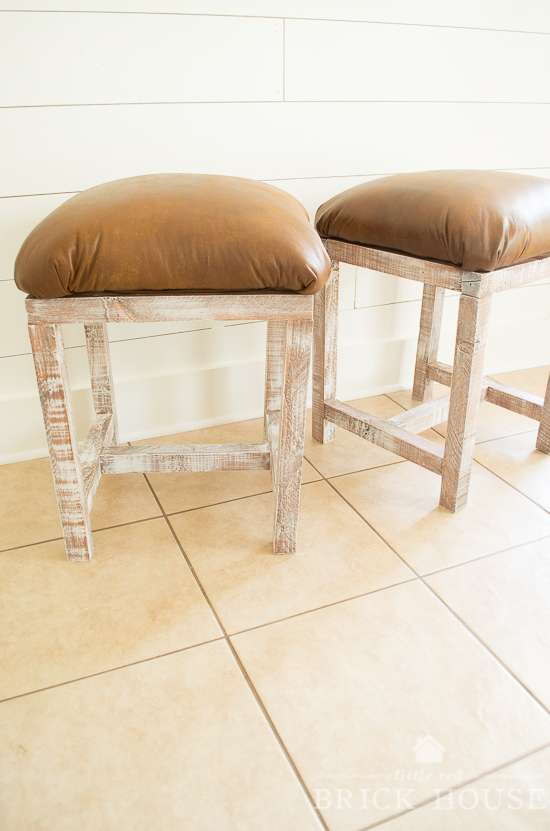
Voila! The finished product.
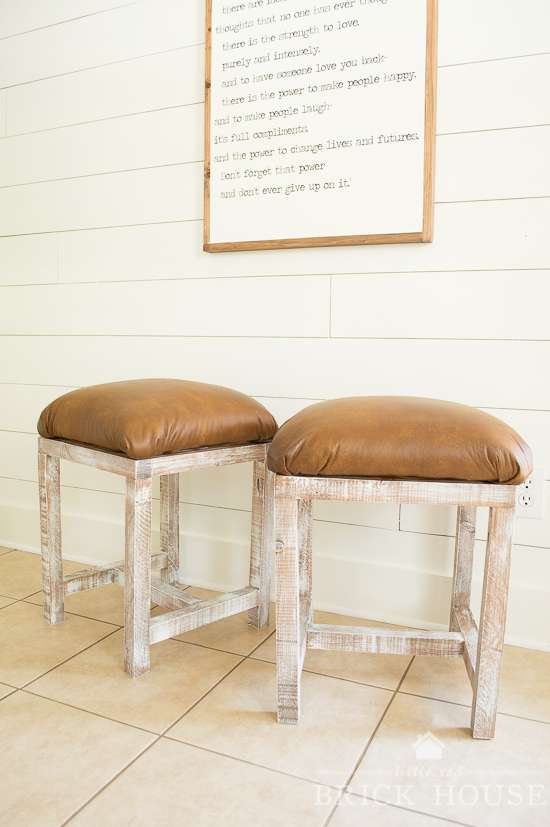
Isn’t that leather just gorgeous!?
They are perfect for extra seating when company comes over, or as gaming chairs for the kiddos, or even just to kick back and rest your feet on!

These little leather footstools turned out better than I thought they would. There were a few tricky parts but all in all the leather was really easy to work with. I just need to brush up on my upholstered corners a little.
Check out the gorgeous leather projects from my friends below! And be sure to come back and enter the giveaway at the very end of this post.
xo,
sarah
One lucky reader will win a full-size hide of their choice from Leather Hide Store’s “Our Collection” or “Special Collection” lines! Think of the beautiful things you could create! Just fill in the Rafflecopter below.