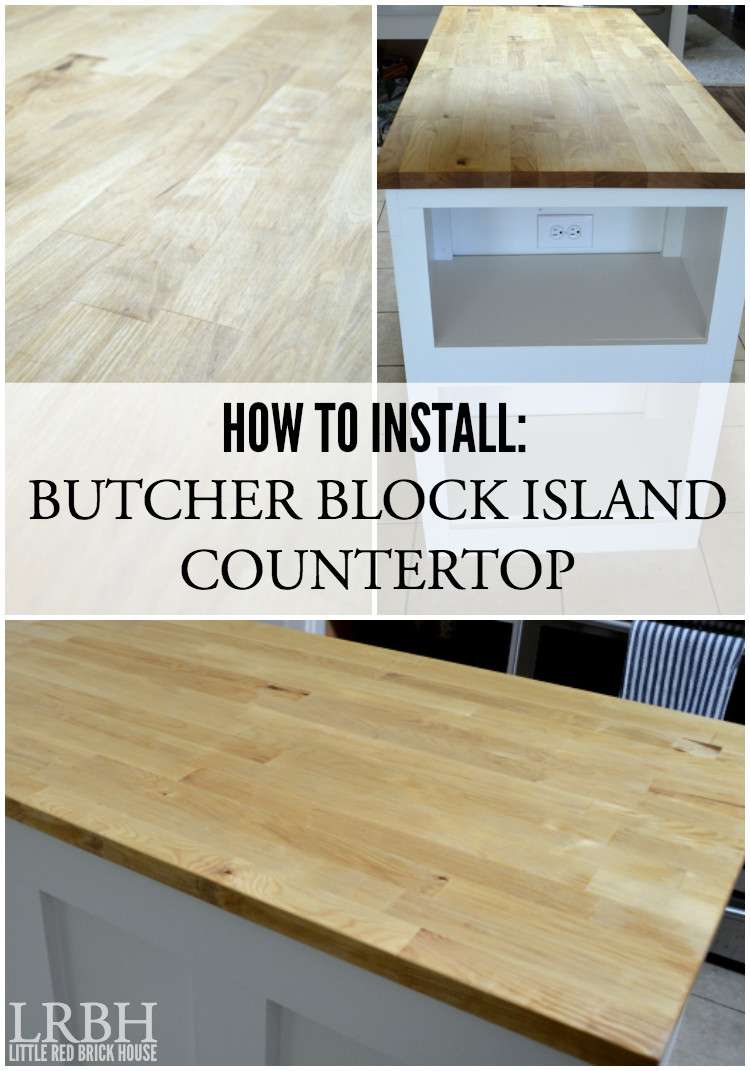
Learn how to easily install a butcher block counter.
Hello, friends! We are making progress on the kitchen makeover with an update on our butcher block island countertop. In the last update we shared how we extended the island to accommodate the microwave and also to provide more counter space, so check that out if you missed it.
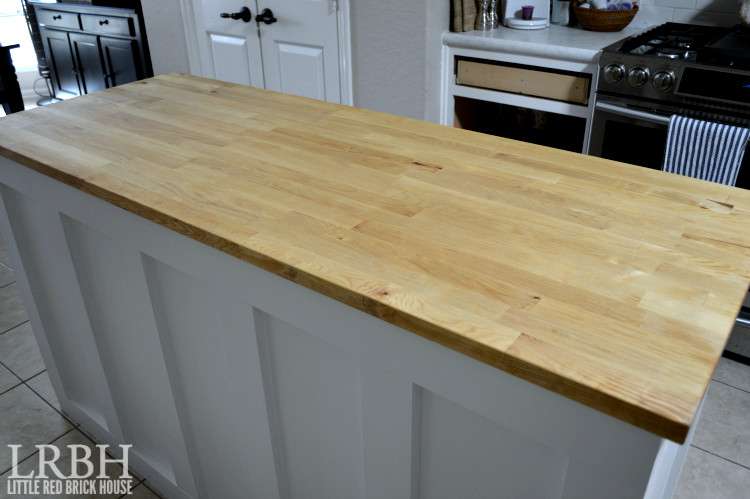
We decided on the Hammarp birch butcher block from IKEA for our island countertop. It was affordable, easy to install, and super low-maintenance.
How to Install a Butcher Block Counter:
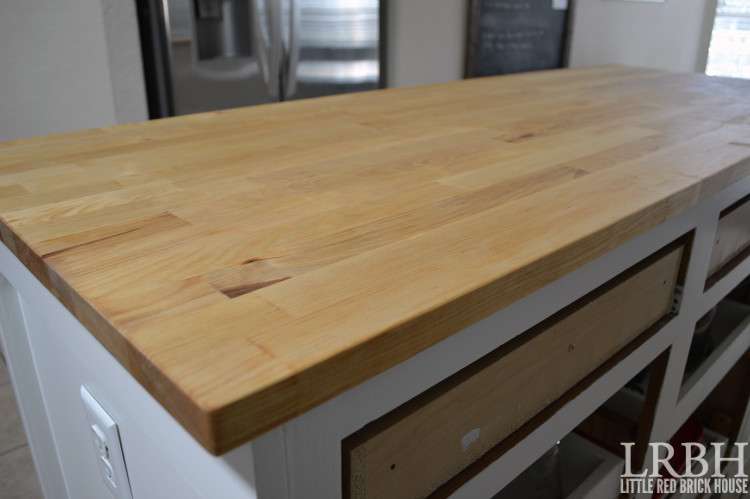
First, we cut it down to size with a table saw. We only had to cut off about eight inches from the slab. I didn’t get a picture of this part because we both had our hands full, trying to keep the counter level while pushing it through the saw blade. Once it was cut to size we sanded down the edges of the cut end to match the rest of the edges, as well as sanded the entire surface of the slab.
Installing the butcher block counter was pretty straightforward. We placed the counter on top of the island and made sure it was centered. Then we held up our mounting brackets on the underside and marked where the holes would be with a pencil. We flipped the butcher block over and drilled pilot holes where we previously marked. Next, we flipped the butcher block back over, lined up the brackets with the holes and screwed them in.
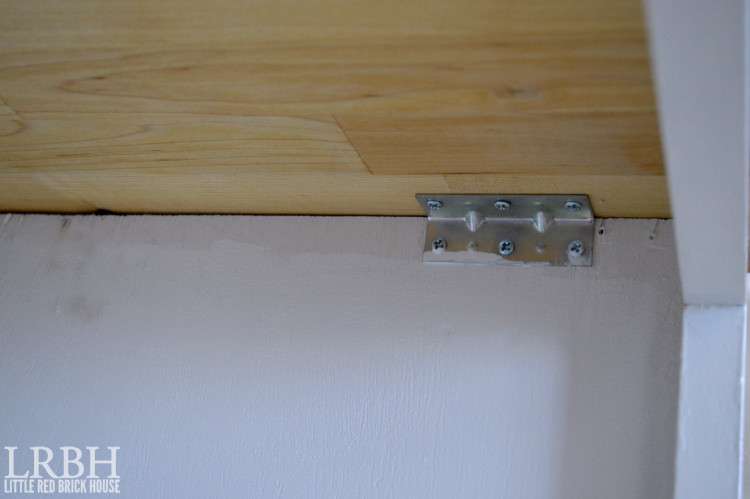
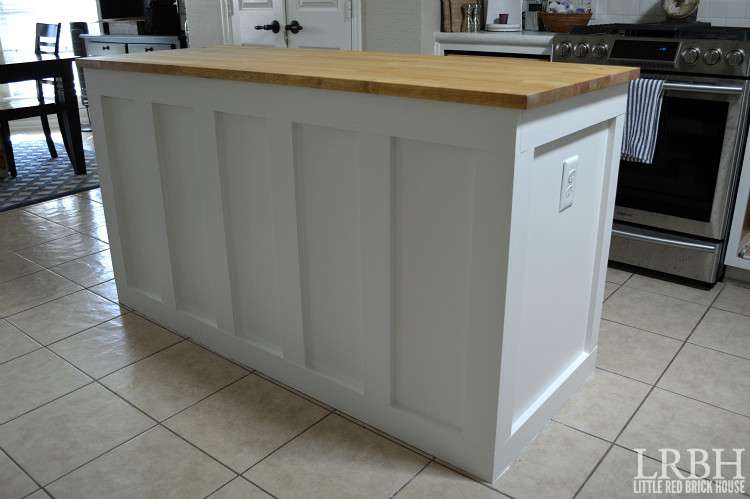
The butcher block comes with mounting hardware but we misplaced ours somehow and had to purchase new brackets from the hardware store. No biggie. They work just the same. My husband got a little bit of paint on them but you can’t even see the brackets unless you stick your head into the microwave cubby.
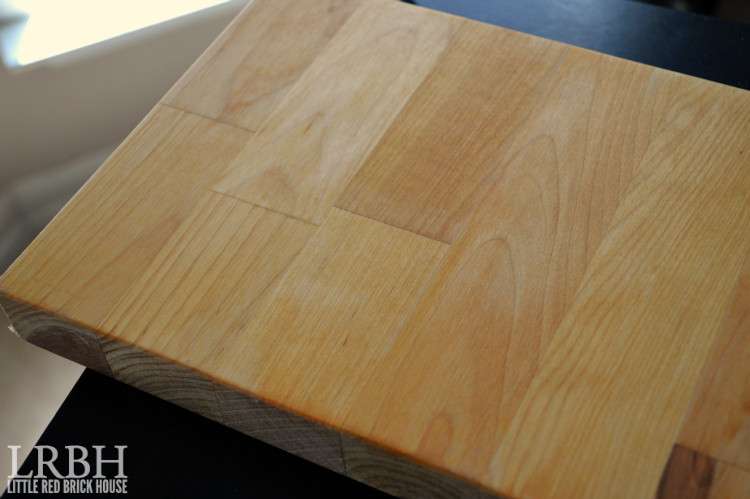
Once our butcher block was installed we had to decide how to seal it. I really wanted to keep the natural, blond look of the birch. I also wanted to make sure it was 100% food safe, so that ruled out any stains, poly or lacquers. Blogland is all abuzz about Waterlox and how it’s the only option for food safe butcher block. So I ordered some and we tested it out on the scrap piece. I was so disappointed to see that it turned the butcher block yellow. I mean macaroni and cheese yellow. You can see it in the picture below. It also had a pretty offensive smell to it that made me question just how “safe” it actually was.
Bummer. I started doing a little more research and ended up stumbling upon quite possibly the easiest way to care for butcher block – mineral oil. It doesn’t make the butcher block yellow. There is a slight darkening in color but it’s not much at all.
The application is foolproof, too! Once a day for the first week, once a week for the first month, and from there you just oil it once a month for the life of the countertop. Since the mineral oil doesn’t go rancid you can throw the towel you use in a zip top bag and use it each time. I’m trying out different ways to clean the butcher block, so stay tuned for an update on that.
Water just beads up on top of the oil and you can wipe it up wth a rag or paper towel. The oil does leave a slight residue but it’s not very noticeable at all. If you leave a piece of paper on top of it, it will leave an oil stain but we don’t use our butcher block for anything but food prep so it’s not a problem for us.
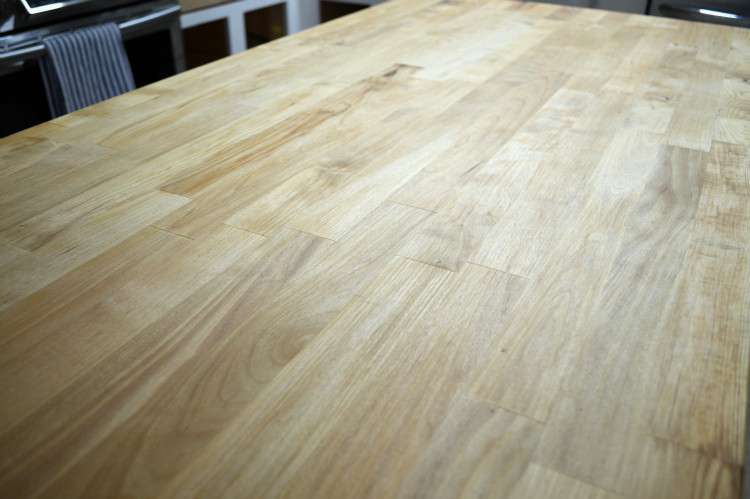
From certain angles and during certain times of the day it can tend to look a bit more yellow than it really is. The crappy incandescent light bulbs we cheaped out on definitely don’t help either. We will be switching to LEDs soon and I’m hoping that solves that problem.
The view in the picture below is from the natural light coming in from the sky tube and it shows the true color of the butcher block best.
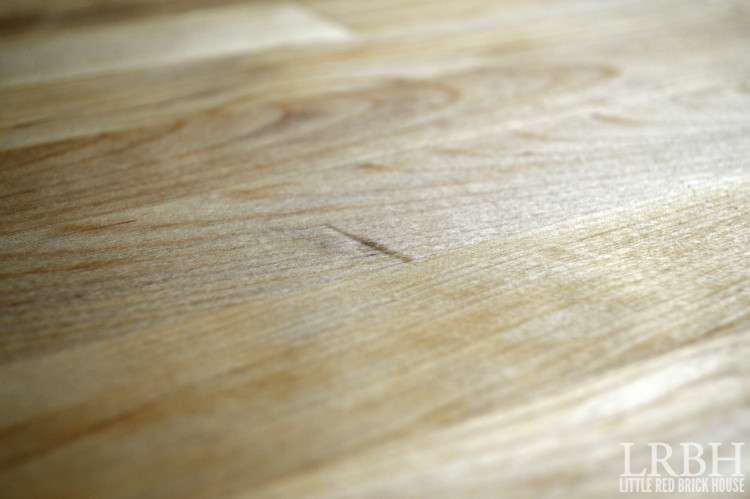
Ain’t she purty? I love the warmth and texture it adds to the kitchen. And another bonus is that if anything ever does stain or scratch it you can just sand it right out and re-oil. We’ve already had a pot fall down from the pot rack that left a little knick in it. I’m not once of those types that needs everything to be perfect. I delight in imperfections. I think they add character.
What do you think? Are you a fan of butcher block counters in the kitchen? Stay tuned for how we made our faux marble laminate counters. And tomorrow is none other than Monthly DIY Challenge day. Hooray! We’ve got some great projects to share with you, so stick around for that!
xo,
sarah
Don’t miss any of the Kitchen Makeover posts:
HOW TO: EXTENDING THE CABINETS TO THE CEILING
HOW TO: KITCHEN ISLAND EXTENSION
FARMHOUSE STYLE KITCHEN MAKEOVER – REVEAL