I’m finding that with the progression of the school year and the fading memory of summer, I’m gathering more and more papers around the house. Some of it can be attributed to junk mail and other stuff we just haven’t gotten around to throwing away.
Then there’s the important items that you need to keep within view but don’t want to leave laying around on the counters. I decided what I need is a bulletin board to corral all of those items. I’m a very out-of-sight-out-mind person and become very forgetful of things if they aren’t staring me straight in the face, so a bulletin board sounded like the obvious solution.
We have an old one from our earlier homeschooling days that I shoved between the refrigerator and the wall to keep out of the way. While brainstorming what to do about my paper conundrum, I remembered it was hiding back there and decided to give it a little bulletin board makeover.
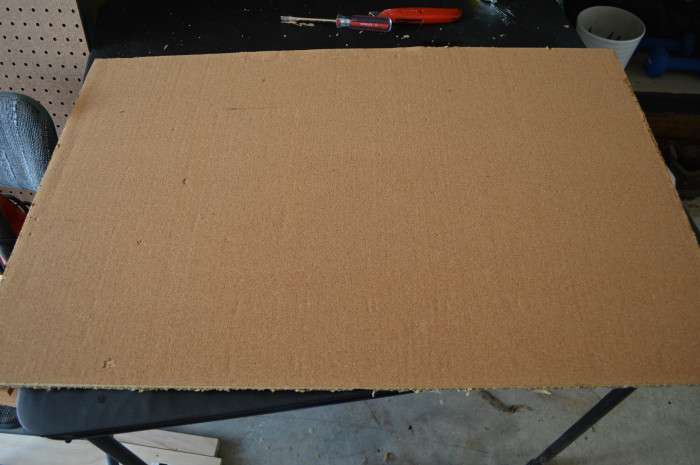
It’s in pretty good shape, except for a few spots where the cork pulled away from the cardboard backing. I decided that burlap was just the thing I needed to cover those spots. This post contains affiliate links for your convenience. Click here to read my full disclosure policy.
Materials:
- bulletin board (similar)
- burlap fabric
- staple gun
- 1×4 boards cut to your bulletin board’s dimensions
- 1×2 boards cut to your board’s dimensions
- Rustoleum Weathered Gray wood stain
- Minwax Provincial wood stain
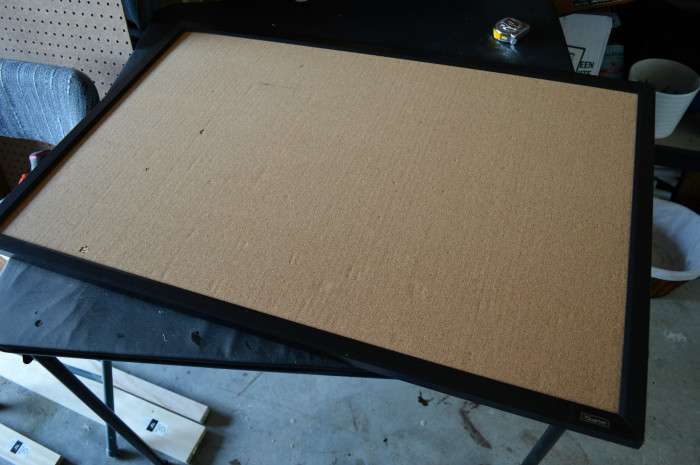
First, I carefully removed the old frame from the board. I thought it was plastic but it was actually some kind of painted cardboard. I had a little bit of trouble pulling it off because some parts were glued on really well. I used a flathead screwdriver to wedge under the frame and pry it from the board. On some parts the screwdriver poked small holes but I figured it was okay since that part would be covered by the frame later.
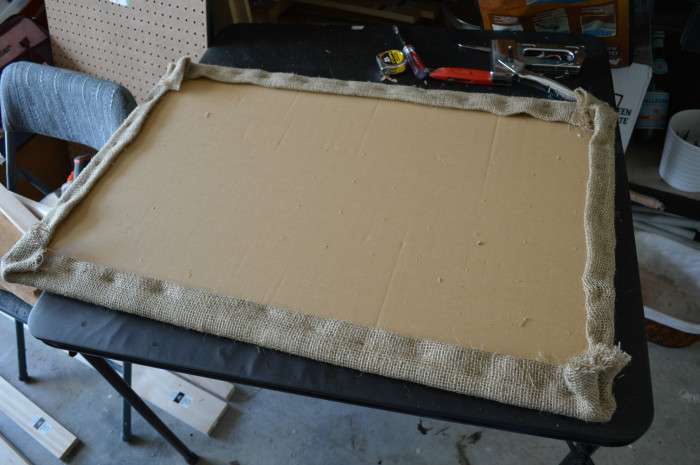
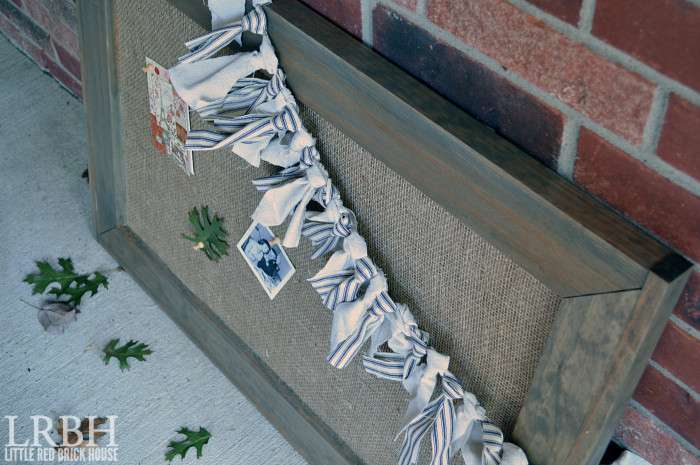
After the frame was removed, it was time to cover the bulletin board in burlap. I laid out my fabric in two layers because my burlap was woven pretty loosely. Then I placed the board face down on the burlap.
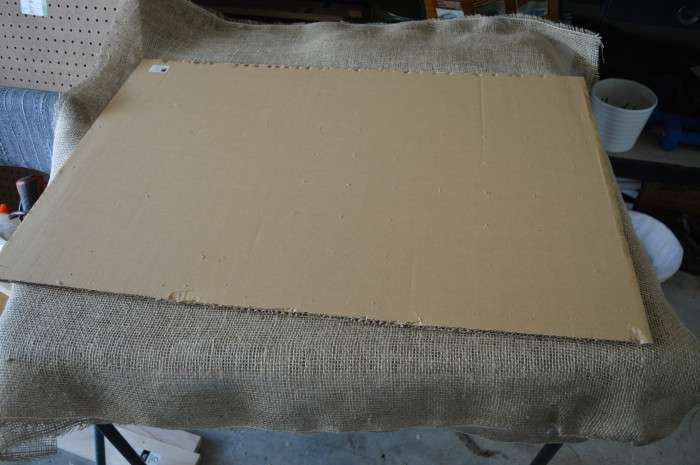
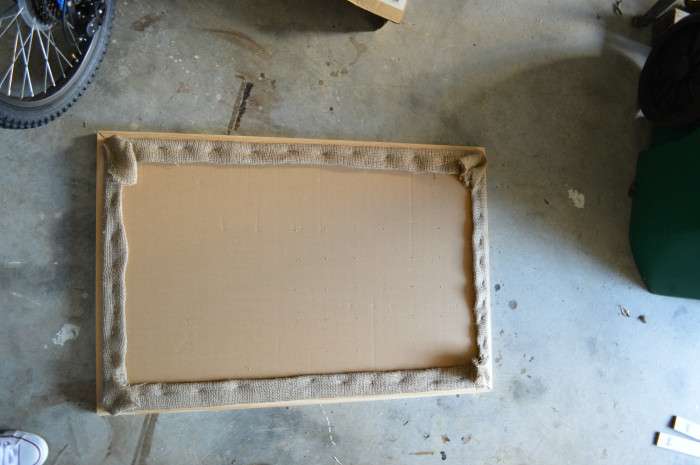
I folded the burlap under twice and used a manual staple gun to secure the burlap to the back of the board, making sure to pull the fabric tight as I stapled. Then I trimmed the corner fabric down so it wouldn’t be so bulky.
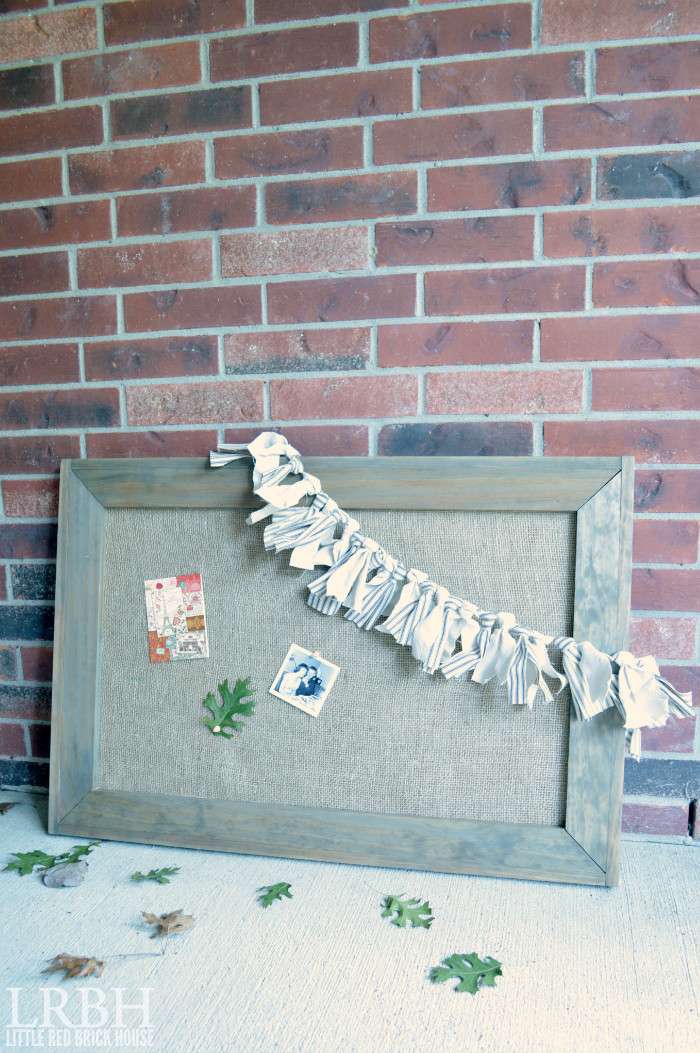
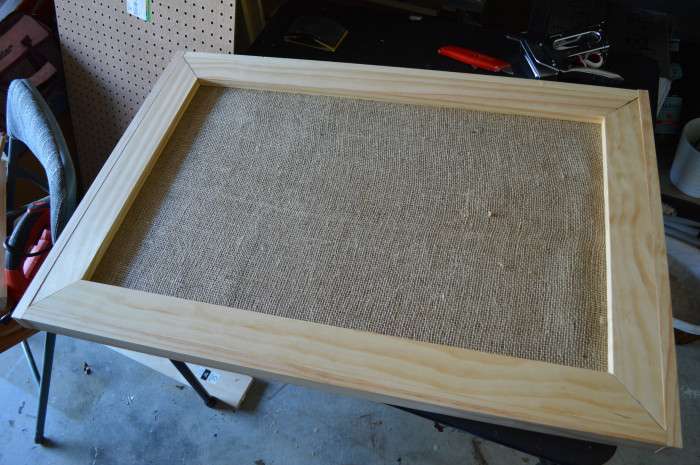
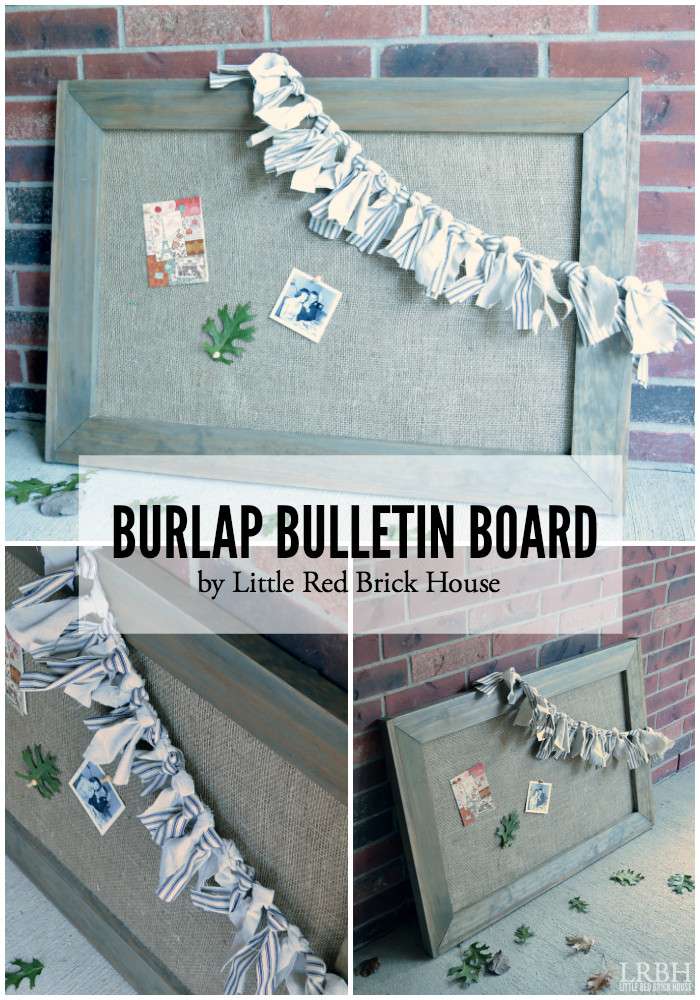
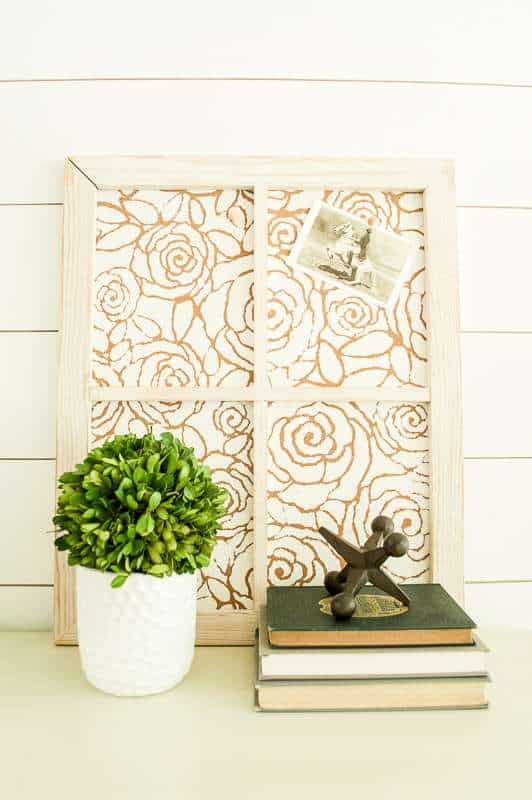
I wanted to frame my bulletin board out with a more rustic frame. First, I used some 1×4 boards with mitered corners. I laid the frame out on the ground and then carefully placed the bulletin board on top, making sure to center the frame with equal space on all sides.
Then I trimmed out the rest of the frame with 1×2 boards placed on their sides. I decided to add this part because from the sides you’d be able to see the burlap stapled the back of the bulletin board. I decided not to miter these boards.
The last step was to apply my favorite rustic stain to the frame. First, I wiped on some Rustoleum Weathered Gray and then immediately wiped it off. The I followed that with a layer of Minwax Provincial, wiping that off after 5 minutes. I love the outcome of this staining method.
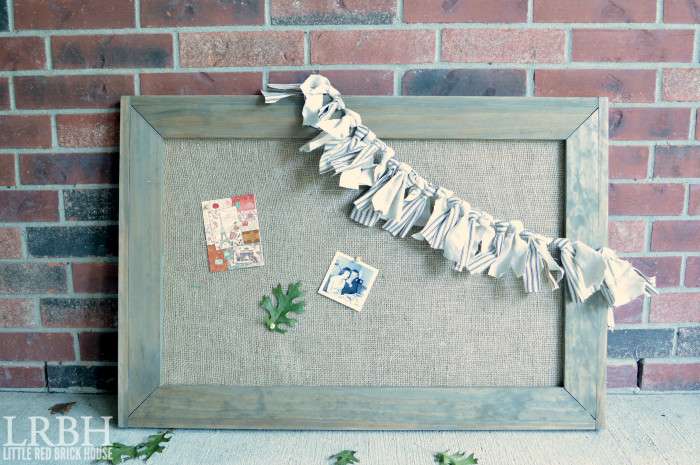
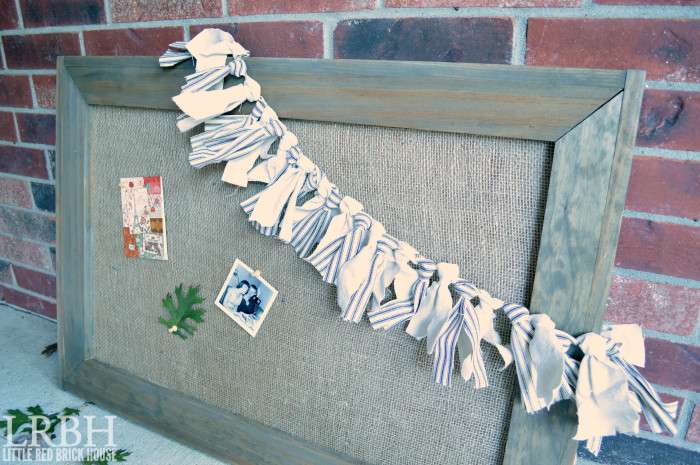
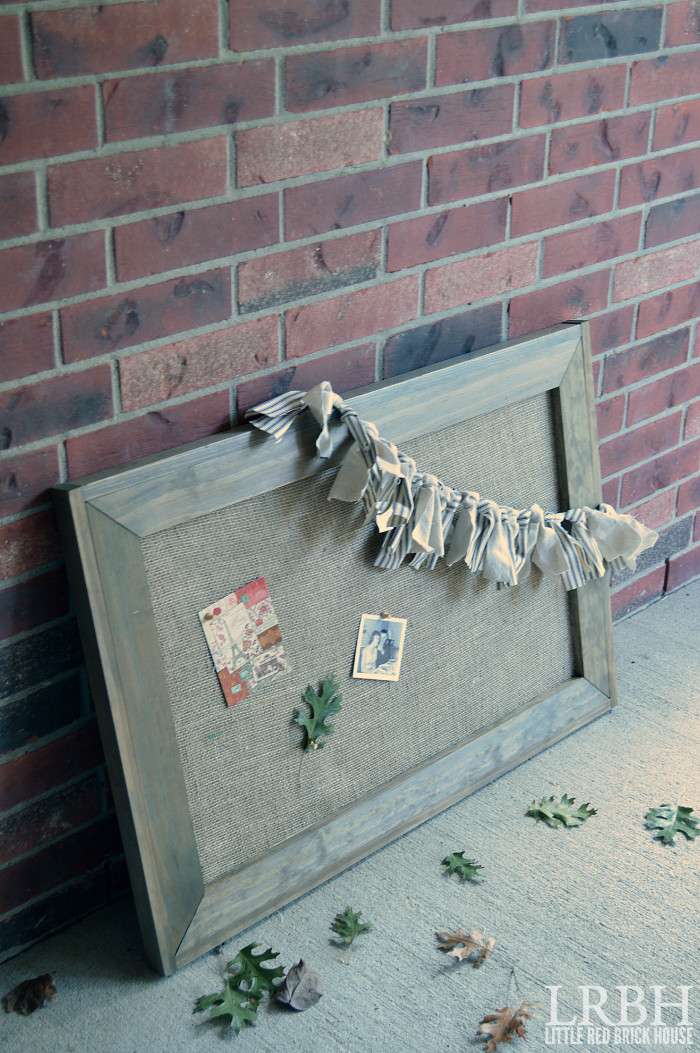
Now, I know that tacking papers to a bulletin board isn’t the prettiest addition to home decor but we’re a real family with real needs and sometimes you just have to make the best of things. It sure beats papers scattered all over the counters! Plus, I love that I was able to take something old and unused and give it new life!
Do you ever find that you have to compromise form over function in you home decor?


That is really nice, not too flashy and not boring. Thanks for sharing.
Thank you, Mary!
Nice work on saving that bulletin board! It looks so much prettier now, and that makes staying organized much easier, I think!
Thanks, Bre! It’s definitely an upgrade from the original and I have to confess that it’s doing wonders for our paper clutter.
Such a great idea!! Love your little cloth banner too 🙂
Thank you, Bre!