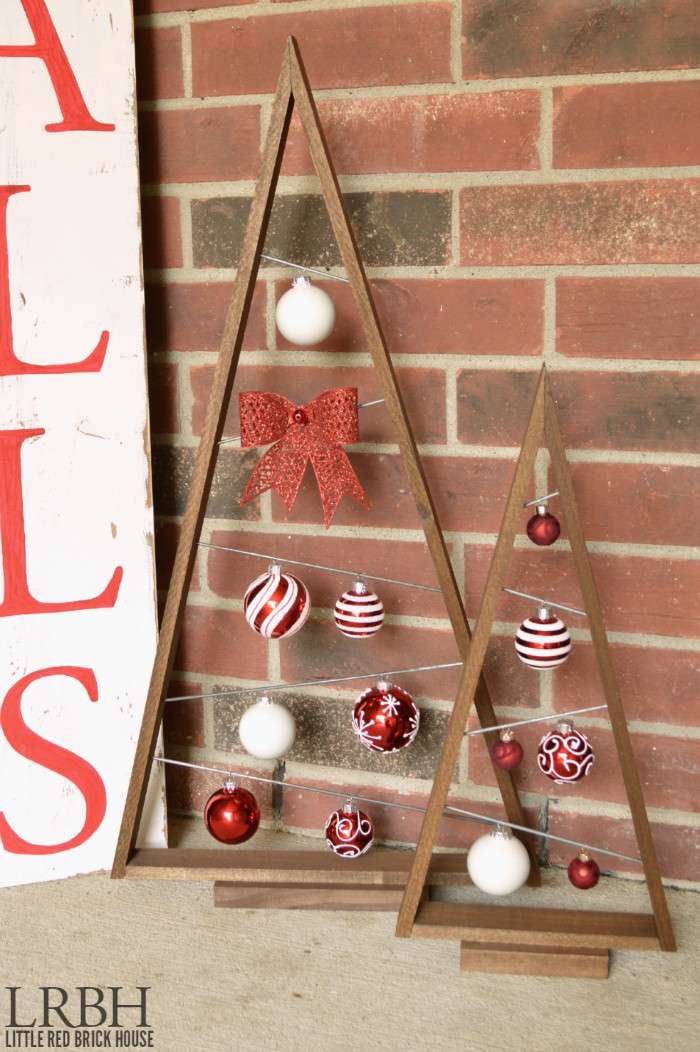
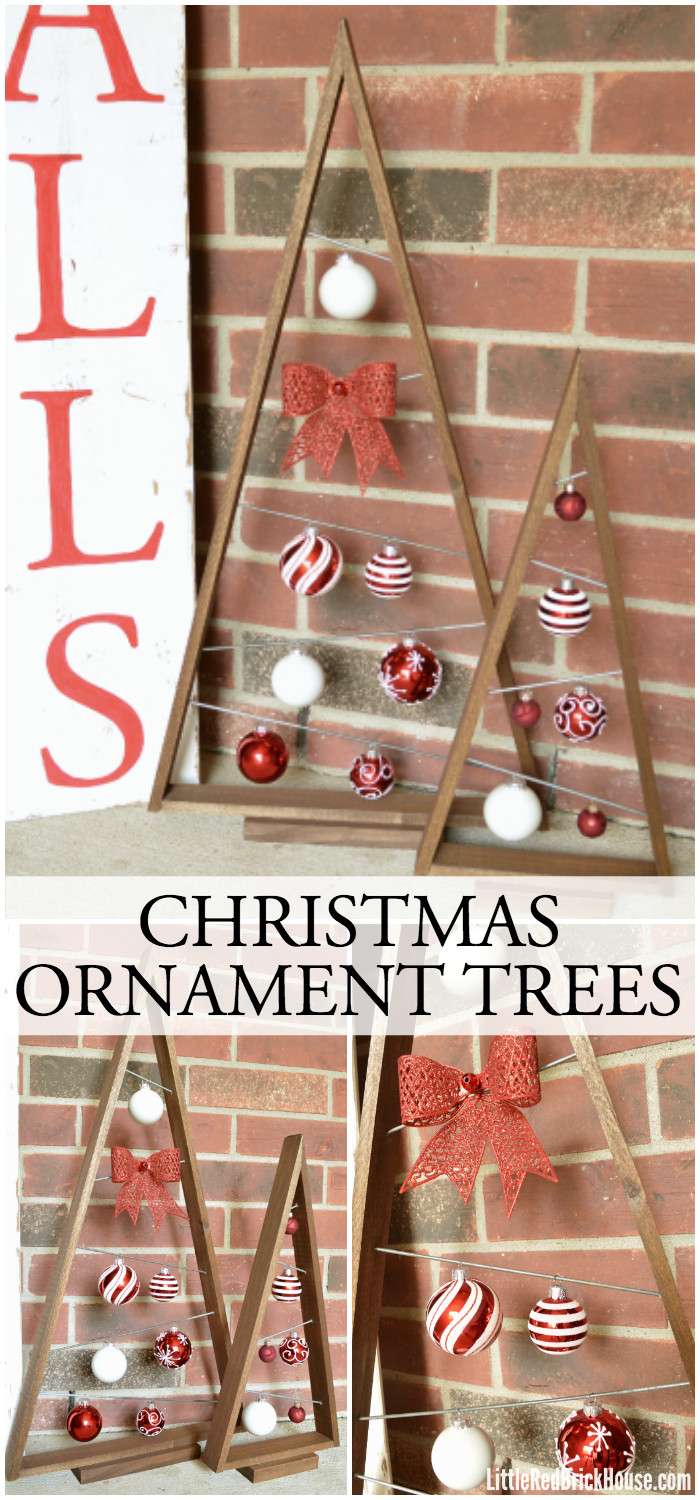
When I first saw these adorable Christmas ornament trees from Crate & Barrel, I just knew I had to make my own version. They are pretty simple and inexpensive to make. I just love how cute they are and how easy it is to change out the theme of the ornaments. This post contains affiliate links for your convenience. Click here to read my full disclosure policy.
Tools & Materials:
- 1/2″ x 2″ x 4′ poplar boards
- Wood stain
- Thin metal rods (I used a spare metal tomato cage)
- Wood Glue
- Drill and 1/8 drill bit
- End nippers (or some kind of metal cutting tool)
- Painter’s tape
- Clamps
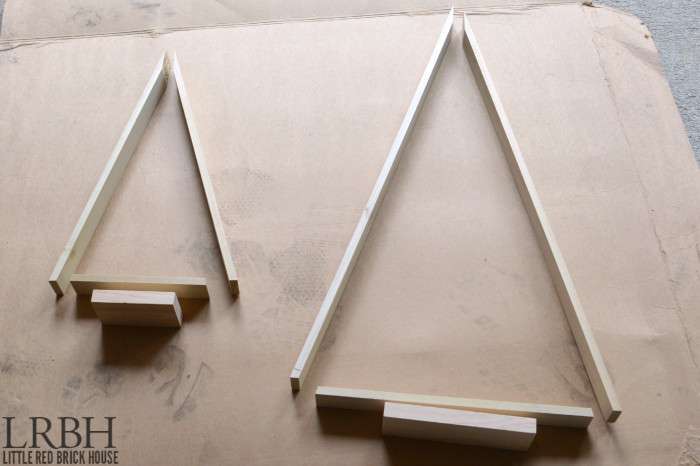
First I cut the angles for all of my wood boards. This part was really tricky because my miter saw didn’t have the settings for the angles I needed. My husband rigged up some a jig and ended up getting them to how I wanted them. I want to say that they are cut at about 70 degrees at the top angle and 15 degrees on the two bottom angles.
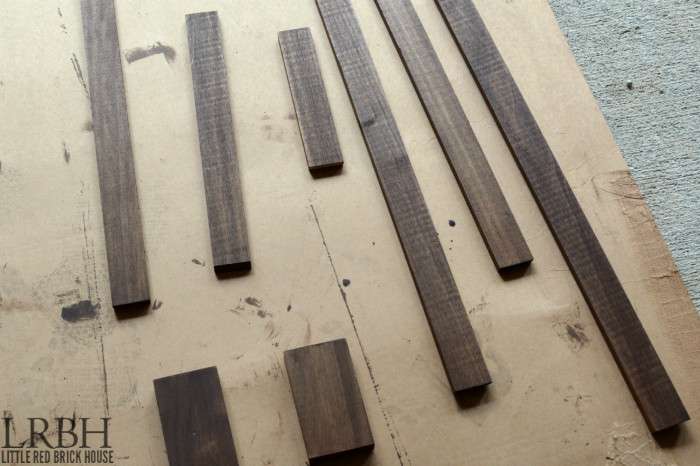
I stained all of my wood boards with Rustoleum’s Dark Walnut stain.
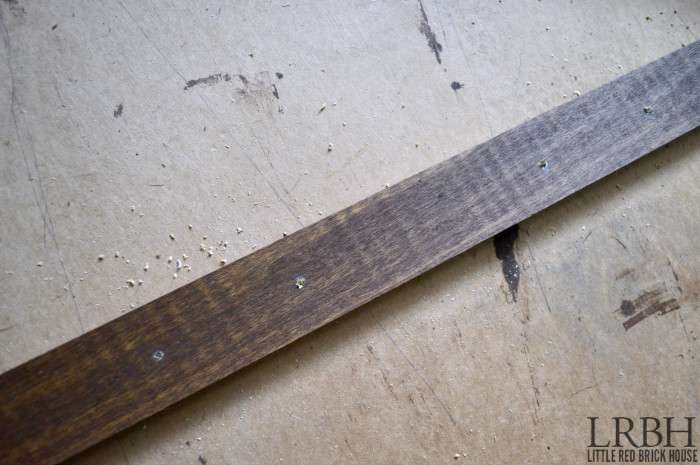
After the stain dried I marked where I wanted my metal rods to be and drilled shallow holes into the wood boards with a 1/8 drill bit. I measured the length for my metal rods and then cut them to size with my nippers.
I applied glue to all of my joints and quickly popped the metal rods into place, trying not to let the glue drip everywhere. A wet napkin took care of any drips or spills. I clamped the top boards together, as well as the bottom board and stand and then taped the two bottom joints with painter’s tape to hold them in place while the glue dried.
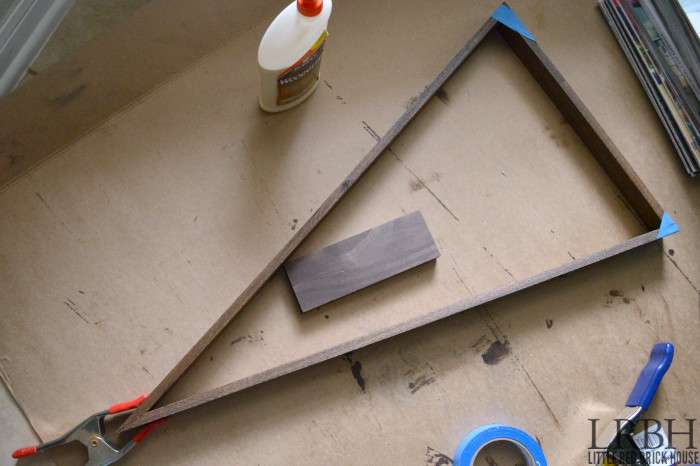
After 24 hours, I took off the clamps and peeled off the tape. Now it was time to decorate!
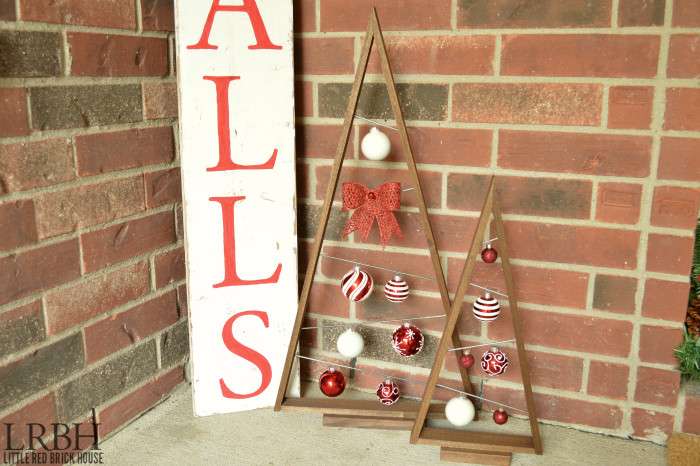
Aren’t they cute?! I used mini ornaments to decorate them because the size was more proportional. I popped the tops of the ornaments off and placed the hanger part over the rod while attaching the rest of the ornament from underneath.
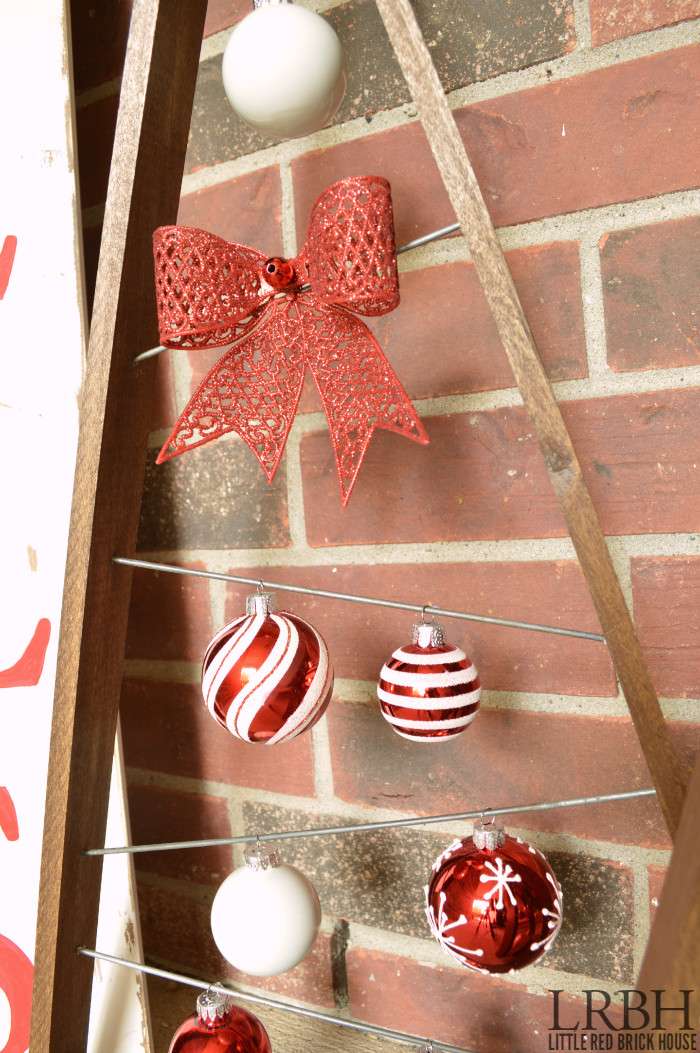
Some of the rods were angled so steep that the ornaments kept sliding down, so I remedied that by placing a tiny drop of hot glue on the back side. Problem solved!
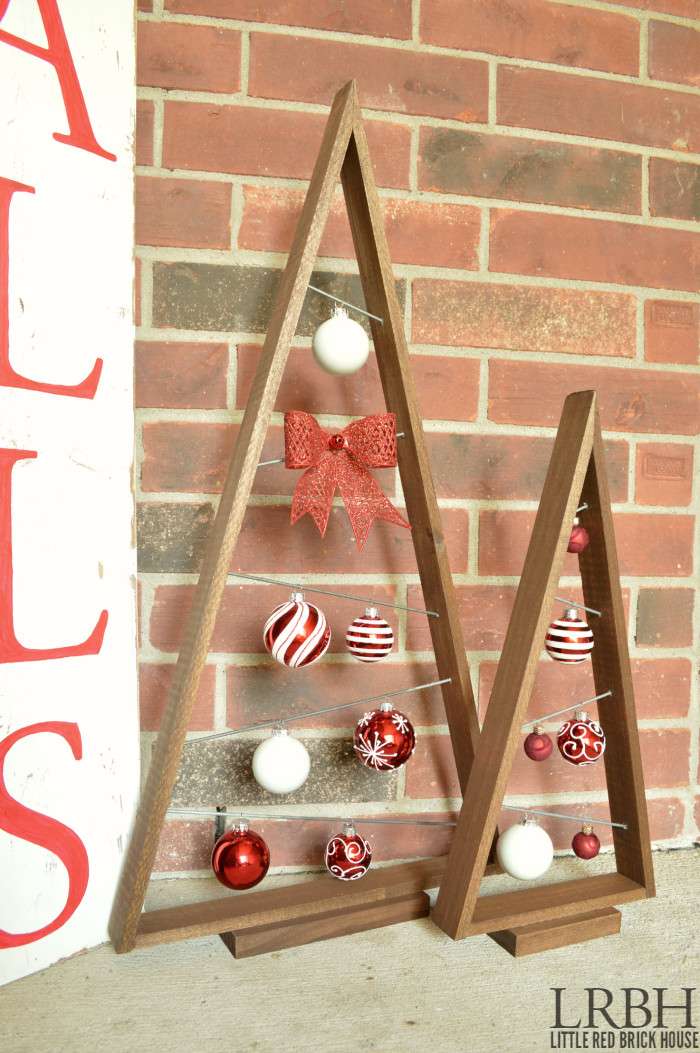
All of this Christmas decorating is getting me super excited for the big day!
Stick around for Part 2 of my Christmas home tour tomorrow! I hope to see you there!
This post was originally published at Domestically Speaking on December 10, 2014.

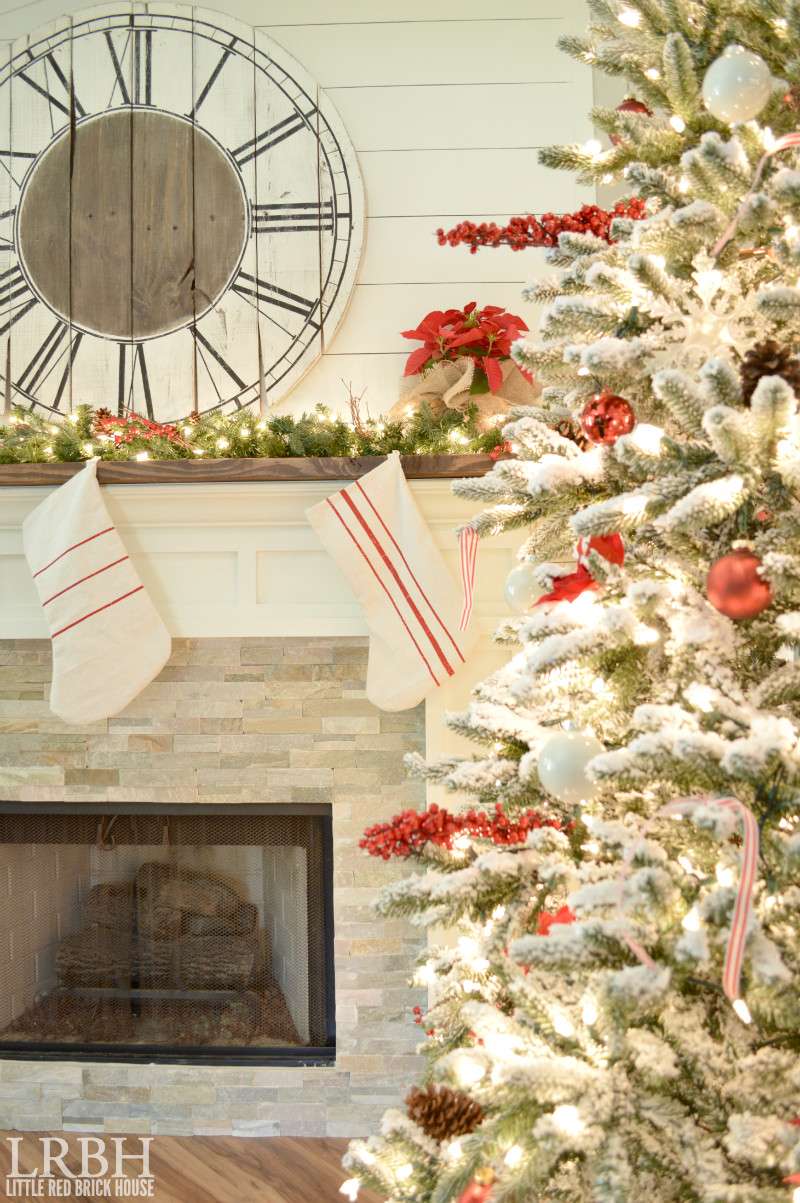
My daughter and I picked the biggest tree we could find the anticipation in the air is electric and the kids don’t stray very far from the tree, waiting for permission to open some of the beautifully wrapped gifts. and now it sits, quietly dropping its needles on the floor, by our window so the neighbors can enjoy it as well.
this is such a cute idea! love it!
stop by and chat with me ♥ http://storybookapothecary.com
Thank you, Tianna!