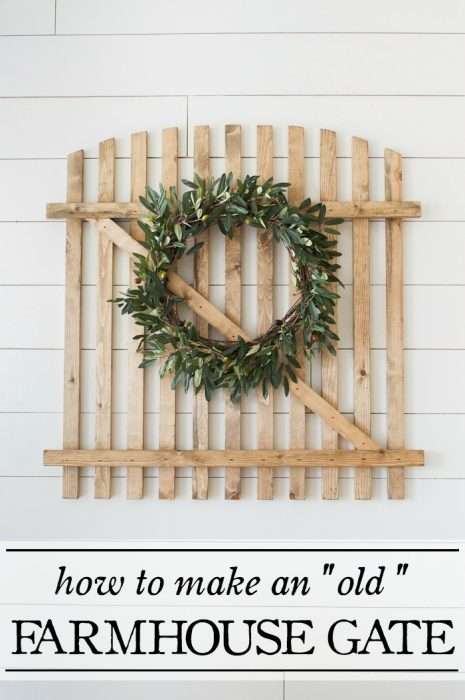
Make your own beautiful wall decor with this “old” Farmhouse Gate tutorial!
Hello, hello, my friends! I’m excited to be back today with another Monthly DIY Challenge project. If you’re new to the challenge you can read all about it and browse previous month’s projects here, or check out the video below for a crash course in all things Monthly DIY Challenge! For February our theme is 1×2 boards. Oh, the things you can do with these little guys. For this challenge, I decided to make an “old” farmhouse gate!

I have been wanting my very own “old” farmhouse gate ever since I saw one in the Magnolia House reveal on Fixer Upper. I even have a designated spot for it in my living room right above my future farmhouse bench that my hubby may or may not know about yet. 😉
This post contains affiliate links for your convenience. Click here to read my full disclosure policy.
Tools & Materials:
- (7) 1×2 boards at 6 feet long
- jigsaw
- nail gun and nails (I have the one from this set and love it)
- wood glue
- sanding block or electric sander
- stain of your choice (I used a mixture of Minwax Weathered Oak and Provincial)
How to Make an “Old” Farmhouse Gate:
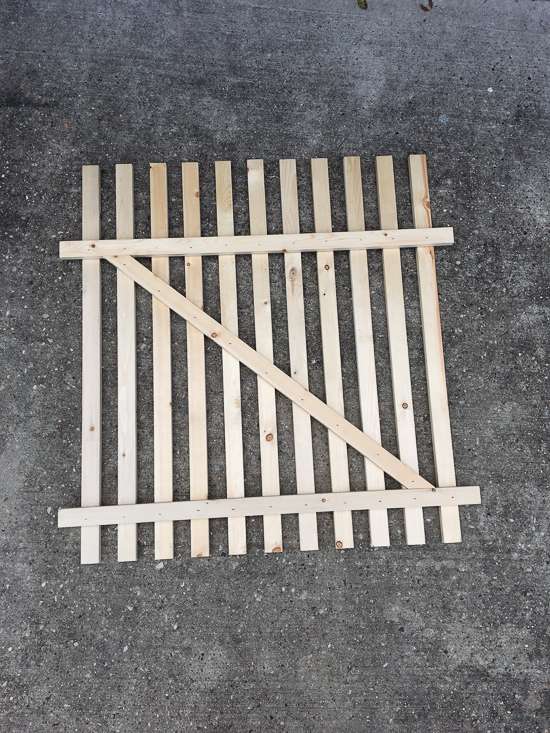
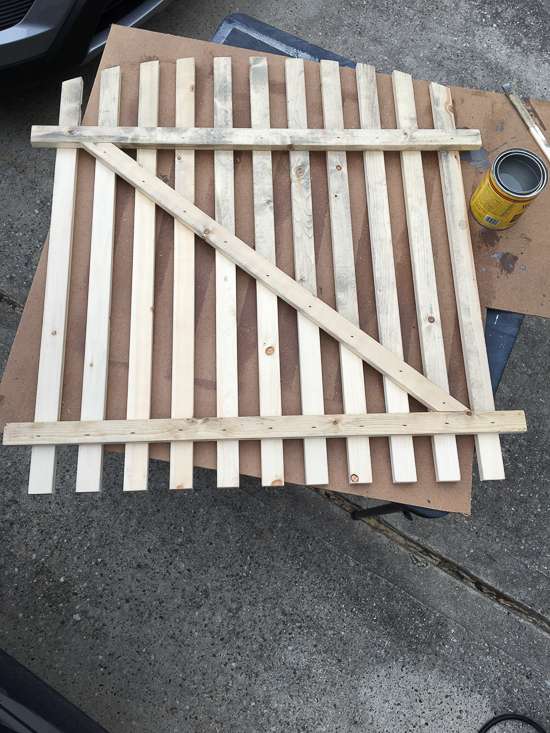
First, I cut the boards evenly in half. The boards were six feet long so I ended up with fourteen 3 foot pieces. I cut one of the boards at a 50 degree angle on each end, making sure that each end was cut parallel.
Then, I laid the boards out next to each other and arranged them 1.5 inches apart and then placed two boards across those boards with the angled board in between. After everything was situated how I wanted it, I assembled it with wood glue and nails.
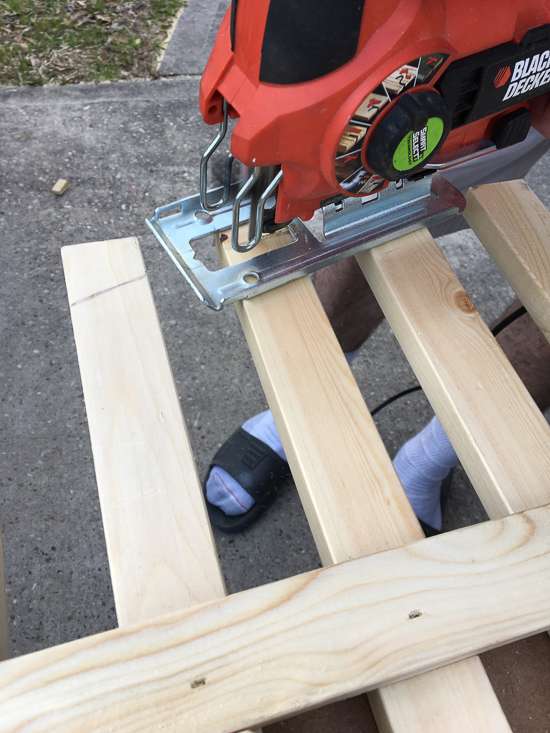
Next, I drew out an arch over the top of the gate with a pencil.

Then, using a jigsaw, my sweet hubby carefully cut the arch out. (Gotta love those socks with sandals 🙂 )
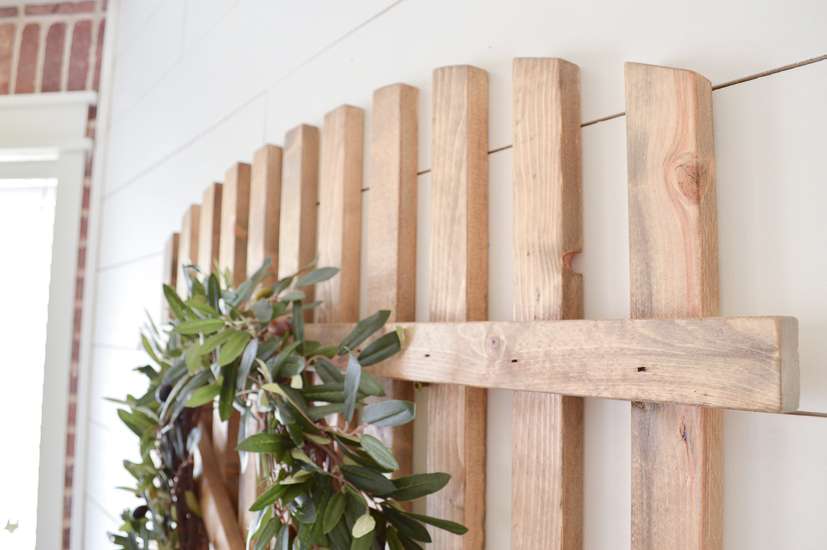
To get the old and worn look, I sanded the edges round to get rid of any obvious splinters from the fresh cuts.

Time to stain! First, I applied a coat of Minwax Weathered Oak. I wanted it to be a little more brown so I went over that with Minwax Provincial. You can see from the top half of the gate in the photo below that the Weathered Oak wasn’t much of a difference from the raw wood on the bottom half.
After the stain had dried, I was ready to hang and style it. I thought about adding some chippy white paint but decided to wait on it for a while.
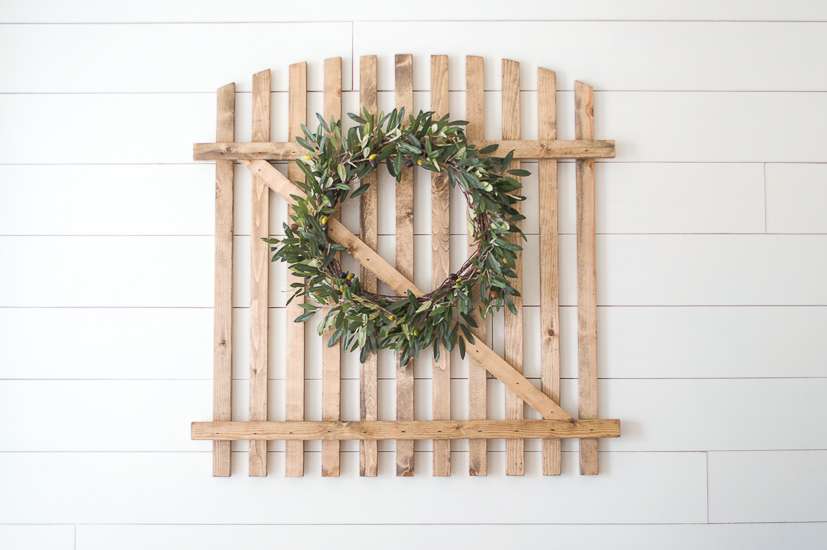
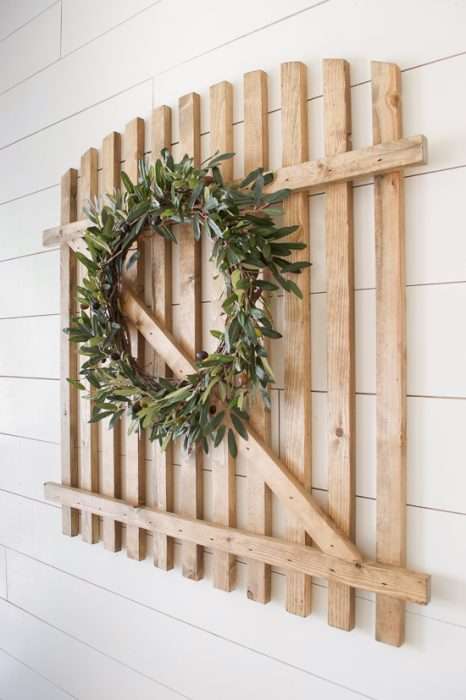
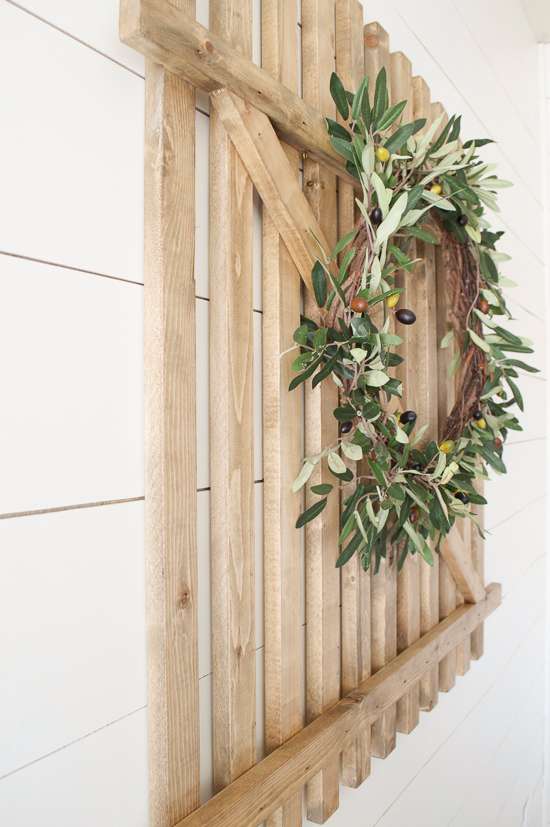
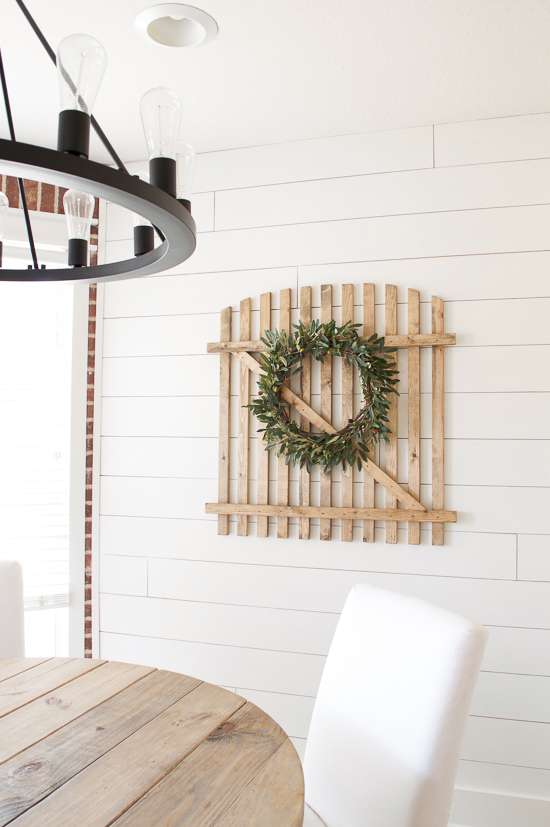
I’m thrilled with how it turned out! It looks so lovely in this spot, but I am excited to get that bench soon and hang it above. I think it’ll be perfect!
Now, you’re not going to want to miss any of the 1×2 projects from the rest of the Monthly DIY Challenge group. Check them all out below.
xo,
sarah