Hold on to your hats, guys! It’s Monthly DIY Challenge time! After not participating in the last two (?), maybe three challenges, it feels so good to be back.
First, I wanted to let you know that I’m also over at Domestically Speaking today sharing my DIY Grain Sack Stripe Stockings. I’d love for you to head over there real quick and check ’em out.
Allrighty. On to the challenge…..
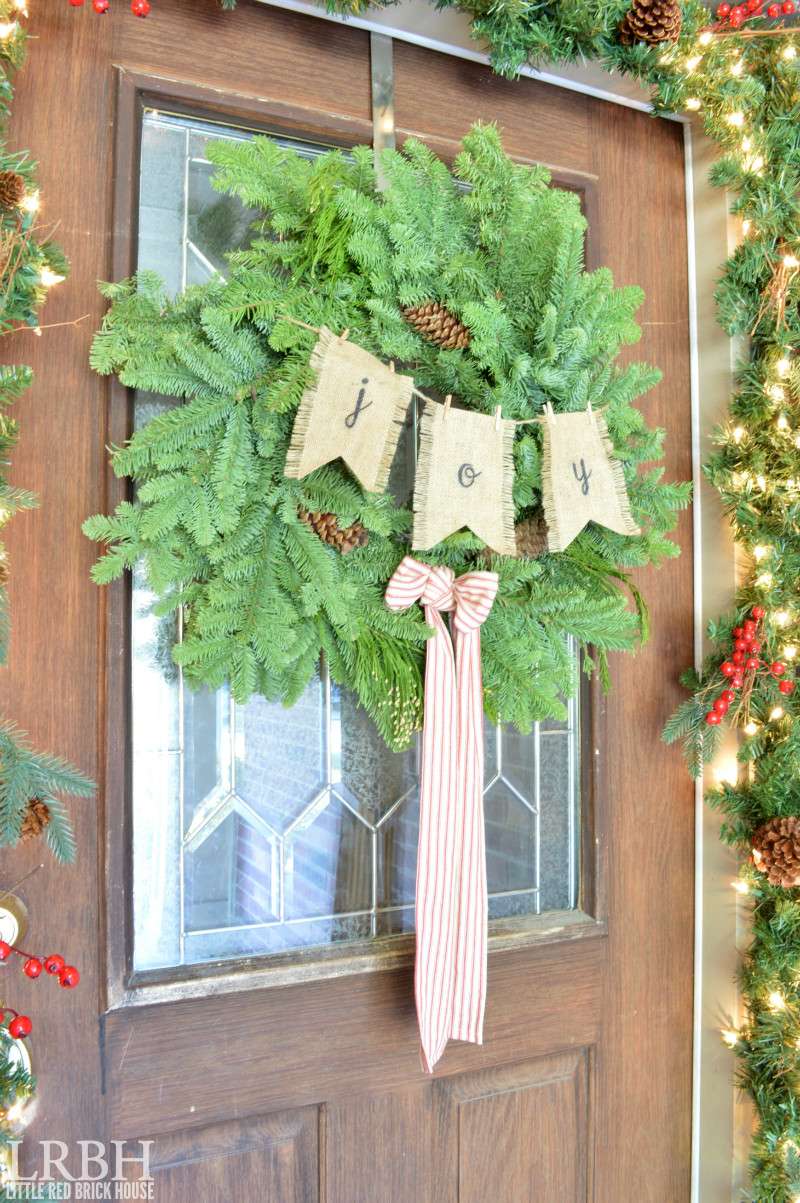
For this month’s theme we went with something seasonally appropriate- WREATHS! I love a good natural wreath, so I decided to snag one and spruce it up a bit.
This post contains affiliate links for your convenience. Click here to read my full disclosure policy.
Materials:
- Fresh evergreen wreath
- Wax paper
- Burlap ribbon
- Black Sharpie
- Modpodge
- Jute string
- Mini clothespins
- Fabric of your choice (I used red ticking stripe fabric from JoAnn)
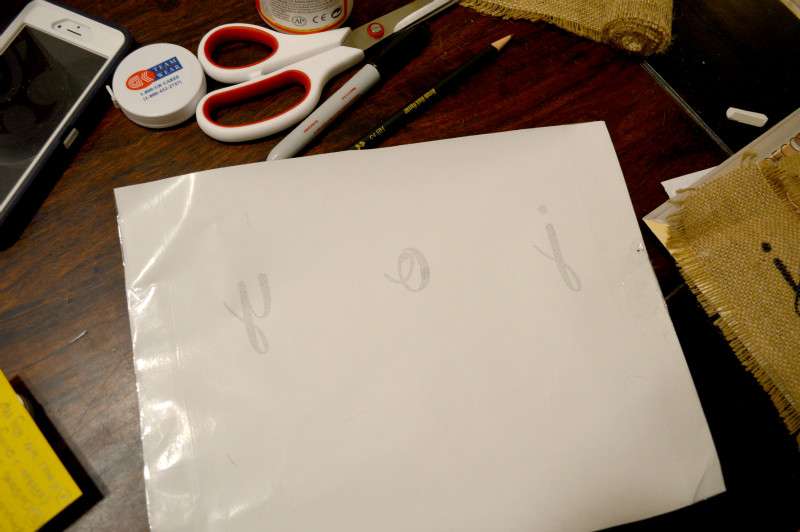
First, I made my banner letters in a Word document. The font I used is called Sweat Pea. I mirrored the text so that when I flipped the paper over the ink from the letters would transfer to the burlap in the right direction.
I printed it out on a piece of wax paper so the ink would stay wet and could transfer better. I had to tape my wax paper to a piece of printer paper because otherwise the wax paper would jam up in my printer. Booo.
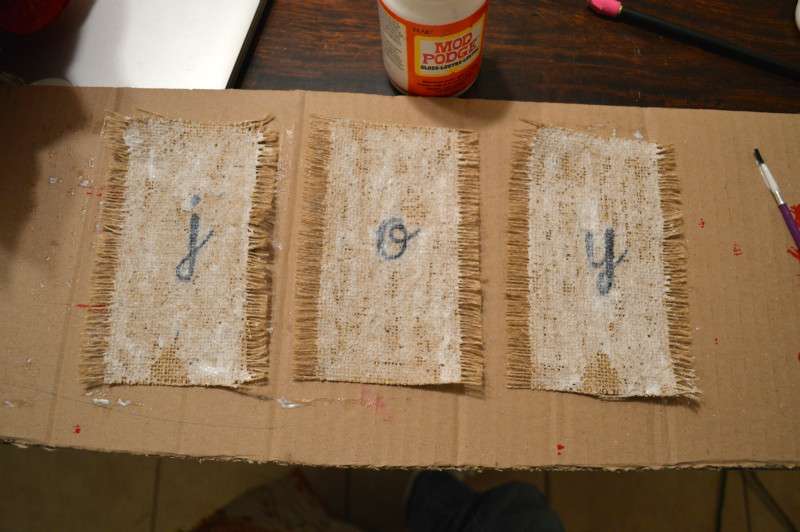
Next, I flipped the wax paper over onto the burlap banner and pressed gently over the letters. The ink transferred just enough onto the burlap to where I could see the letters faintly so I colored over them with a black sharpie.
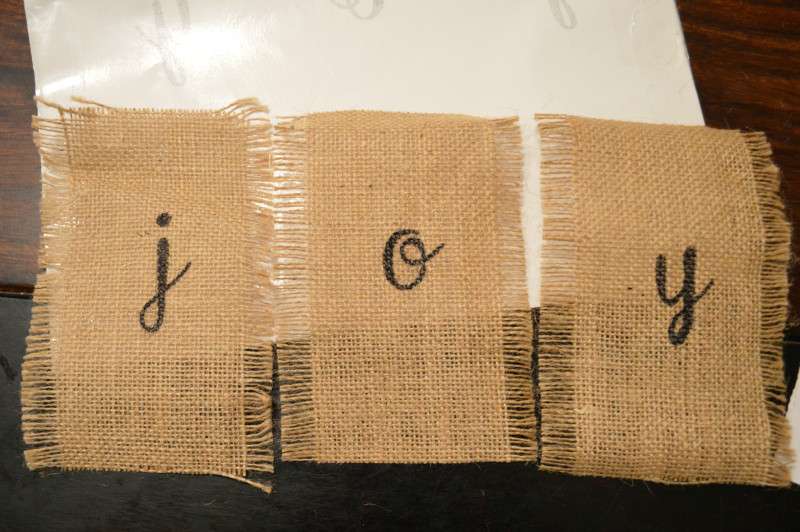
I brushed Modpodge over each banner piece to set the letters and to keep the edges from fraying.
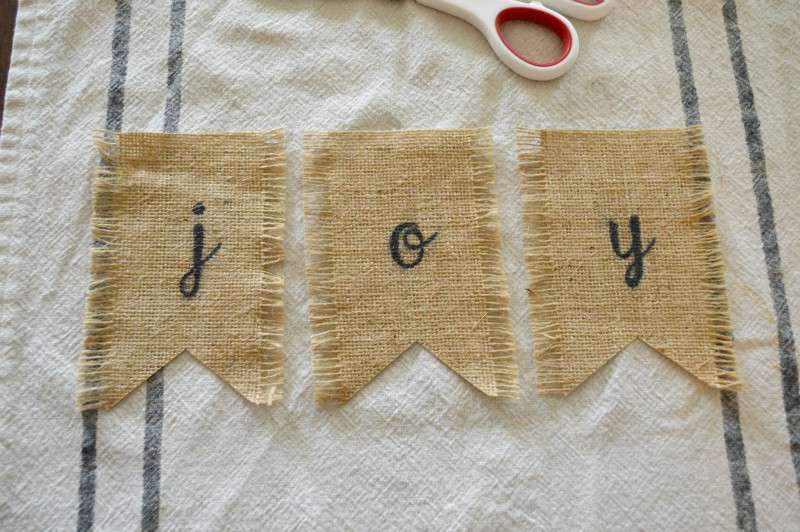
Then I cut a triangle shape out of the bottom of my banner pieces. You could keep yours square or even cut each banner piece into a triangle.
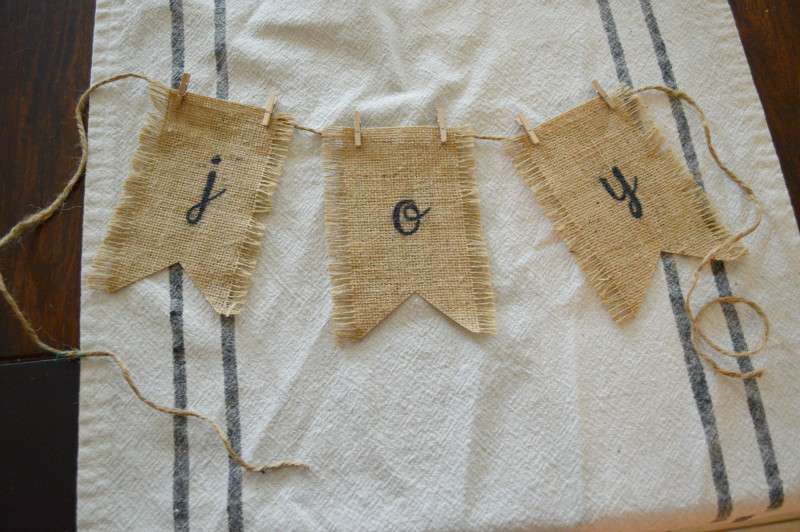
I attached my banner to a piece of jute string with mini clothespins. Aren’t they the cutest?
Then it was time to decorate the wreath. I clipped the banner to the wreath using more mini clothespins.
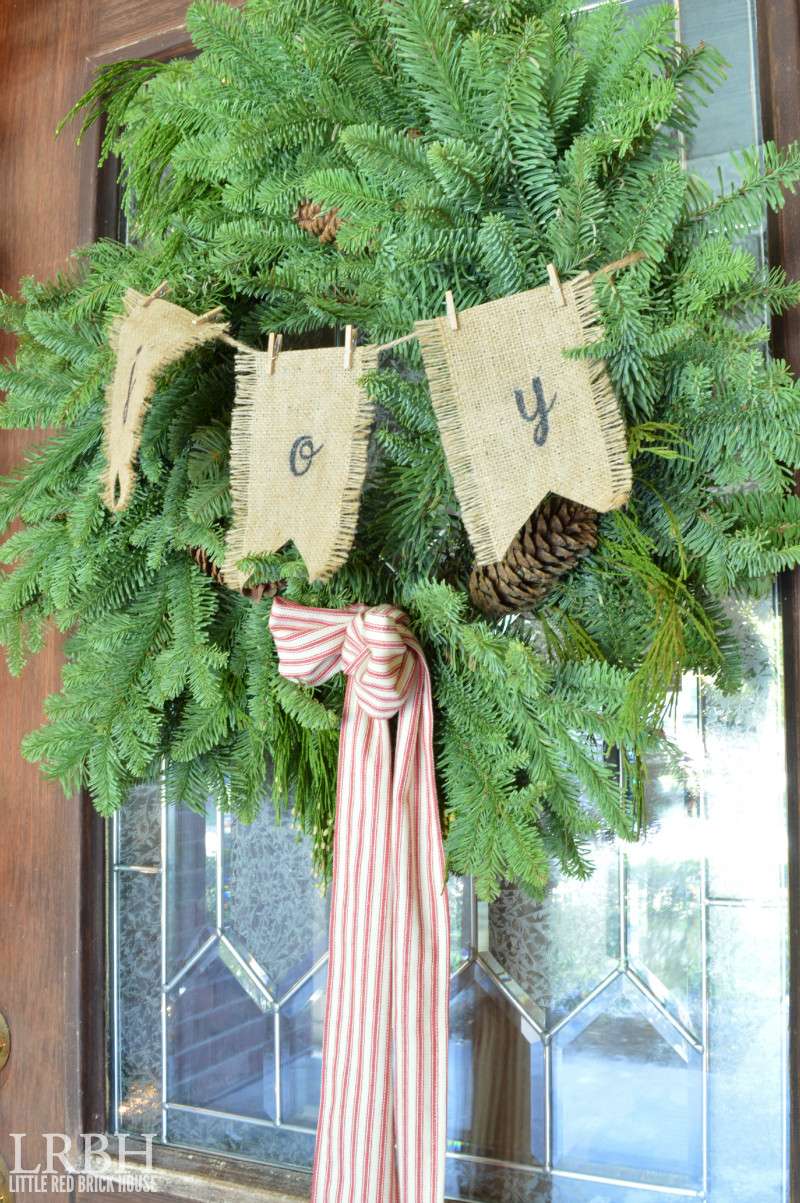
I also cut a long strip of fabric for my bow and tied it. Then I shimmied a piece of jute string through the backside of the knot and tied the bow to the wreath around the backside of the wreath.
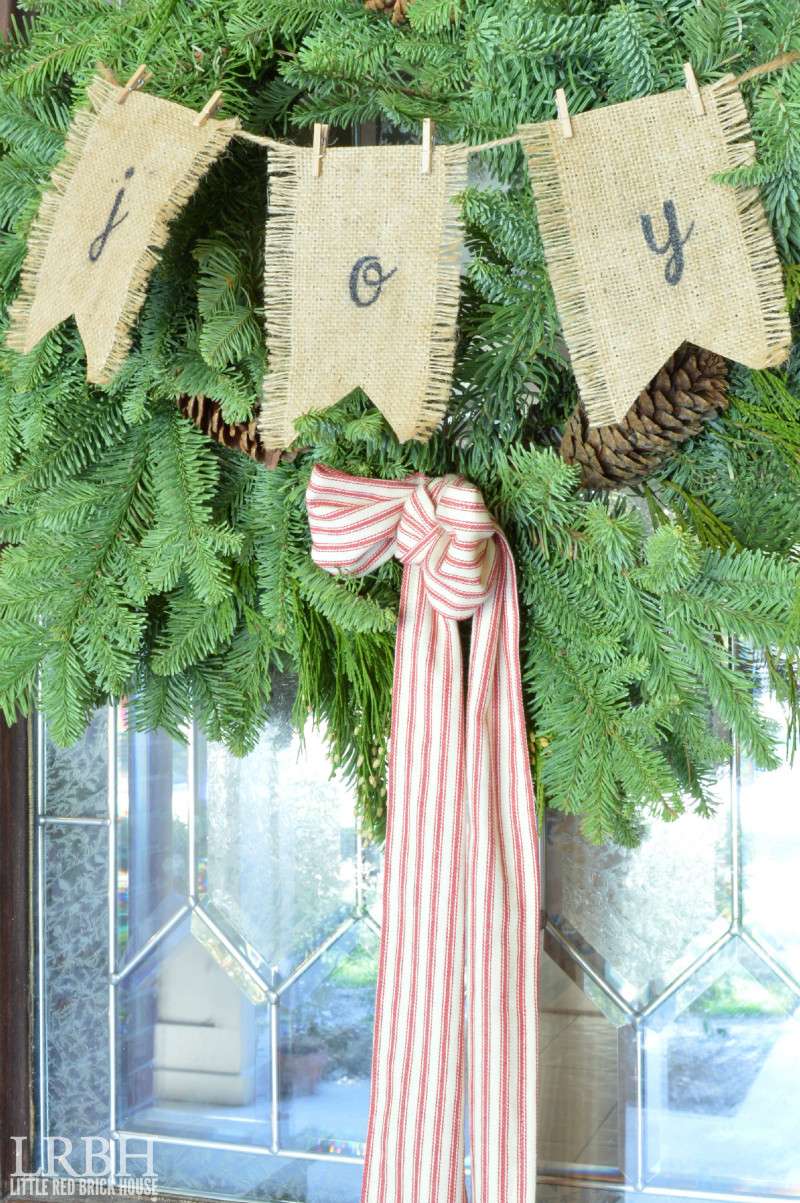
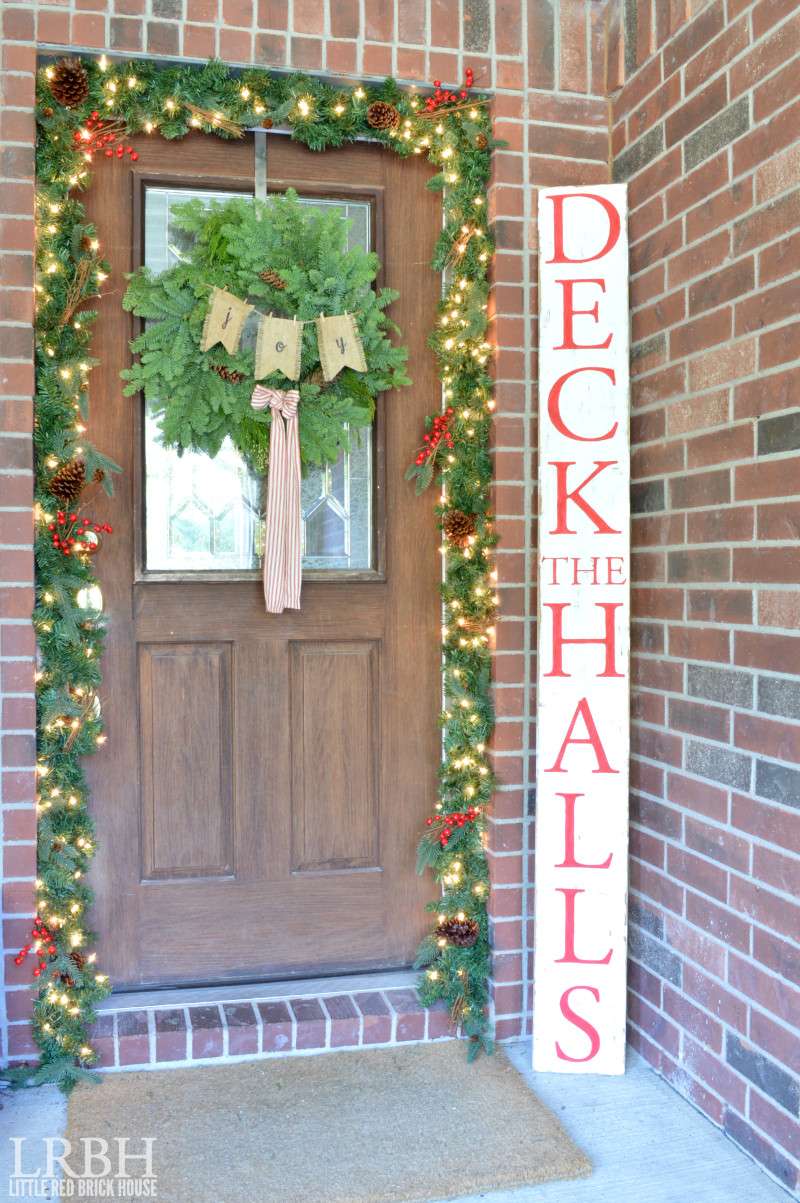
I love the look of the burlap against the greenery. And that little red striped bow is the cutest! I can’t help but give it a quick sniff every time I come through the door. It smells divine!
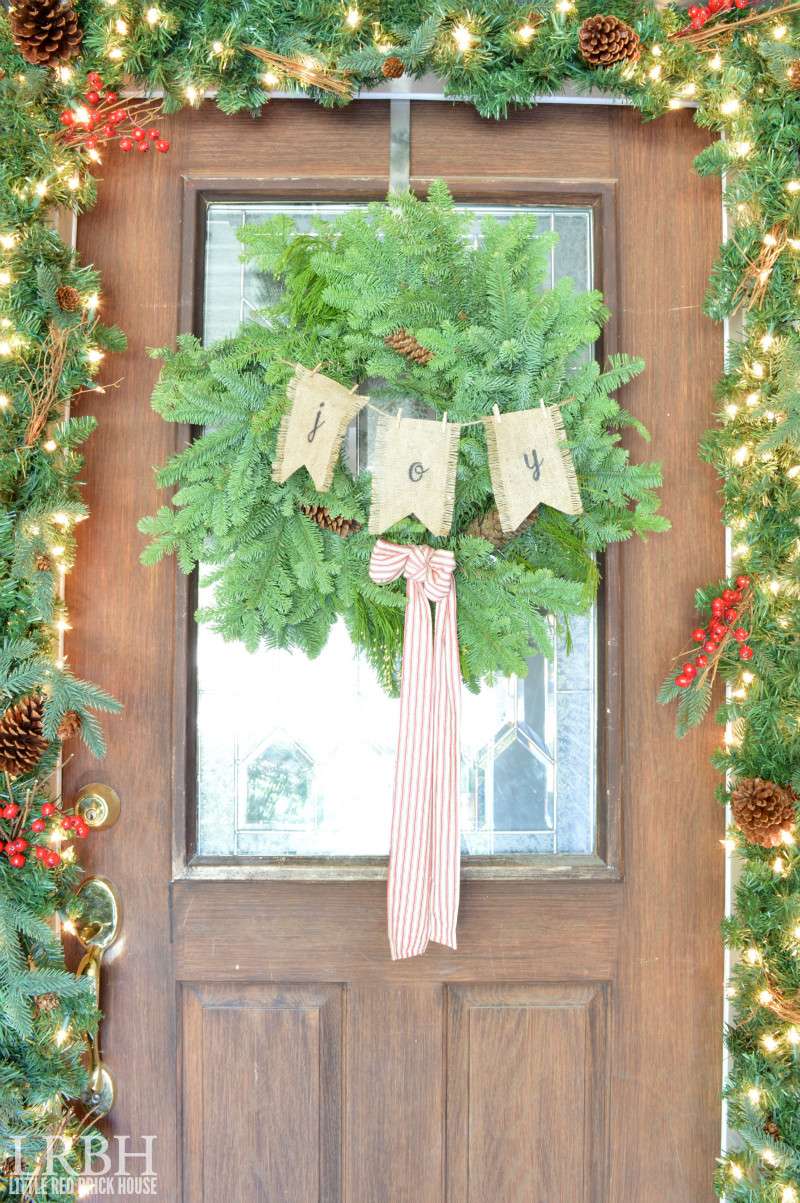
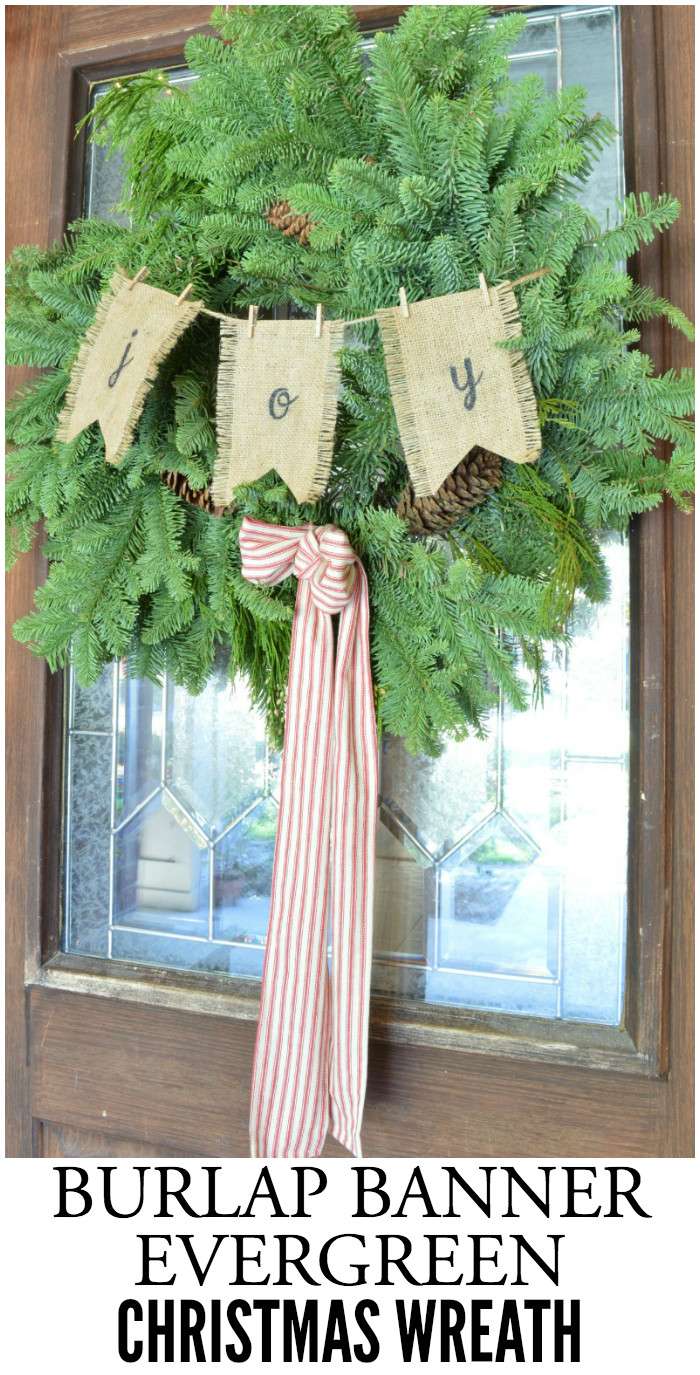
So, what do you think? Are you a fan of fresh evergreen wreaths or do you prefer faux?
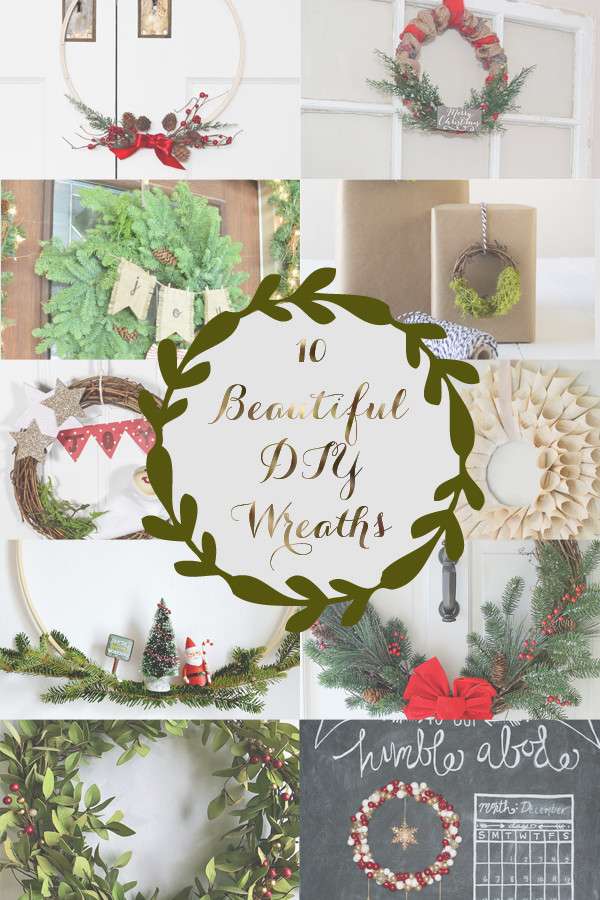
Don’t forget to take a look at what the other challengers came up with for their wreaths.




Such a beautiful wreath, Sarah! I just love the burlap and ticking ribbon – it’s totally you and so so pretty 🙂
So pretty, Sarah!! I love that banner, it adds such a perfect rustic touch. 🙂
I am not joking when I say I LOVE this wreath and this idea! I am always hesitant to buy or make Christmas wreaths because I have NOWHERE left to store them. But this way I could have my cake and eat it too! Adorable wreath, minimal storage space required when the season’s over. Thanks for the great idea!
Aww, thanks so much, Bre! It is hard to keep up with new decor each season, especially if you’re the type that likes to change things up each year (that would be me). 🙂
I LOVE how lush this looks! And the burlap tutorial is spot on, lady!
Thanks, Erin! Glad you like it!
Sarah,
This is such a beautiful wreath and I love that burlap banner. Such a great idea!
Much Love,
Erica- Designing Vibes
Thank you, Erica!
Love all the greenery!! And the bow and burlap are perfect!
Thank you, Bre!
SO pretty Sarah!!! The banner looks beautiful hanging from that fresh wreath and I adore that sweet little bow!
Thank you, Kristi! Those are my favorite parts, too. Merry Christmas, friend!
I love your wreath! It is perfect! Merry Christmas!
Thank you so much, Lindsay! And Merry Christmas to you, too!