Y’all, I am so excited for today’s post! I have teamed up with nine AMAZING bloggers to bring you an awesome challenge of epic proportions. Okay, so maybe we’re just having a little DIY project challenge but it’s been so much fun and I am thrilled to be working with these incredibly talented ladies.
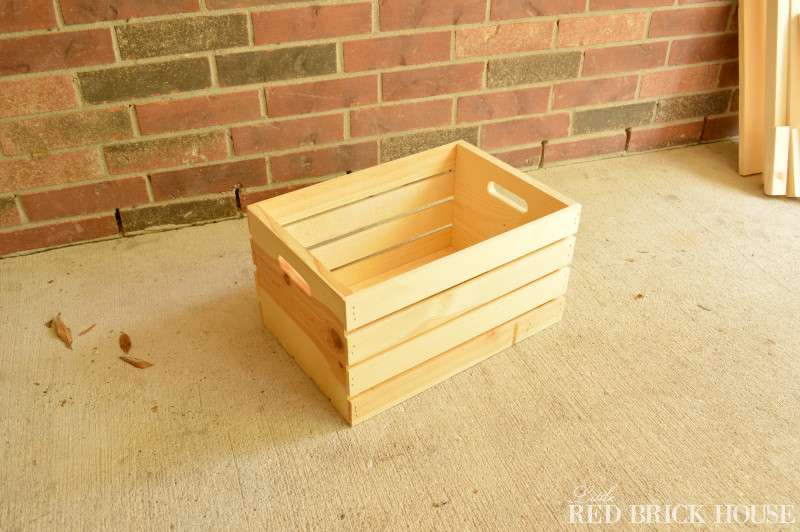
So, the gist of this challenge is that each of us were to purchase a wooden crate from Michael’s and we could do whatever we wanted to it. Paint it, stain it, modify it, etc. The only rule was that we each had to buy the same exact crate.
Here’s my little naked crate. Oh, the possibilities!
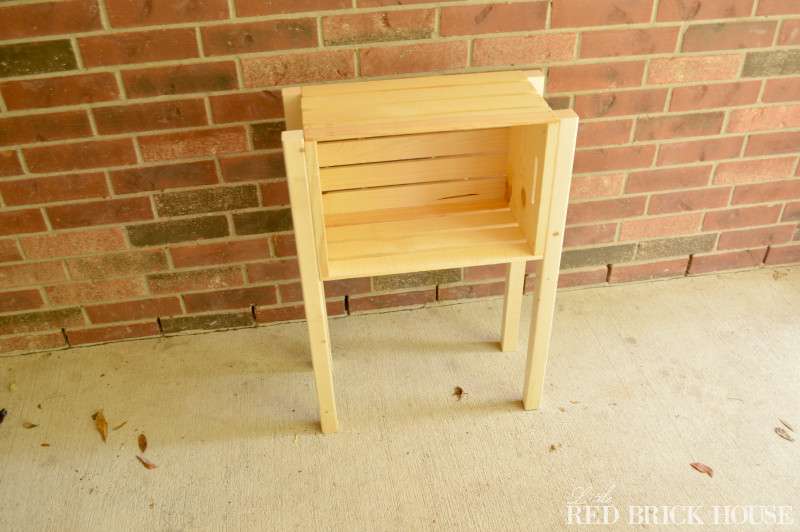
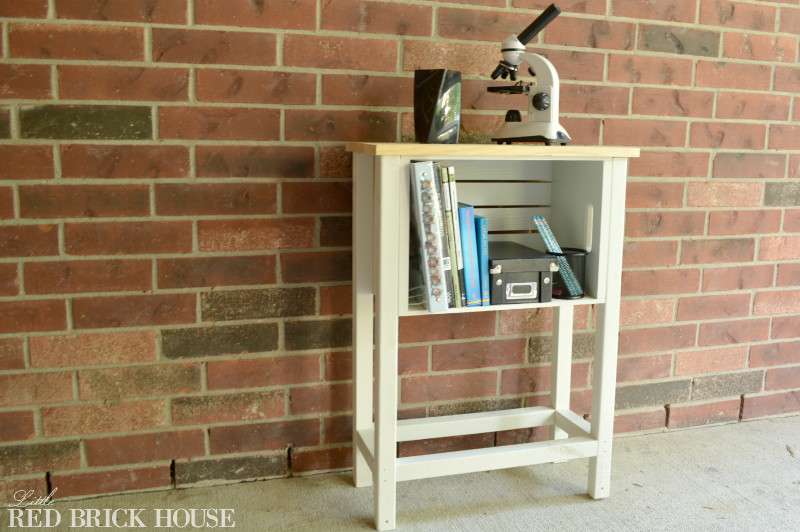
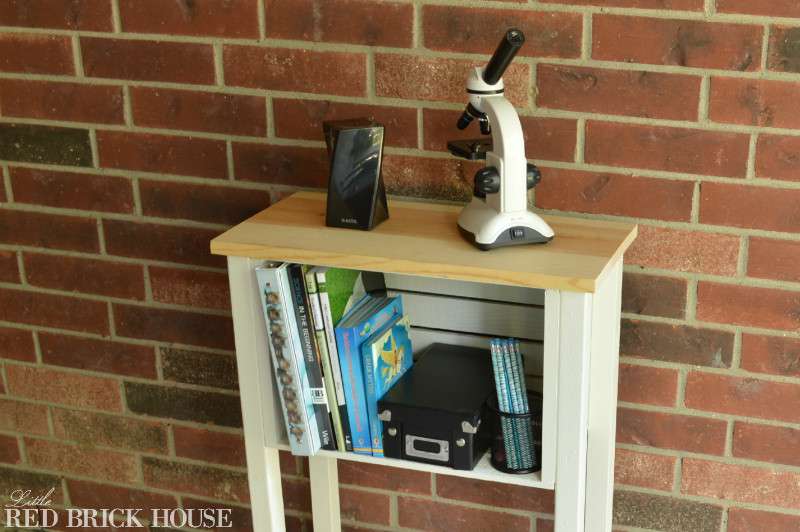
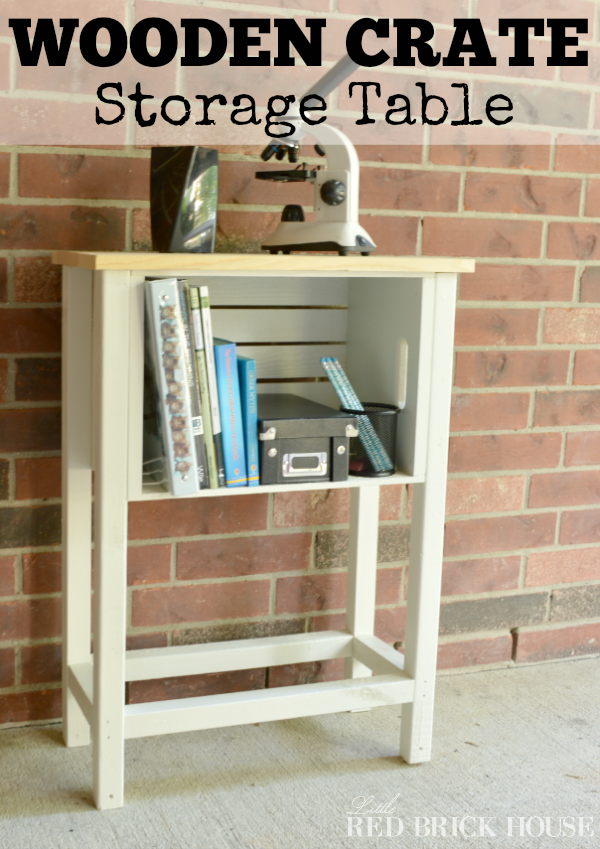
As I’m sure you all know, wooden crates are excellent for storing a variety of items. I decided to make a wooden crate storage table with mine. I hiked my crate up with legs and added a table top.
First I made my legs using 2×2 wooden boards, cut to 30 inches. I attached them to the sides of the crate with screws, from inside the crate. I made sure to countersink the screws since I knew I’d be painting this part and could just fill the holes with wood filler.
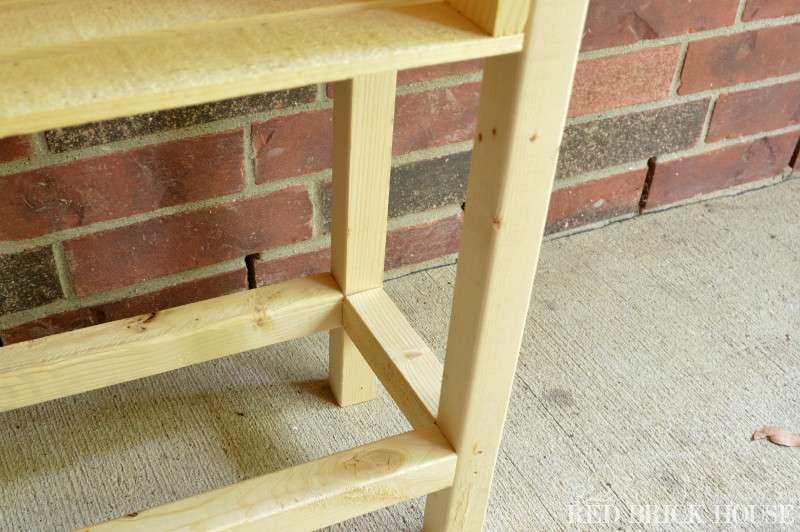
After that, I screwed some horizontal boards four inches up from the bottom to help support the legs.
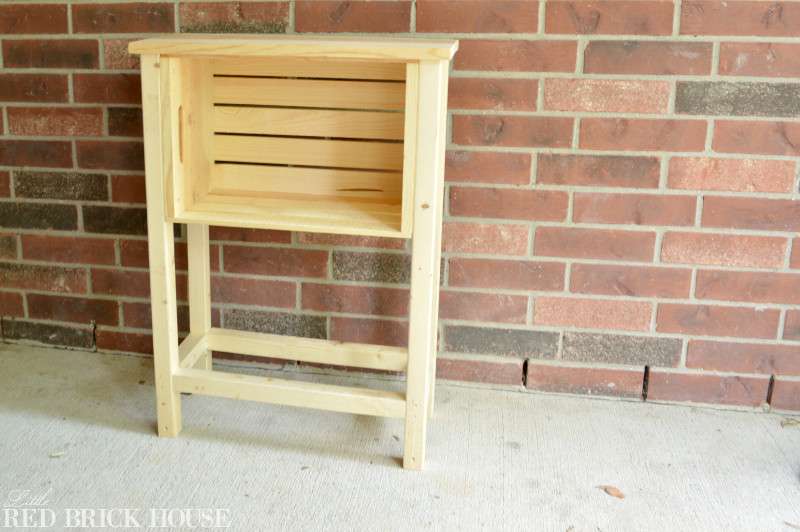
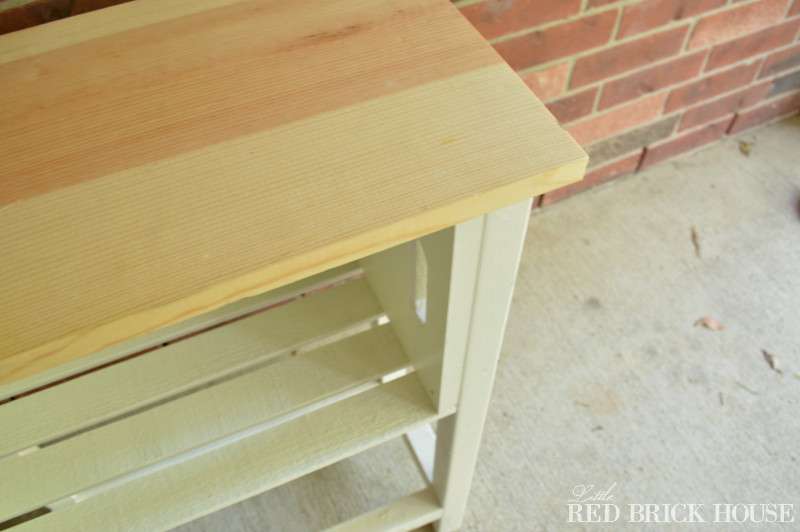
My “table” top was attached by driving the screws up through the side of the crate and into the bottom of the board.
I usually like to stain my wood pieces darker but I was feeling a lighter look for this project. I opted to paint the bottom in Alabaster from Sherwin Williams and I left the top natural and just applied a few coats of polycrylic for durability.
And, that’s a wrap!
We are using it as storage for our homeschool materials. If you homeschool, you know that you can never have enough storage.
You could use it as bathroom storage or even a mini kitchen island. My hubby even used it this past weekend to hold his grilling supplies while we cooked out. The possibilities are endless! I may put some rolling casters on the legs to make it even more functional.
I’m so excited to see what all of my challengers bloggy buddies have come up with! Be sure to click all of the links below to see the AMAZING projects they have come up with!
What would you use a wooden crate for? I’d love to hear your ideas. Let me know in the comments!



Love this! What size of crate did you use?
Hi, Teresa! It was an 18″ crate.
Great project. Making a side table with a wooden crate is a great idea. Have you ever tried to make a table with wooden wine crates? They have a wine-themed look that adds a “Chateau-chic” accent to the décor.
If your looking for original wine boxes or crates for your own decorative table projects visit Winepine
You really inspired me to try this! Only I am going to join two together to make a small console table to put by our front door as sort of my take on a knee wall. Thank you so much for the share! Love it!
That’s an awesome idea, Debbie! Thank you!
Sarah this project is great! My husband and I are beginner DIYers and we did a variation of this. We stacked two crates and added the legs and it looks great! I was wondering if you could clarify what you did for the table top part. what kind of wood did you get? and where?
Thanks so much!!
Hey Abi! I used a 1×12 pine board from Lowe’s for the table top. Thanks so much for stopping by!
This is so creative! Thanks for linking up to Pin Worthy Wednesday, I have pinned your post to the Pin Worthy Wednesday Pinterest Board
Thank you so much, Keitha!
Love this! How hard do you think it would be for a total novice to do? Pinning it from the Pin Worth Wednesday Link Up 🙂
Hey Farrah! It was really easy. I made it without any help from my hubby! I did have to use a drill and my power saw. But I think if you put enough muscle into it you could cut the pieces by hand with a miter box. The most annoying part was painting the inside of the crate because the wood is really rough. But I’m sure that could be minimized with a little sanding. Hope that helps! And thank you so much for pinning! I really appreciate it!
I love this little table! So sweet!
Thanks, Leigh Anne!
That turned out amazing!! I love your whole project challenge (and all of the makeovers) – such a great idea!
Than you, Ashley! It was a ton of fun. Thanks for stopping by!
Cute table. I would add some slats across the bottom support boards running from front to back. Extra storage. WIN, WIN.
Thank you, Vicky! That is a fantastic idea!
What a fun challenge! So many great ideas and so inspiring!
Have a great weekend!
Dee from http://www.thecsiproject.com
Thank you so much, Dee! We had so much fun. Can’t wait to do it again!
This is so cute! What a great idea to turn it into a crate! I really like the lighter stained top, too. Great job 🙂 Visiting from Thursday Style link party!
I’m glad you like it, Amanda! Thank you so much for stopping by!
You did such a good job with this Sarah! At first glance I wouldn’t have even known it was made from a crate, you completely transformed it!
Thank you so much, Amy! I truly appreciate it! 🙂
Whaaatttt – this looks like a piece of professional furniture that you would buy in a store! Like seriously. This is so totally amazing and what a great space to store all that school supplies!
Erica, you are too sweet! Thank you so much! I had so much fun with all of you girls!
What a great idea for a nightstand for kids! Pinned for later 🙂
Thank you, Deonna! I agree that it would work brilliantly as a night stand! Thank you for stopping by.
Cool challenge!
Thank you, Jen! It has been a blast working with these ladies!
Okay, I need one of these! So functional and versatile. I am usually a darker stain person also, but I love the lighter look that you decided to go with, looks great!
Thank you, Tara! I was hesitant, but I think it turned out great! I’m ready to make another one, LOL!
Sarah, you seriously have such good taste! This is such a classy upgrade!! I love how the crate adds character, but is so well-balanced with the elements you added… it just perfectly blends into the table and enhances it. So, smart!! 🙂
Thank you very much, Christina! You are too sweet! I am loving how versatile it is.
Sarah, this is so fantastic! I love that you added a top to it – it makes it even more functional!!! It turned out really awesome. I am glad to see that you have a place to store your microscope now, too. I bet you could even fit your petri dishes and bunsen (sp?) burner in the crate portion, as well!
Thank you, Bre! Hey, life is hard when you don’t have adequate storage for your microscope. LOL! You are too funny! 🙂
This is AWESOME! I could totally see putting this to work all over my house!!! Totally digging the light colours too!
Thank you so much, Kristi! It’s working out really well in our space. I may have to make a few more to put to use around the house. 🙂 This has been so much fun!
What a perfect storage table, Sarah! Great idea!! I love the table top you added! This was so much fun :))
Thanks, Kendra! I am having a blast reading about everyone’s creations! Can’t wait ’til the next challenge. 😉
Sarah, this turned out great! What an awesome idea to turn it into a table with storage. I love it!
Thank you, Katie! It’s working out great so far. I can’t believe I didn’t make one sooner!
So creative! Perfect for storage! I love the natural top!
Thank you so much, Nicole! These crates are fantastic. The possibilities really are endless.
This is adorable! I like the lighter colored wood on top. This looks like something you would totally buy from a store! Awesome job, girl 🙂
Thank you, Bre! The lighter wood is definitely different for me but I think it works. I had SO much fun with this. I can’t wait to do it again!